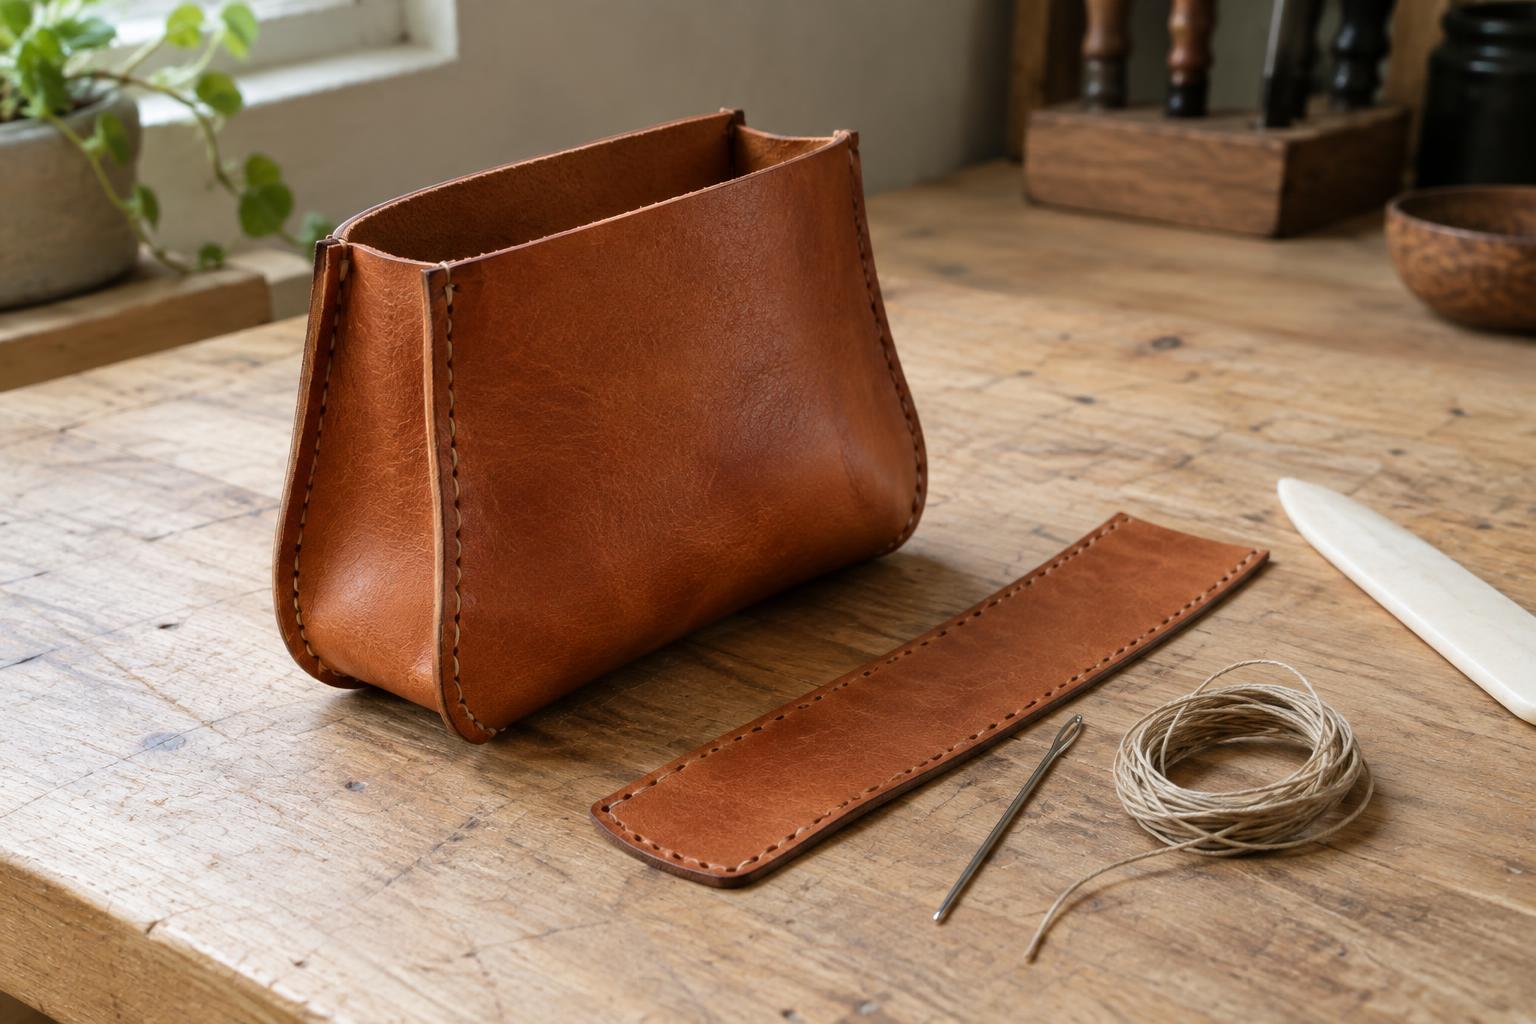
What the gusset does
A pouch made by stitching two flat pieces together has room only where the leather can flex. A gusset adds material between the front and back, creating space for objects with some thickness. On a small pouch, it may run down both sides and around the base as one continuous strip, or take the form of separate side panels joined by a bottom piece. Either approach changes the pouch from a flat sleeve into a small container.
The gusset’s shape affects how that space is used. A narrow, even-width strip makes a relatively slim pouch. A strip that widens toward the base can give the bottom more capacity while keeping the opening closer together. Think about what the pouch will hold before drawing the pattern: a pouch for folded notes has different needs from one for a key or a compact tool. Leave enough room to reach inside, not merely enough for the contents to fit.
Plan the pattern around the stitch line
Start with paper templates for the front, back and gusset. Mark the intended stitch line on each piece, set in from the cut edge by a consistent amount. The gusset must follow the stitched perimeter of the front, not simply match its outside edge: the difference matters most around rounded bottom corners. A paper trial, held together with small clips or removable tape, makes it easier to spot a mismatch before cutting leather.
For a simple continuous gusset, mark its midpoint and the centre of the front panel’s bottom edge. Then mark corresponding points where each side begins to curve into the base. These registration marks help you distribute the gusset evenly during assembly. If you want a flap, extend the back panel above the opening and fold the paper template to check its reach. Allow for the pouch’s depth when positioning a button, snap or other closure; a flap that reaches across a flat pattern may fall short once the pouch is filled.
Choose and prepare the leather
Leather that bends comfortably without collapsing is useful for a small gusseted pouch. Very stiff leather can resist the turn around a tight base curve, while very soft leather may need a wider opening or a different closure to keep its shape. Try bending a scrap around a curve similar to the one on your pattern. This simple test can tell you more about its suitability than thickness alone.
Transfer the templates carefully, keeping the pieces oriented as you intend them to appear in the finished pouch. Cut on a protective surface with a sharp blade and keep your supporting hand clear of its path. Before assembly, decide which edges will remain exposed: the top edge of the front panel, the upper ends of the gusset and any flap edge are often easier to finish while they are still accessible. Edge treatment depends on the leather; some edges can be smoothed and burnished, while others are better left neatly cut or finished with a suitable edge coating.
Join the gusset without losing the curve
Align the gusset’s midpoint with the front panel’s bottom centre, then work outward toward the opening on both sides. Clips can hold the layers while you check that the registration marks meet. If using adhesive to steady the seam, apply it sparingly and follow its handling instructions; excess adhesive can make adjustments difficult. Avoid forcing one piece to stretch to meet the other. A persistent mismatch usually calls for a pattern correction rather than harder pulling.
Mark and pierce stitch holes in a way that keeps the seam spacing consistent through both layers. Around a curve, slight changes in hole spacing may help the stitching follow the shape without crowding at the inside edge. Stitch the gusset to the front, then attach the back, checking alignment as you go. Keep the gusset upright rather than folding it flat against a panel: its job is to hold those panels apart. Secure the thread ends, but avoid making a bulky knot where it could rub against the contents.
Check the shape and finish for use
Open the pouch and place an object of the intended size inside. Look for pulling at the bottom corners, a gusset that twists, or a closure that strains when shut. These checks reveal whether the depth is usable, not just visible from the outside. If the base buckles on a future version, a gentler corner curve or a different gusset width may help. If the opening is awkward, consider whether the side panels should stop slightly lower.
Trim any uneven seam edges cautiously, then finish them in a way that suits the leather and the pouch’s construction. Keep the interior free of loose thread ends and sharp closure hardware. In everyday use, avoid overfilling the pouch, which can put repeated strain on the side seams. Brush away surface dust with a soft cloth and let a damp pouch dry gradually before storing it. The gusset is a small addition to the pattern, but careful alignment and stitching are what make its added depth practical.


