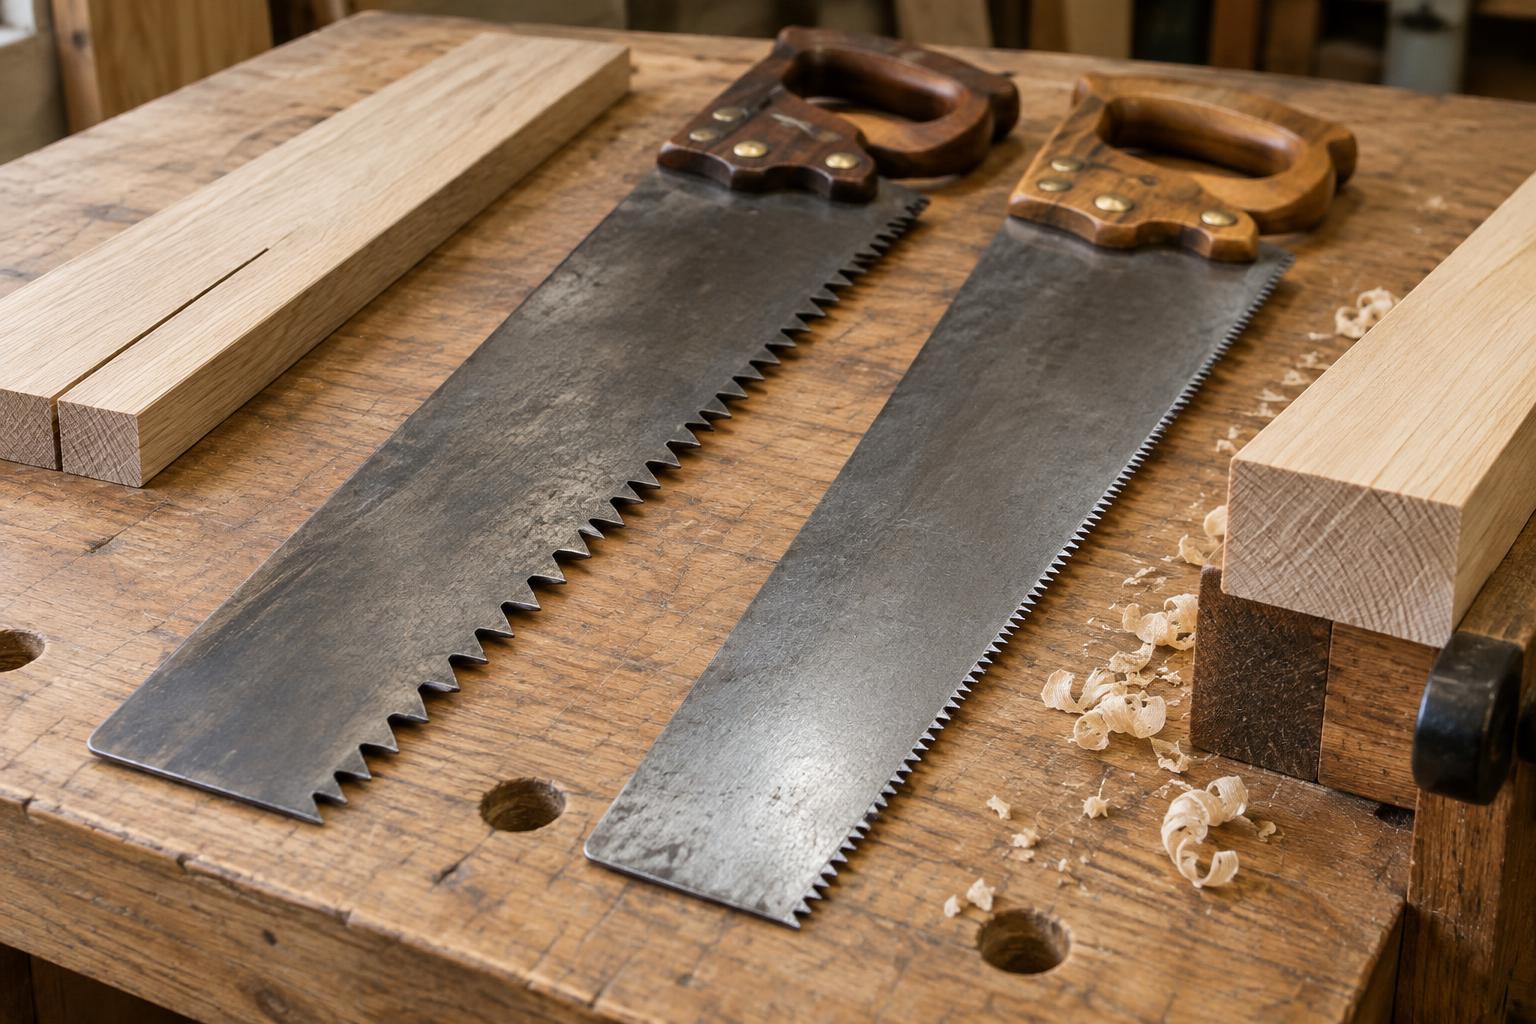
Start with the direction of the grain
The first question when choosing a hand saw is not how long the blade is, but which way the cut will travel through the wood. A rip cut runs roughly along the grain, separating bundles of wood fibres as it goes. A crosscut runs across the grain, severing those fibres. Cutting a board to length is usually a crosscut; cutting it into narrower strips is usually a rip cut.
Wood does not always present a perfectly straight grain, and a project may call for angled or curved cuts. Even so, the rip-versus-crosscut distinction is a useful starting point. The tooth shapes are designed for different jobs, and understanding them makes saw descriptions easier to read. It also helps explain why one saw may feel quick and controlled in one direction but slow or rough in another.
What rip teeth do
A rip tooth acts much like a tiny chisel. Its cutting edge removes material as the saw travels along the grain. Viewed from the side, rip teeth often have a more upright working face than crosscut teeth. On a traditionally filed rip saw, the cutting edges run largely across the width of the blade rather than being angled to score the fibres from either side.
This pattern is useful when dividing a board along its length. A coarse rip saw can remove material quickly, while a finer-toothed rip saw can offer more control for small work, such as cutting joinery. Tooth size matters alongside tooth shape: larger, more widely spaced teeth generally clear waste readily but leave a rougher surface than finer teeth. Neither is automatically better; the right choice depends on the size of the work and how much cleanup the cut will need.
A rip saw can cut across grain, but it may leave more torn fibres at the edges than a suitable crosscut saw. If you work mostly with narrow pieces and only occasionally rip timber, that trade-off may be acceptable. If long rip cuts are a regular part of your work, a saw intended for them can make the task less laborious.
What crosscut teeth do
Crosscut teeth are shaped to slice wood fibres at the sides of the cut before removing the material between them. On many traditionally filed crosscut saws, alternating teeth have angled cutting edges, often called fleam. Look closely and the points may resemble a row of small knives rather than chisels with square edges.
That slicing action helps produce a tidier edge when cutting across a board. It is useful for trimming pieces to length, cutting a shoulder across the grain or sawing a dowel to size. A finer tooth pattern often gives greater control on delicate work, although it can be slower in thick stock. Supporting the fibres where the blade exits the wood also matters: even a well-chosen saw can splinter an unsupported edge.
Crosscut teeth will usually make a rip cut if needed. The cut may simply take longer than it would with an appropriate rip saw. For occasional household or craft tasks, the convenience of one versatile saw may matter more than maximum efficiency in either direction.
Read the whole saw, not just the label
Tooth pattern is only part of the choice. Check the tooth count, often given as teeth or points per inch, and consider the scale of the work. A fine saw suited to a small box part may struggle to clear waste in a thick board; a coarse saw may be difficult to guide neatly through a thin strip. Blade length affects the available stroke, while a stiff-backed saw can be helpful for short, precise cuts but cannot cut deeper than its back allows.
Teeth are usually set slightly to alternate sides, creating a cut wider than the blade so it can pass through without binding. Excessive set may produce a wider, rougher cut; too little can cause trouble in wood that grips the blade. Sharpness, a straight blade and a comfortable handle are also worth checking. A dull, poorly maintained saw may perform badly regardless of its tooth pattern.
Not every saw fits neatly into the traditional rip-or-crosscut labels. Some are filed for general use, and many saws designed to cut on the pull stroke have different blade geometry. When comparing saws, look at the maker’s description, the actual teeth and the intended work rather than assuming all saws with similar silhouettes will behave alike.
Make the saw easier to guide
Secure the work so it cannot shift, and keep your supporting hand clear of the blade’s path. Mark the waste side of the line and begin with light, short strokes to establish a groove. Once the saw tracks steadily, lengthen the stroke and use moderate pressure. Forcing the blade can make it wander or bind. A piece of scrap behind an exit edge can help support fibres during a crosscut.
If you expect to do both kinds of cutting regularly, separate rip and crosscut saws are a practical choice. If you are buying only one, start with the cuts you make most often and the size of your material. The best saw is one whose tooth pattern suits the task, whose scale suits the work and whose handle lets you guide it comfortably.


