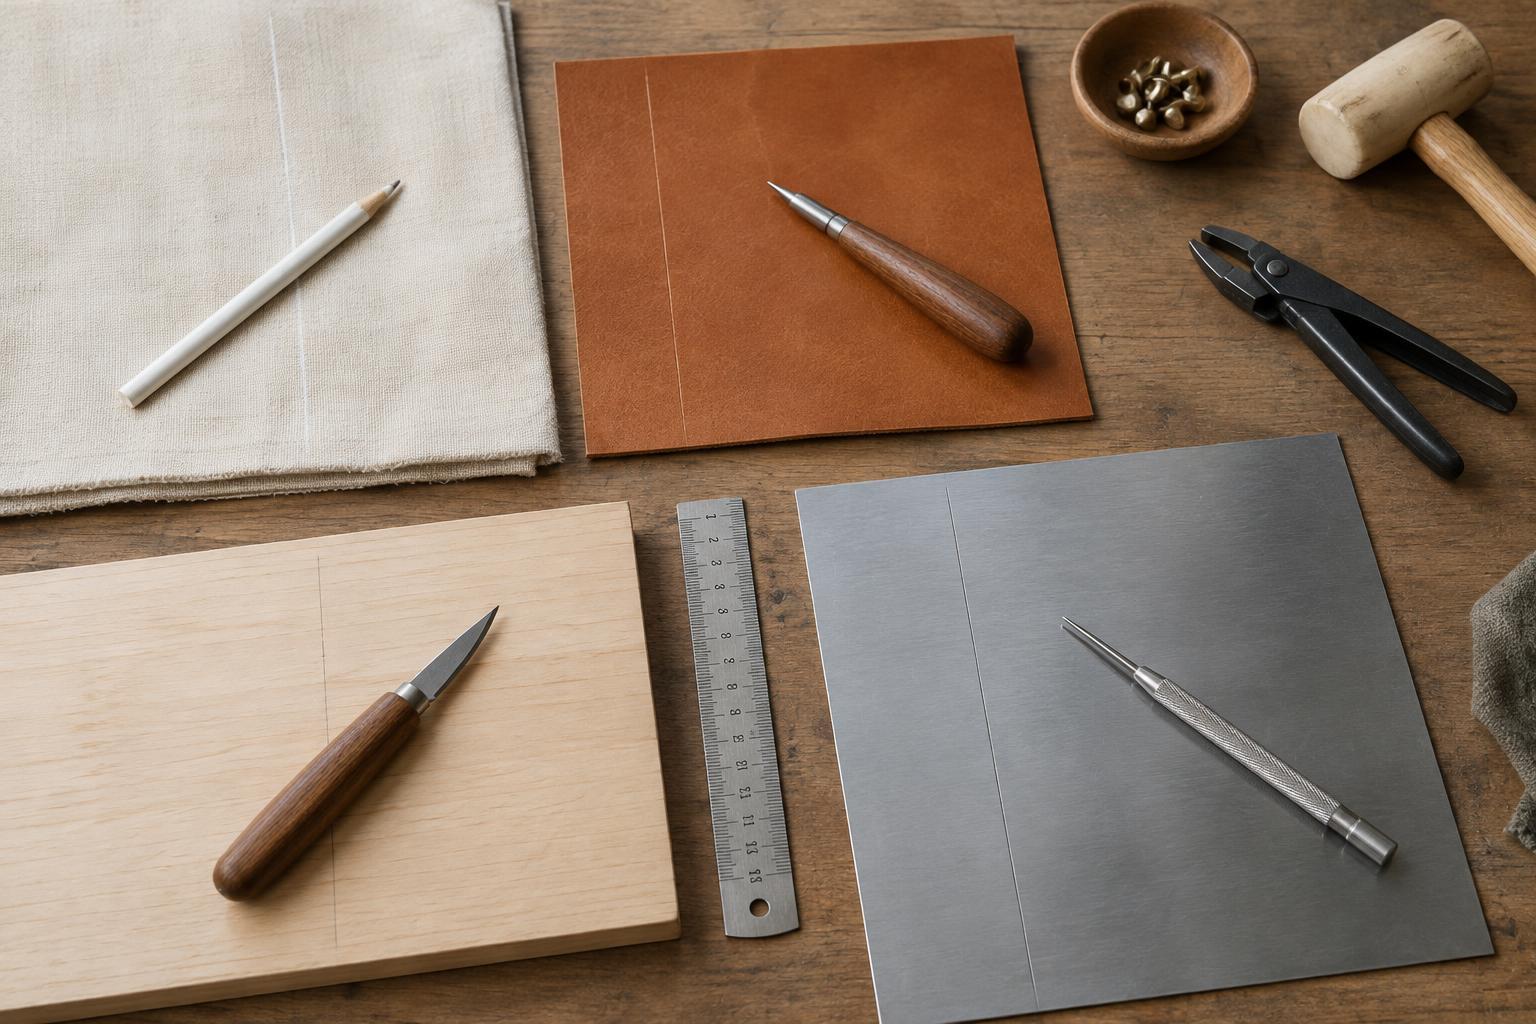
Start with the mark the job needs
A marking tool does more than show where to cut or stitch. Its line has a width, a degree of permanence and a relationship to the material beneath it. A broad line may be enough to place a pocket, while a join that must fit closely may call for a finer reference. Before choosing a tool, ask whether the mark must survive handling, whether it will be hidden by construction and whether it needs to disappear from the finished surface.
Test on an offcut from the actual project whenever possible. Try the mark with the same pressure you intend to use, then check it in good light and remove it using the method you plan for the finished piece. Coatings, dyes, surface texture and fibres can all change how a mark behaves. If you have no offcut, put a small test in an area that will be concealed.
Fabric: visible lines that leave cleanly
Tailor’s chalk and chalk pencils are useful for temporary marks on many fabrics. A fine edge gives a more precise line than a worn, rounded one. On dark cloth, a light-coloured mark may be easiest to read; on pale cloth, choose a colour that contrasts without risking a stubborn stain. Brush away a test mark rather than assuming it will wash out.
Washable fabric markers can make narrow, clear lines, but their removal depends on the fabric and the product. Some marks should be rinsed before heat is applied; heat-disappearing marks may also behave differently under changing temperatures. Follow the tool’s directions and test first, especially on delicate or valuable fabric. For a mark that must remain through repeated handling, a loose thread tack can be more dependable than a surface line. Keep cutting and stitching marks within seam allowances where practical.
Leather: treat an indentation as permanent
Leather often holds pressure marks even when no pigment is applied. A blunt stylus can indent a fold or stitching line, while a scratch awl makes a sharper reference for cutting. Either can remain visible on the grain side, so place layout marks on the flesh side or in an area that will be cut away when the design allows. Use light pressure first: it is easier to deepen a guide than to erase one.
A silver marking pen or pencil can be useful on some dark leathers, provided its mark can be removed without harming the surface. Leather finishes vary, and rubbing may change the sheen even if the pigment comes away. Test both marking and removal on a matching scrap. If an edge or hole pattern needs to be repeated, a template and a few carefully placed reference points may be clearer than drawing every line.
Wood: choose between a guide and a cut line
A sharp pencil is a flexible choice for rough layout, labels and marks that may need revising. Its line has width, though, so decide whether you will cut to the line, leave it or remove it. A marking knife creates a finer reference and severs surface fibres, which can help guide a saw or chisel. Because that cut can remain visible, keep it on waste faces or stop it short of exposed edges.
For parallel lines measured from an edge, a marking gauge can be quicker and more consistent than repeated ruler measurements. Check that its fence sits firmly against a straight reference edge, and make a light first pass to reduce wandering. On figured, soft or finished wood, test how readily a knife or gauge leaves an unwanted groove. Pencil marks should also be removed before finishing if the intended finish might make them harder to erase.
Metal: precision comes with a lasting scratch
A fine-tip permanent marker is convenient for broad layout on bare metal, but its line may be too wide for close-fitting work. A scribe makes a narrow, durable line by scratching the surface. That precision is useful on stock that will be cut, filed or otherwise worked, but it is a poor choice on a face meant to stay pristine. When using a scribe, draw against a secure straightedge with enough pressure to see the line, rather than repeatedly digging deeper.
Layout dye can improve contrast for scribed lines on some metal surfaces. Follow the product’s instructions for application, ventilation and removal, and try it on scrap before using it near a finished surface. A centre punch marks a location for drilling, but its dimple is intentionally permanent; confirm measurements before striking it. Across all four materials, the best marking tool is not simply the most precise one. It is the one that leaves a readable guide without creating an unwanted part of the finished object.


