Start with the glasses, not the pattern
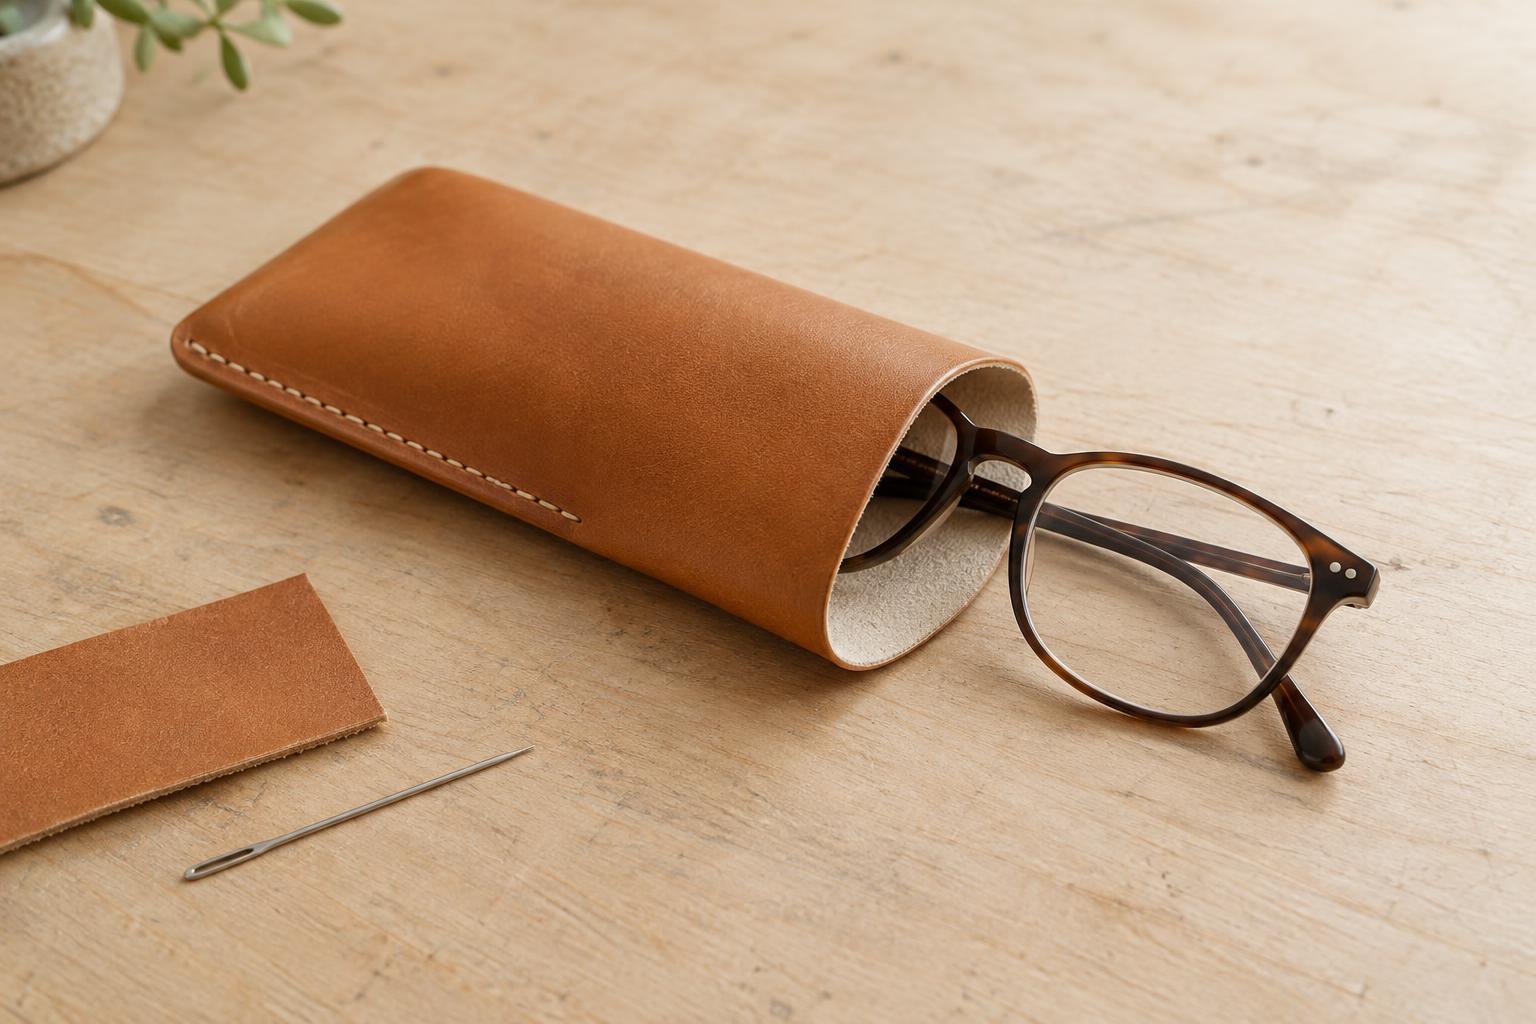
A glasses sleeve is a soft container, not a universal shape. Frames vary in width, lens height and thickness when folded, so begin with the pair the sleeve will hold. Measure its widest and tallest points, then look at where the folded temples add bulk. A paper mock-up is useful: wrap it loosely around the glasses, mark the intended opening and check whether the frames slide in without being pressed flat. Leave room for the leather and seams, not just the glasses themselves.
Decide how the glasses should enter the sleeve before cutting leather. A top opening is simple to reach, but the frames need enough depth to remain covered during ordinary handling. A side opening may suit a long, narrow shape, though it changes which edge bears the most stress as the glasses are inserted. Test the paper version in the way you expect to use it. If you must pull hard or bend a temple to remove the glasses, revise the shape or allow more space.
Choose materials for the surfaces that touch
Leather that bends readily can make a comfortable sleeve, while a firmer piece may help the opening keep its shape. Neither quality alone makes a better case: very soft leather can collapse around the glasses, and stiff leather can create an awkward fit if the pattern is too tight. Handle a sample as it will be used. Fold it gently, look for pronounced creases at the intended bend and consider whether its thickness will make the seams bulky.
Pay particular attention to the inside. A smooth leather surface can be suitable, but the feel of the visible outside does not tell you what the interior will be like. Check the flesh side for loose fibres or rough spots, and consider a soft lining if the chosen leather has an uneven interior. A lining adds thickness, so include it in the mock-up rather than treating it as a finishing detail. Whatever the material, clean grit from the sleeve before inserting glasses; trapped particles can rub against lenses or frames.
Place seams where they will interfere least
For a simple folded sleeve, one piece can form the front and back, with stitching along the sides. This leaves the fold free of a seam and makes the basic construction easy to inspect. Allow enough distance between the stitching and the cut edge for the seam to hold without making the usable interior too narrow. Before making holes, mark the stitch line on a test piece and fold it into its final shape. Check that the corners do not pinch the frames.
Inside seams deserve as much attention as exterior stitching. Raised knots, rough thread ends and sharp hardware can contact the contents, especially when the sleeve flexes in a bag. Keep any fastening away from the lens area and test it with the glasses in place; a closure that looks neat when empty may press on a frame when full. An open sleeve avoids fastening hardware altogether, though its opening should still be shaped so the glasses do not slip out too easily.
Check the finished fit and understand its limits
Insert and remove the glasses several times before judging the sleeve finished. Watch what happens at the opening: does the edge catch a temple, roll inward or require you to push on a lens? Look for stitches that strain when the frames pass and for corners that bunch around the folded temples. Small changes to the opening shape or interior space can improve daily use more than decorative additions. If the sleeve is for a gift, allow for the possibility that a different frame shape will need a different pattern.
A soft leather sleeve can help separate glasses from other objects and reduce ordinary scuffing, but it is not a substitute for a rigid case when crush protection matters. Avoid storing it where heavy items will press against the frames. To care for the sleeve, empty it occasionally, remove loose debris gently and let damp leather dry away from direct heat before reuse. Check the opening, seams and interior over time: wear in these areas tells you more about how the sleeve is performing than the appearance of its outside alone.