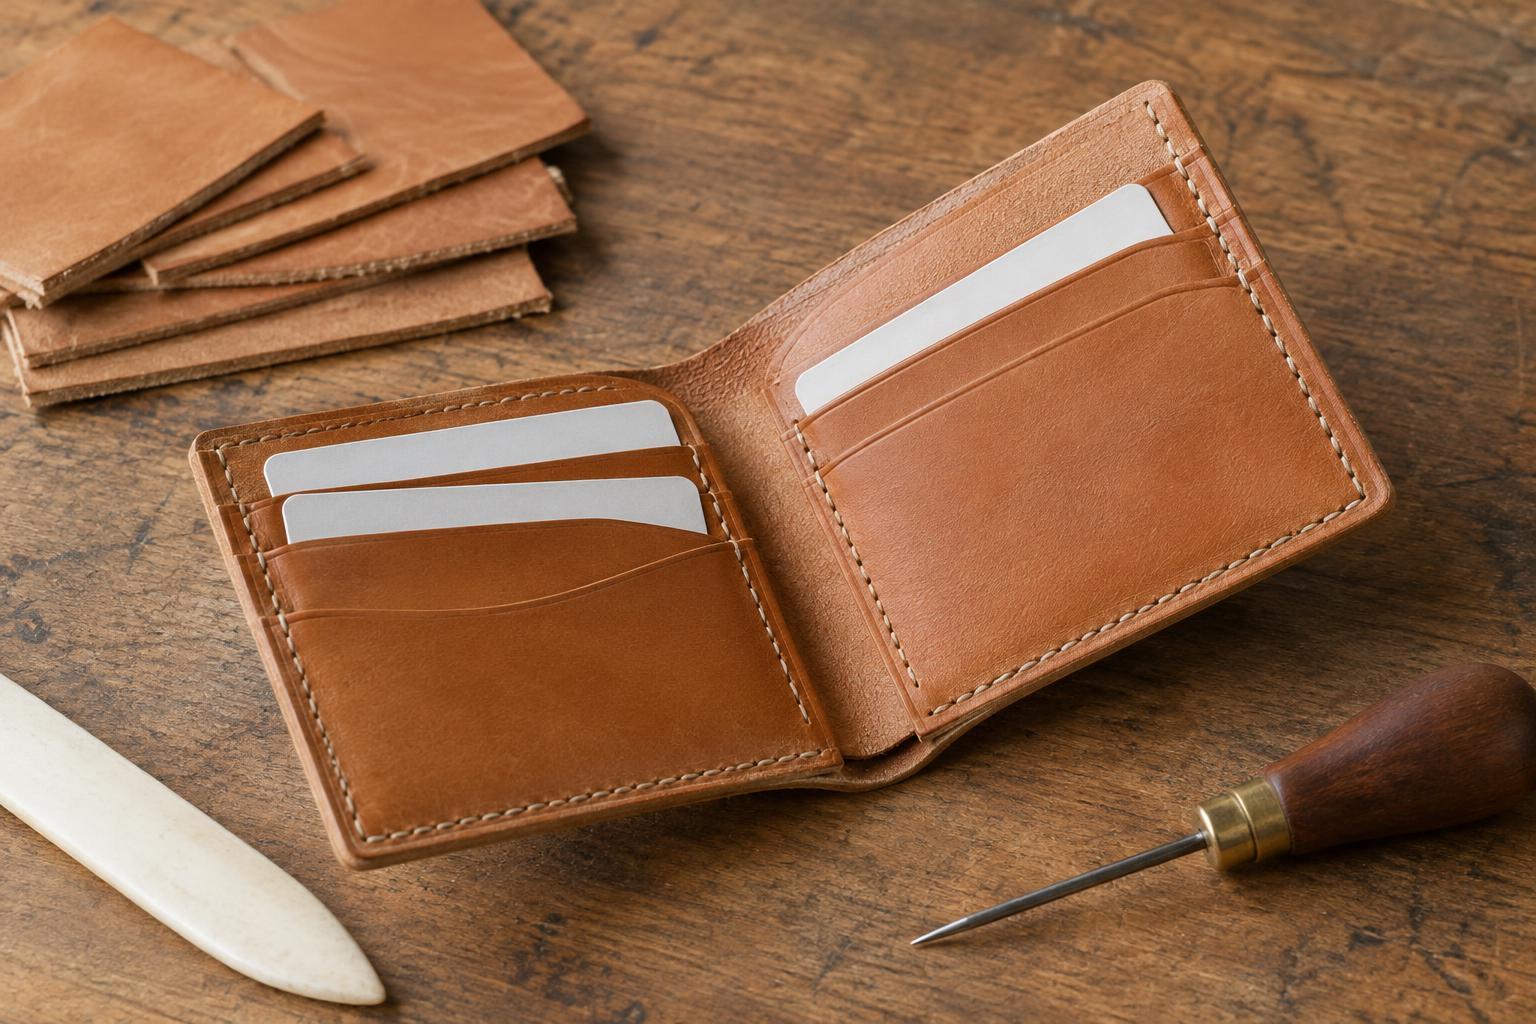
Why a flat pattern can be misleading
A paper pattern shows length and width, but leather also has depth. When a piece folds, its outer surface travels around a longer curve than its inner surface. At the same time, the leather on the inside of the fold presses into the space you may have intended for a card or another layer. A pattern that closes neatly in paper can therefore resist closing when cut from leather.
Thickness matters most where several pieces meet: at a wallet spine, beneath a card-slot opening, or along a stitched edge. It also varies within a hide and between materials. Measure the leather you plan to use, including any lining, rather than relying only on a nominal thickness. Then think about the finished stack, not just each piece in isolation.
Give a fold room to turn
For a simple folded wallet body, mark the intended fold and bend a strip of the actual leather around a stack that resembles the finished contents. Notice where the fold naturally curves. A thick or firm leather may form a broad bend rather than a sharp crease; forcing it into a narrow hinge can make the wallet spring open and place strain near the fold.
If a pattern has an inner panel, pocket lining or stitched seam close to the spine, check it while the sample is folded. The inner layer may bunch because it has less distance to travel than the outer layer. You can sometimes address this by shortening or repositioning the inner piece, leaving an unstitched hinge area, or reducing thickness locally where the construction allows. Make changes on a test piece first: removing too much material can weaken a fold.
The allowance a fold needs is not a universal number. It depends on thickness, firmness, grain direction, the number of layers and how full the object will be in use. A small leather mock-up reveals more than adding a fixed amount to every pattern.
Build card slots around the usable opening
A card slot needs more than a face panel wide enough to cover a card. Its usable space is bounded by stitch lines or other attachments, and those boundaries move inward when thick layers are folded into the seam. Draw both the cut edge and the intended stitch line on your pattern. Place a card between the stitch lines to see how much free width remains before allowing for the thickness of the pocket and its contents.
The slot mouth deserves a separate check. A turned or folded top edge can be much thicker than a raw or carefully finished edge. On a stack of overlapping slots, each extra layer can push the front panel outward and make the lowest opening feel tight. If a construction calls for thinning a hidden edge, do it gradually and preserve enough substance for the leather to hold together.
Avoid sizing a pocket solely for an empty wallet. Insert the number of cards the design is meant to carry into a sample, then check whether each card can be removed without pulling hard on the slot. Leather may settle with use, but that is not a dependable substitute for adequate clearance at the start. Equally, a slot that is loose when new may not hold a single card securely.
Account for bulk at seams and corners
Stitching compresses layers but does not make their thickness disappear. Before cutting final pieces, lay the proposed stack in order and count the layers at each seam. Pay particular attention to corners where slot panels, linings and the outer body overlap. A seam that is easy to stitch along most of its length may become awkward where all those layers meet.
You can reduce bulk by staggering panel ends so they do not all stop at one line, adjusting the slot layout, or selectively thinning hidden allowances when the leather and construction permit it. Keep enough material around stitch holes and high-wear edges. Changes that make an assembly flatter should not leave a fragile edge or expose a thin patch on the finished face.
Test the pattern before committing to final leather
Start with a paper model to check the arrangement of panels, then make a small leather sample for the parts where thickness matters. Use offcuts of the intended leather if possible. Mark fold lines, slot openings and stitch lines; assemble the sample in the same layer order as the finished object. A few temporary stitches can show how the seam changes the available space.
Close the sample with cards inside, remove and replace them, and inspect the fold and crowded seams. Note whether you need more room at the spine, a wider usable slot, or fewer layers at a corner. Change one feature at a time and record it on the pattern. This turns thickness from an unexpected problem during assembly into a design choice you can check before the final cut.


