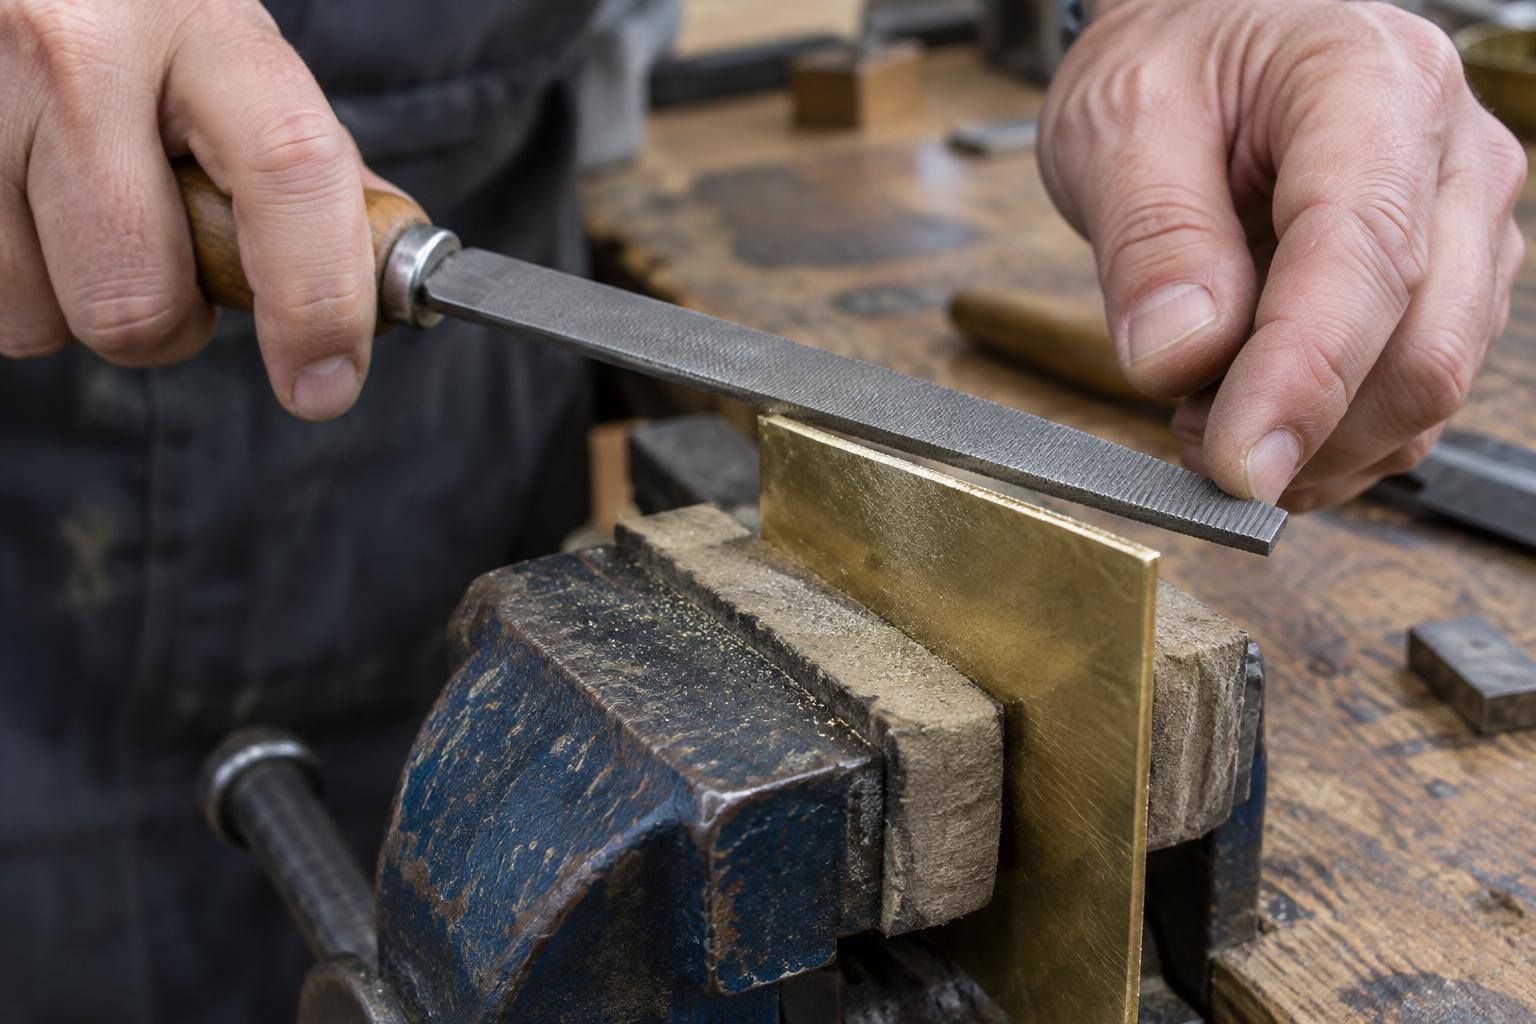
Start with the edge you want to make
A file can straighten a saw-cut edge, refine a corner or soften a sharp rim. Before choosing a tool, decide which of those jobs you are doing. If the edge needs to remain square, the goal is to remove high spots without tipping the file over either face. If it needs to be comfortable to touch, a small, consistent bevel may be more useful than an accidentally rounded edge.
Mark a reference line if the final dimension matters, and inspect both faces of the workpiece. A cut edge may look straight from above while carrying a thin burr underneath. Secure the piece in a vise with suitable jaw protection, leaving only enough material exposed to reach the edge. Firm support reduces chatter and makes it easier to control how much metal you remove.
Match the file to the metal and the amount of work
A flat file is a useful starting point for straight outside edges. A small needle file offers better access to short edges and tight details, though it is less efficient for removing a large amount of material. Choose a file wide enough to bridge minor unevenness where possible: a very narrow tool can follow dips instead of levelling them.
File teeth vary in pattern and coarseness. A coarser file removes material faster but leaves deeper marks; a finer file gives more control as the edge approaches its finished shape. Double-cut teeth are commonly used for quicker stock removal, while single-cut teeth can leave a more orderly finish. The metal matters too. Soft metals may clog the teeth, so stop and clean the file rather than pressing harder. Keep a file card or suitable brush nearby, and use a file with a secure handle that covers its tang.
Use the cutting stroke deliberately
Most conventional hand files cut on the forward stroke. Place one hand on the handle and guide the far end with the other, keeping your fingers clear of the edge. Push with steady, moderate pressure while keeping the file level across the work. Ease off and lift slightly on the return stroke rather than dragging the teeth back under pressure. Check the tool if its cutting direction is unclear; not every file is made alike.
For a long, straight edge, use strokes that travel across a substantial part of the file rather than working one small spot repeatedly. Look along the edge between passes to see where metal remains high. If you need to remove more material, make several controlled passes and reassess. Heavy pressure can make a thin piece flex or cause the file to rock, producing an uneven edge. Work within a comfortable reach so that your body position does not pull the stroke off line.
Find and remove the burr
Filing often pushes a slender lip of metal onto the face opposite the one being worked. A glint along the rim, or a snag when a cloth is drawn carefully past it, may reveal the burr. Do not run a bare finger along an untested edge. Brush loose filings away from the work and bench rather than wiping them off with your hand; wear eye protection while filing.
To remove the burr without changing the outline, make a few light passes along the affected corner with a fine file. Hold a consistent shallow angle if you want a narrow bevel. A deburring tool or abrasive paper wrapped around a small firm block can also work, provided it suits the shape and material. Avoid sweeping broadly across adjacent faces, especially on a finished or plated object: filing and abrasion remove surface material as well as the burr.
Check the result before calling it finished
Clean the edge, then inspect it from the top, side and underside in good light. Look for remaining saw marks, local dips and a bevel that changes width along the piece. If a corner still catches, address that area with a light pass rather than filing the entire edge again. For parts that will fit against another component, test the fit before taking off more metal; material removed by a file cannot be put back.
Finally, clean the file teeth and store the tool where they will not rub against other files. An unclogged, undamaged file cuts more predictably the next time you use it. The aim is not to make every edge identical, but to make each one intentional: straight where it should be straight, eased where it will be handled and free of loose burrs.


