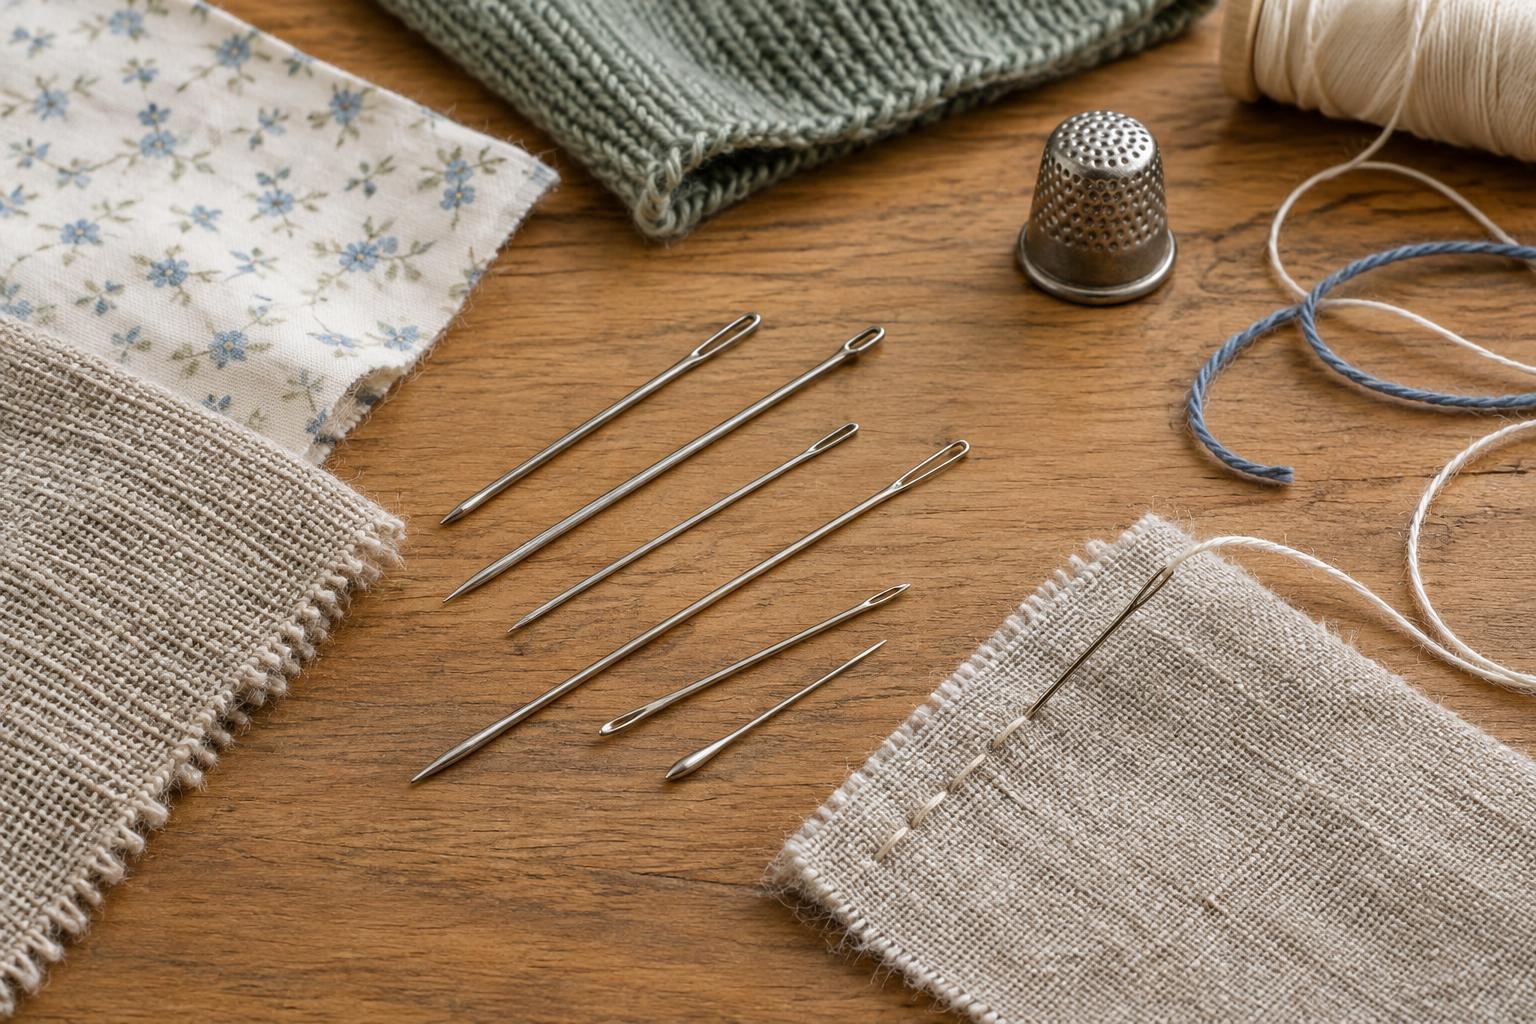
Start with the fabric, not the needle number
A hand-sewing needle has two jobs: make a suitable path through the material and carry the thread through that path. A needle that is too thick can leave visible holes or push threads out of place. One that is too fine may bend, resist the fabric or have an eye that abrades the sewing thread. The best choice is usually the smallest needle that passes comfortably through the material while accommodating the thread.
Feel the fabric and look at its structure before choosing. A closely woven cotton needs a point that can slip between or past its yarns with little force. A loose weave offers more space but may snag if the point catches a yarn. A knit is made of interlocking loops that a sharp point can sometimes split. Thick canvas, several folded layers or a dense seam calls for a sturdier needle than a single layer of lightweight cloth.
Needle numbers are useful only alongside the needle type. In many hand-sewing ranges, a higher number indicates a finer needle, but numbering is not a universal measure across styles or makers. Use the packet as a starting point, then judge the needle by its point, eye and performance on a scrap.
Match the point to the material
Sharps are general-purpose hand-sewing needles with a pointed tip and a relatively small eye. They suit many woven fabrics, especially when making seams, hems and small repairs with ordinary sewing thread. Betweens, also called quilting needles, are shorter; their length can make closely spaced stitches easier to control. If a needle catches or requires a hard push, try a different thickness rather than forcing it.
For knitted fabrics, a rounded or ballpoint hand needle may be gentler on the loops than a conventional sharp. It aims to move between yarns rather than pierce them, although results depend on the knit and the needle. Tapestry needles have blunt tips and large eyes. They are intended for work through openings in an open weave or canvas, not for pushing through tightly woven cloth.
Leather needles have cutting points designed to pierce leather. They should not be a default choice for woven or knitted textiles: a cutting point can damage yarns and leave a hole that will not close neatly. For any unfamiliar material, test the point in an inconspicuous area and check both sides for pulled yarns or enlarged holes.
Give the thread enough room in the eye
Thread weight affects needle choice as much as fabric weight does. Fine sewing thread generally works well in a modest eye. Thicker embroidery floss, wool or heavier repair thread needs more space. If threading is difficult, the thread looks flattened after a few stitches, or its surface starts to fray, move to a needle with a larger eye. Avoid jumping straight to a much thicker needle if that would mark the fabric.
Embroidery needles, often sold as crewel needles, have sharp points and longer eyes than general-purpose sharps. They can carry multiple strands of floss through woven fabric. Chenille needles also have large eyes and sharp points, with a sturdier form useful for some heavier threads and fabrics. Tapestry needles offer a large eye when the work already has openings for the needle to pass through.
A larger eye is helpful only if it travels through the fabric without excessive resistance. Pull a short threaded length through a test area several times. If the eye drags, the fabric puckers or the thread wears, reconsider the pairing. Sometimes a thinner thread, fewer floss strands or a fabric with a more open structure is the better solution.
Consider length, grip and the number of layers
Needle length changes how stitching feels. A longer needle can pick up several small folds before being pulled through, which some sewists find useful for gathering or running stitches. A shorter needle offers control when placing compact stitches, as in quilting. Neither is automatically more precise: choose one you can hold steadily without bending it or taking uncomfortable bites of fabric.
Layers matter more than the name of a fabric alone. A needle that slips through one layer may struggle at a hem, lining junction or seam allowance. Test where the material is thickest, using the thread and stitch you plan to use. If you must push hard, do not rely on force to solve the problem. A stronger needle, a shorter stitch through fewer layers at once, or a different construction approach may work better.
Make a small test before sewing
Keep a scrap of the project fabric, including any interfacing or layers that will be sewn together. Thread a candidate needle and make several of the stitches you intend to use. Look for smooth passage, even tension and holes that settle appropriately around the thread. Check the back as well as the front for snags, distorted loops or puckering.
If the test fails, change one thing at a time. Try a finer needle for visible holes, a larger eye for fraying thread, or a different point for snagging. Replace needles that are bent, burred or difficult to pull through material they once handled easily. A small collection of sound needles in different styles is more useful than trying to make one needle serve every fabric and thread.


