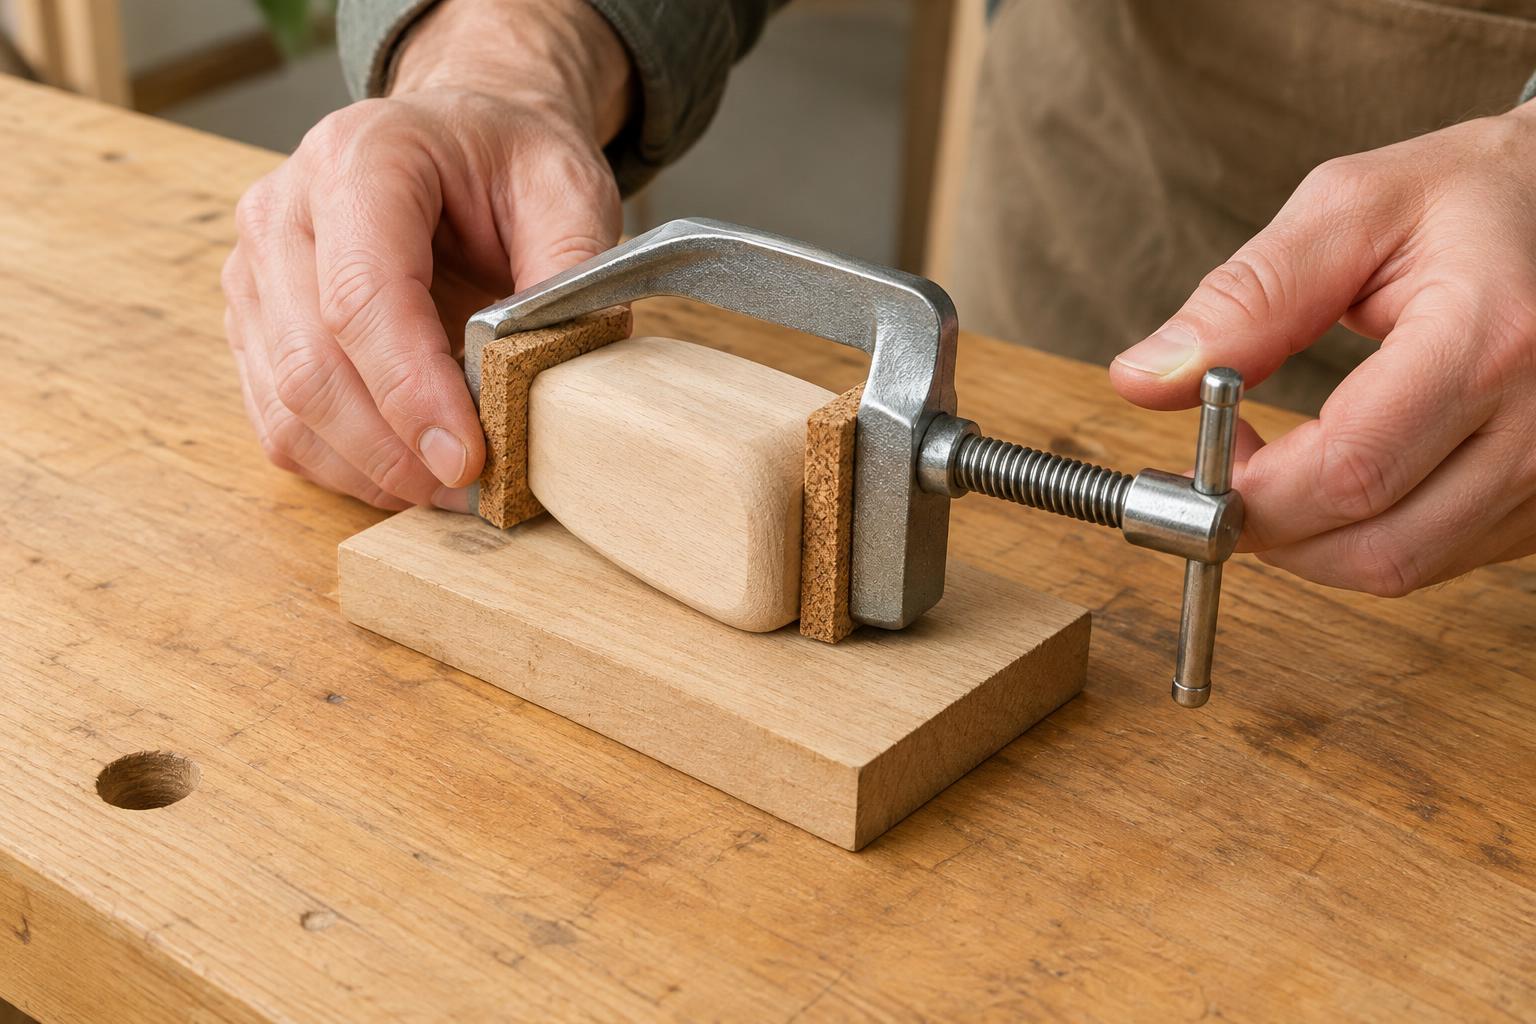
Start with support, not pressure
A clamp works best when it holds a workpiece against a firm, well-supported surface. If a small part rocks on the bench or bridges a gap, tightening harder may bend it or leave a mark without making it much steadier. Before reaching for a clamp, clear away chips and grit, check that the part sits flat, and decide which face can safely take the load.
For a thin or irregular piece, add a flat backing board or a shaped support beneath it. The support should contact enough of the piece to prevent rocking while leaving the area you need to work accessible. A scrap board can also protect the bench when a cut or drilled hole goes through the work. Keep the backing and the workpiece from shifting independently; otherwise, the setup may feel solid at the clamp but move at the tool.
Choose a holding method that suits the task
A small screw clamp gives precise pressure, but its narrow pads can concentrate force. A hand-screw clamp or a vise with broad, padded jaws spreads pressure over a larger area. For a short part that is difficult to grip directly, clamp a longer sacrificial board beside or over it so the clamp bears mainly on the board. The arrangement must still stop the workpiece from sliding in the direction of the cut.
Think about where the tool will travel before placing any clamp. A clamp that blocks a saw stroke or puts its handle near a cutting edge is not a useful solution. For drilling, secure the work to a backing board and keep both from spinning or sliding; never rely on your fingers to restrain a small part. When using powered equipment, follow its instructions for workholding and keep loose clamps and handles clear of moving parts.
Use clean pads to protect the surface
A protective pad sits between the clamp and the workpiece, spreading contact and keeping hard metal edges away from the surface. Clean cork, leather, wood or firm rubber can serve this purpose, depending on the material being held. Softer is not always better: a very compressible pad may let the part creep when you push against it. Choose a pad that cushions contact while remaining stable under the expected force.
Inspect pads before each use. Trapped grit can scratch a polished surface even when the pad itself feels soft. A pad with dried glue, a raised seam or a sharp corner may print its shape into soft wood or leather. On delicate finishes, test the contact on an inconspicuous area or a comparable scrap piece first. Avoid adhesives or tape on an unfamiliar finish unless you know they can be removed without damage.
Tighten gradually and test the setup
Place the clamp so its force pushes the part into its support rather than tipping it away. Bring the jaws into contact, then tighten in small increments. Stop when the piece no longer shifts under a gentle push in the direction the tool will apply force. Extra pressure is rarely a substitute for better support, especially with thin wood, soft metal or finished surfaces.
Before cutting, filing or drilling, make a dry run with the tool unpowered or away from the work. Check that you can reach the working area without bringing your hand into the tool’s path, and that the clamp cannot snag the tool. If the piece moves, reset the support or change the holding method. Do not try to steady it with a fingertip while continuing the operation.
Check the result before repeating the job
After releasing the clamp, look at the contact points in angled light. A faint pressure mark, a shiny patch or a shallow dent can reveal that the load was concentrated even if the part stayed secure. Check the backing and pads too: a chip embedded in one of them can mark the next piece.
If a mark appears, change one part of the setup before trying again on a similar workpiece. Broaden the contact area, use a firmer or cleaner pad, add support beneath the part, or reposition the clamp so it resists the tool’s force more directly. The aim is not to clamp as lightly as possible; it is to make the work stable with the least pressure necessary.


