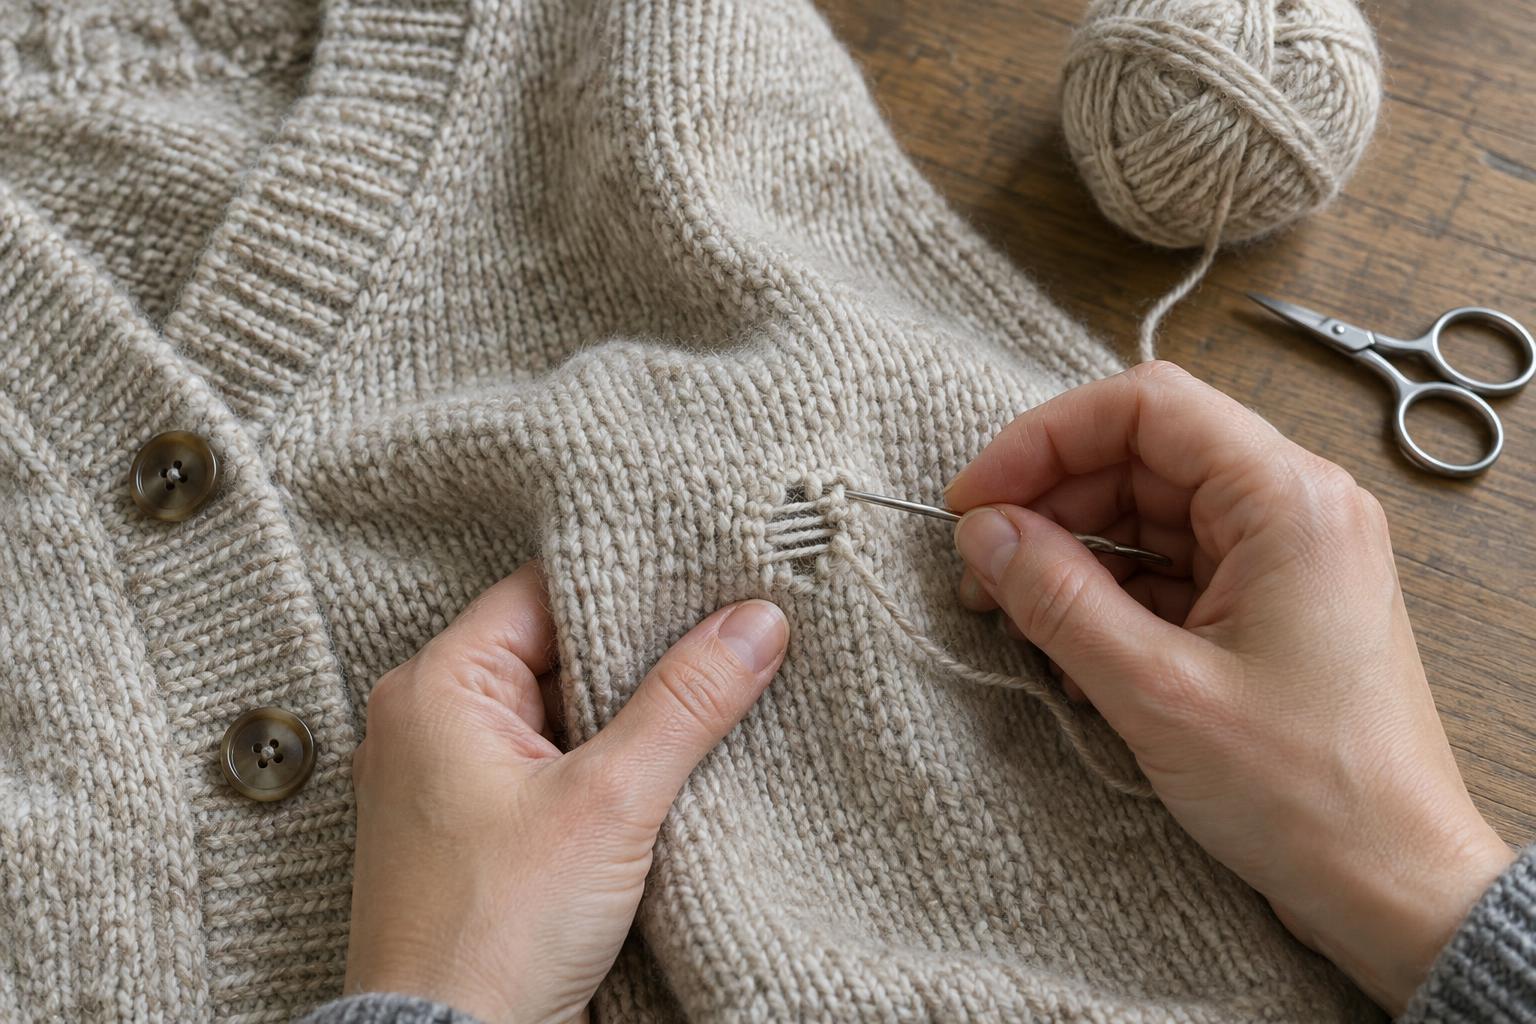
Decide whether a simple darn will work
Darning replaces missing or weakened fabric with interlaced yarn. A simple woven darn is a useful first repair for a small hole in a jumper, cardigan or knitted accessory, especially when the surrounding stitches are still sound. It will usually be visible on close inspection. The aim is a secure, flexible patch that lets the garment be worn again, not a perfect imitation of the original knitting.
Look at the hole before you begin. If stitches are unravelling, catch the loose loops during the repair rather than trimming them away. Check the fabric around the opening, too: a darn anchored only in thin, worn yarn may soon pull free. If the damaged area is large, sits on a seam, or lies in an open lace pattern, a different repair may give a better result.
Gather materials and prepare the fabric
You will need a blunt-tipped yarn or tapestry needle, small scissors and a length of repair yarn. Choose yarn close to the garment’s thickness and fibre feel if you can. A strand that is much thicker can make the patch stiff; one that is much thinner may need doubling. Matching colour helps a repair blend in, but a contrasting colour can make an intentional feature of it. Try the yarn on an inconspicuous area if you are unsure how it looks against the fabric.
Make sure the garment is clean and dry, following its care label. Lay it flat in good light and gently smooth the damaged area into its usual shape. You can place a darning mushroom, a rounded object or even your hand beneath the hole to support the work. Do not stretch the knit tightly over the support: working on stretched fabric can leave a puckered repair when the garment relaxes.
Build the foundation across the hole
Thread the needle with a manageable length of yarn. Begin in sound fabric a short distance from the hole. Instead of tying a bulky knot, leave a short tail on the inside to weave in later. Work a line of stitches across the opening, taking the needle through intact knitted fabric on each side. Make the next line beside it, travelling back in the opposite direction. Continue until the lines cover the hole and extend slightly beyond its edges.
Keep the strands close enough to support the gap without packing them tightly. As you pass the needle through the fabric beside the hole, catch any loose loops you find so they cannot run farther. Pause occasionally and lift the fabric off its support to check that it still lies flat. If an edge draws inward, ease out the most recent stitch before adding more.
Weave across the foundation
Turn the garment so you can work across the strands you have just laid down. With the same yarn, pass the needle over one strand and under the next, weaving across the hole. Secure the yarn in sound fabric at the end of the row, then weave back, reversing the over-and-under sequence. Repeat until the gap is filled. This creates a small woven patch held by the surrounding knit.
Aim for an even surface rather than a dense one. Knit fabric stretches, while a woven darn has less give, so an overly tight patch can feel rigid or pull at its edges. For a very small hole, you may need only a few passes in each direction. If the yarn splits or catches as you weave, use the needle tip to ease it free rather than tugging.
Finish and check the repair
Bring the needle to the inside of the garment and weave the working end through several stitches around the repair, changing direction once to help secure it. Weave in the starting tail as well, then trim both ends without cutting into the garment. Remove the support and lay the fabric flat. Check that no loops remain loose and that the darn does not pull the knit into a ridge.
Try the garment on or gently move the repaired area as it would move in use. If the patch strains, the stitching may be too tight; if a gap remains, add a few careful passes. Launder the garment according to its care label and reshape it as directed. Inspecting small snags and thin spots from time to time makes them easier to repair before more fabric is lost.


