Start with the leather and the seam
Unlike many woven fabrics, leather may retain a hole or pressure mark after a fastener is removed. Before choosing a way to hold it, identify which surfaces will be visible on the finished object. Mark the seam allowance, any edge that will be trimmed and any area that will be covered by hardware. These less-visible spaces give you room to secure the layers without touching the finished face.
Consider the leather’s surface, thickness and flexibility. A soft leather may show the outline of a clip; a firm one may resist folding but hold an indentation from a hard clamp. Try your proposed method on offcuts from the same material, with the same number of layers. Leave the test in place as long as you expect to work, then remove it and inspect the leather under angled light. A method that looks harmless after a few seconds may still mark it during a longer stitching session.
Use clips where they can grip safely
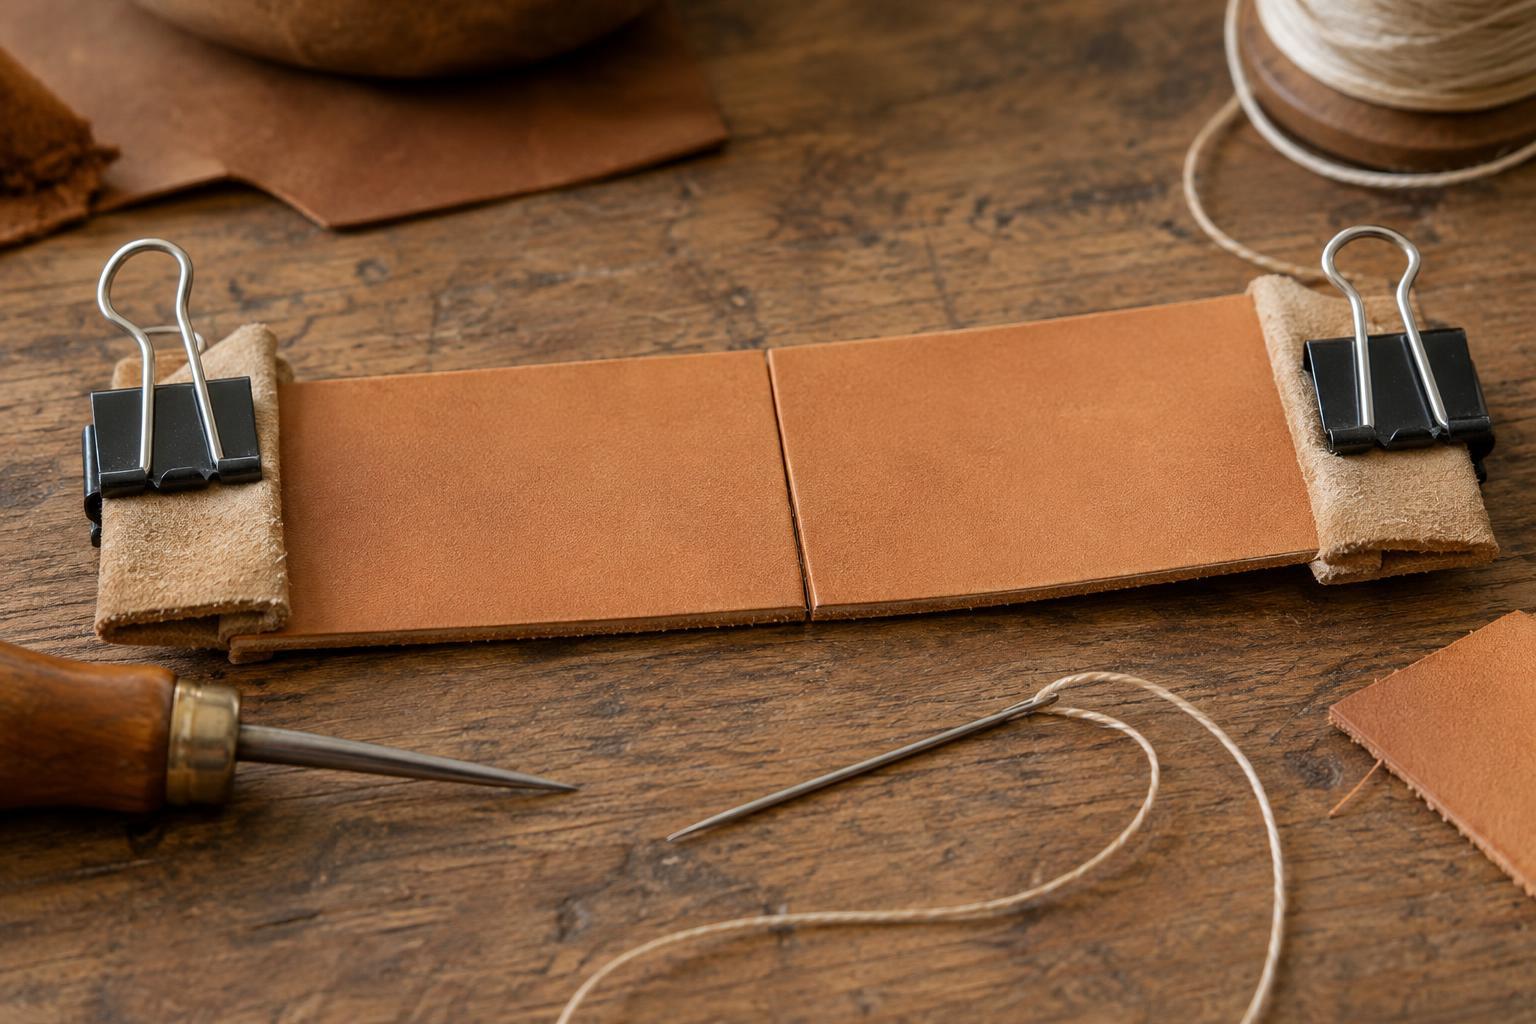
Small sewing clips or padded clamps can hold edges together without making holes. Position them along a seam allowance or an edge that will later be trimmed, rather than across a finished face. Use only enough pressure to prevent movement. If a clip has sharp ridges or a narrow jaw, place a clean scrap of soft leather or firm, smooth card between it and the project. Check that the padding itself does not leave a crease or transfer colour.
Space clips far enough apart to let the layers settle naturally. Too many can bend a straight edge into a series of small waves. As you stitch, remove each clip before it reaches the needle or stitching awl, then check that the edges are still aligned. For a small curved piece, hold a short section at a time instead of forcing the whole curve into place at once.
Choose adhesive only where it belongs
A narrow application of leather-compatible adhesive can steady layers while you stitch. First decide whether the bond is meant to remain in the finished piece. A permanent bond should be appropriate for the leather and construction; a temporary bond should release without damaging the surface. Follow the product directions for application, drying and ventilation, and test it on offcuts before using it on the project.
Keep adhesive away from visible surfaces and use only the amount needed. Excess can squeeze out at an edge, stiffen an area intended to flex or interfere with a clean finish. Narrow double-sided tape can also help with some seams, but its adhesive may leave residue on a needle or awl. Place it away from the stitch line when possible, and test whether it can be removed cleanly if removal is part of your plan. Do not assume an adhesive labelled “removable” will release safely from every leather finish.
Baste within an area that will be hidden
Temporary stitches can be useful when clips cannot reach a seam or when several layers must stay in register. On leather, however, basting is only temporary in function: its holes may remain. Put those holes inside an area that will be concealed by a folded edge, lining or other part of the construction. If the seam allowance will remain visible, basting may not be a suitable choice.
Use a small number of widely spaced stitches with a fine needle suited to the material, and avoid pulling the thread tight enough to pucker the surface. Another option, when the design permits it, is to use a few holes on the final stitch line as temporary anchor points. That avoids creating a second row of holes, but it requires accurate placement from the start. Check the alignment before making any hole: moving it later will not erase the first one.
Check alignment before committing to the seam
Set the pieces together on a flat surface and align the features that matter most, such as a flap tip, corner or hardware opening. For an edge that will be trimmed flush, a slight excess on one layer may be easier to manage than trying to align both raw edges perfectly. Keep that trimming plan modest and make sure it will not remove needed seam allowance.
Once the pieces are held, lift and turn the assembly as you will during stitching. Look for creeping layers, a twisted lining or pressure marks beneath the clips. Make adjustments now, before punching holes or sewing a full seam. The most reliable mark-free approach is usually a combination of gentle restraint, careful placement and a brief test—not a stronger clamp.


