Choose a simple construction
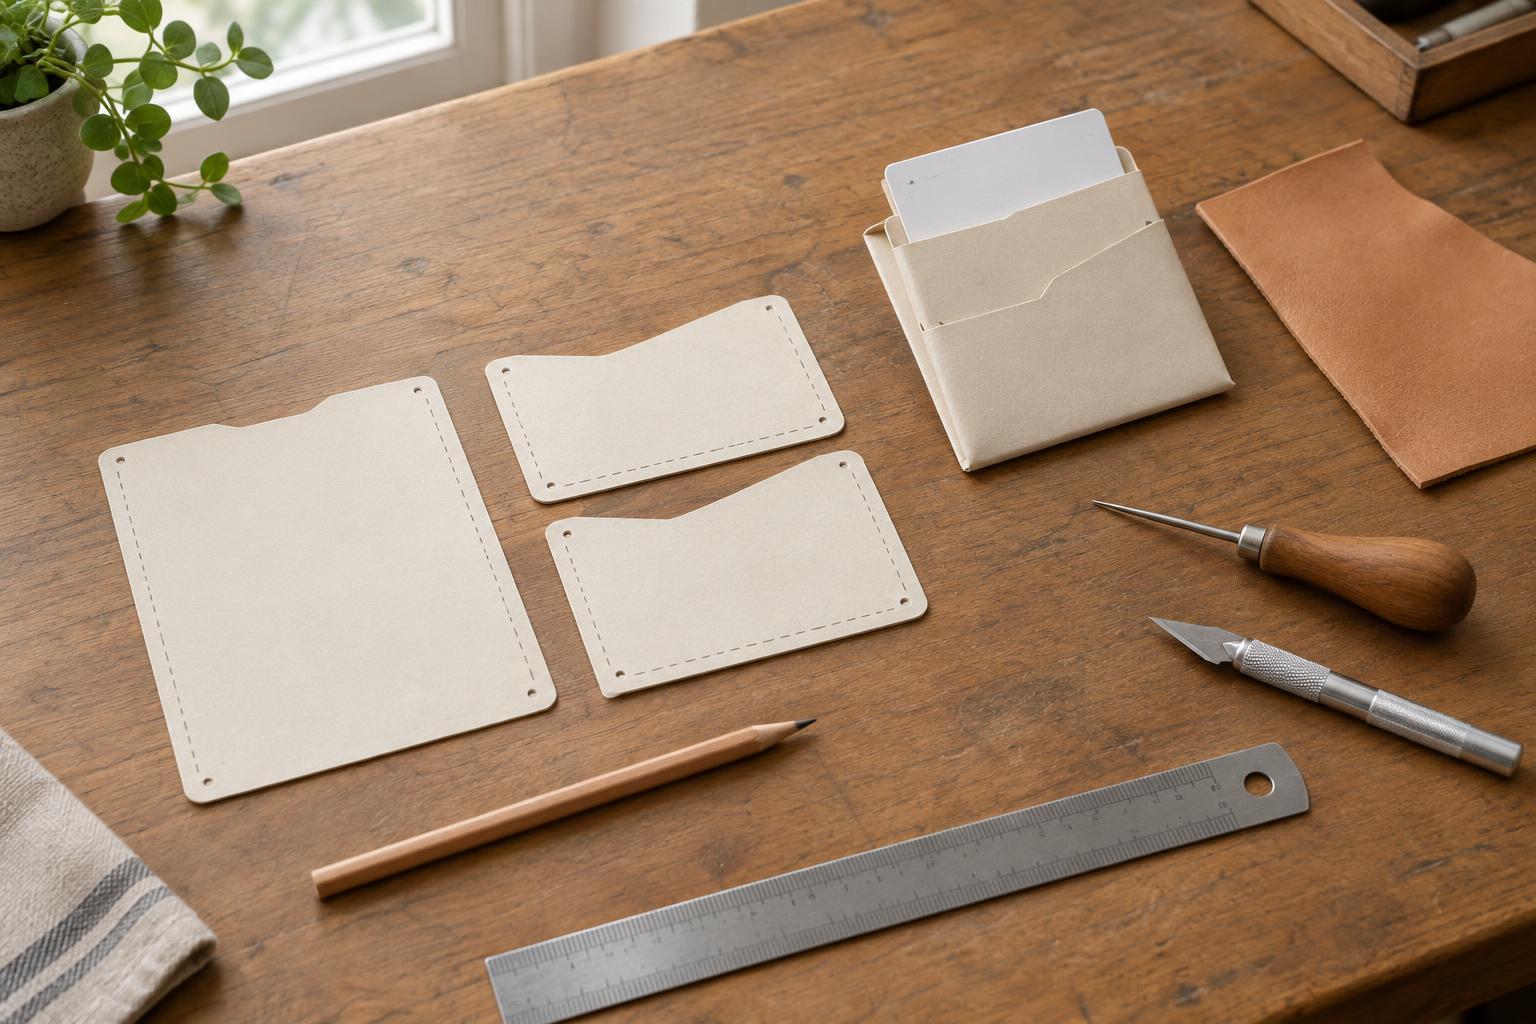
For a first cardholder, use three pieces: one full-size back panel and two shorter pockets, one on each face. The pockets sit flush with the bottom of the back panel. Stitching along the sides and bottom joins all three pieces, leaving the upper edge of each pocket open for a card. This layout avoids a fold, so you can concentrate on cutting, alignment and pocket fit.
Start by measuring a card you intend to carry. Cards are often close to 86 mm wide and 54 mm high, but checking your own gives you a reliable starting point. Decide how much of the card should remain visible above each pocket: enough to grip comfortably, while leaving enough pocket depth to hold it. This pattern is intended for one or two cards per pocket; a stack of cards will need more room and may change the shape of the holder over time.
Draw the pieces and stitching lines
As a starting example, draw a back panel 100 mm wide and 72 mm high. Draw two identical pockets, each 100 mm wide and 43 mm high. Make a separate paper template for every piece, even though the pockets match; you can then lay out the complete assembly and label the face that will be visible. These measurements describe the cut edges, so do not add another allowance around them.
On each template, mark a stitching line 4 mm in from the left, right and bottom edges. When assembled, the three pieces will share those lines. The space between the side stitching lines is about 92 mm, leaving clearance for an 86 mm card. The bottom stitching line also reduces the usable pocket depth: a card resting against it will show roughly 15 mm above a 43 mm pocket. Treat those figures as a guide rather than a guarantee, since leather thickness and stitching can affect the fit.
Use a ruler and a square to keep the sides straight and the corners consistent. Mark the pocket openings clearly so you do not accidentally plan stitching across them. If you want rounded corners, draw one curve on a small scrap of card and use it to repeat the same shape at each corner. Keep any curve clear of the stitching line.
Test the pattern in paper
Cut out the templates accurately, then trace a fresh set onto sturdy paper for a mock-up. Hold the three pieces together with small strips of tape along the planned stitching areas. Avoid taping inside the pockets, where it could interfere with the test. Slide a card into each side and check whether you can grasp and remove it without forcing the paper apart.
Look at the holder from above and from the side. Are the pocket openings level? Does the card sit far enough below the top of the back panel? Is there excess width that makes the cards move around? Adjust the paper pattern in small steps, then repeat the mock-up. Paper cannot reproduce the stiffness or thickness of leather, but it is an efficient way to catch a short pocket, uneven edges or an awkward opening before using your material.
Account for leather and finishing
A three-layer seam can become bulky, especially in firm or thick leather. For this design, choose leather thin enough to bend comfortably in the hand, and make a small stitched sample if you are unsure how it will behave. Very soft leather may need a closer-fitting pattern to feel secure; firmer leather may need slightly more ease. The paper test gives you a starting point, while a leather offcut provides the better check.
Plan the pocket edges before assembly. Their upper edges will be harder to reach once the holder is stitched, so decide whether to leave them cleanly cut or finish them first. You may also mark where you want stitching holes to begin and end, keeping the spacing consistent on both sides. If you change the distance of the stitching line from the edge, retest the pocket: moving a seam inward reduces the space available for a card.
Transfer the final pattern
Once the fit looks right, make clean final templates from firm paper or thin card. Label each piece with its name, quantity, visible face and pocket-opening edge. Mark the stitching lines on the templates as reference guides, but use the outer outlines for cutting. Check that both pocket templates still match the width of the back panel.
Place the templates on the leather with enough room to cut each piece cleanly. Hold them steady and trace with a mark you can remove or keep on the hidden side. Before cutting, compare the traced pieces once more: two matching pockets, one full back panel, and openings oriented toward the top. That brief check is the purpose of a good pattern. It turns a set of measurements into a repeatable plan and gives you a chance to correct mistakes while they are still only lines on paper.


