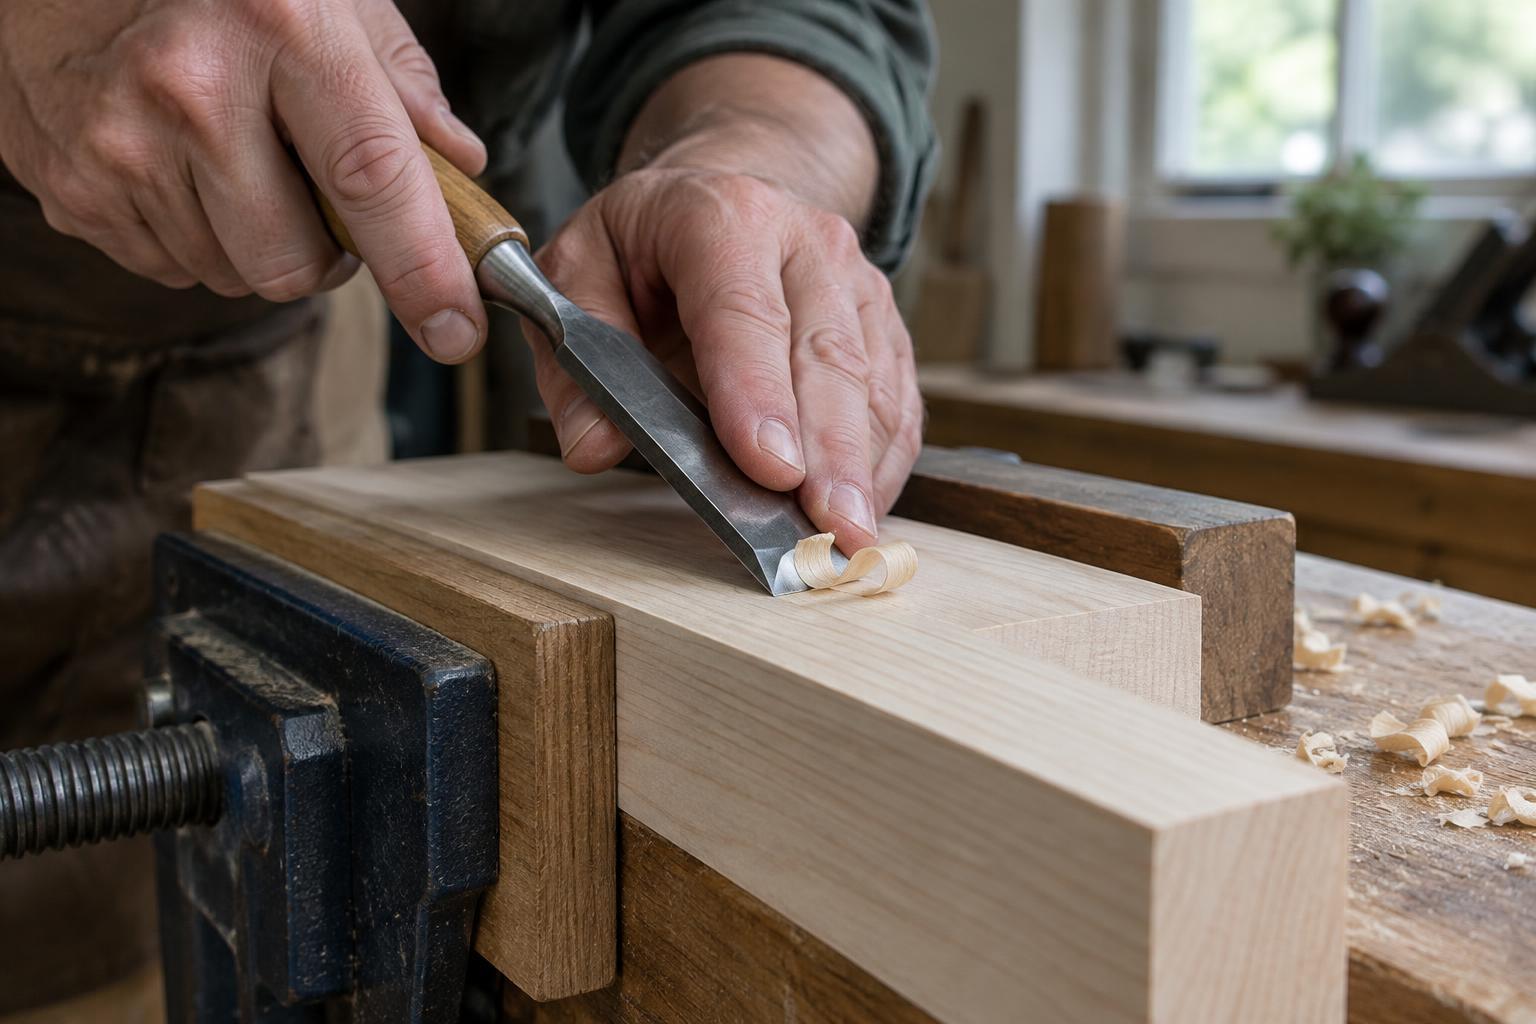
Why a paring cut can become a split
Paring removes thin shavings with a controlled push of the chisel. A split starts when the blade acts less like a cutter and more like a wedge, forcing fibres apart ahead of its edge. This is especially likely when the cut is too deep, the grain rises towards an exposed surface, or the blade reaches an edge with no wood behind it for support.
Before cutting, look along the surface and at the side of the workpiece. Grain lines that slope up towards the surface in your direction of travel may encourage the blade to lift fibres. Reversing direction can help, although grain can change within a single board. Work slowly where the pattern turns around a knot or where the direction is hard to read.
Prepare the edge, the cut and the workpiece
A sharp chisel cuts fibres with less pushing force. If you have to lean heavily on the handle to remove a thin shaving, stop and check the edge. A dull or damaged edge is more likely to crush wood or dive beneath the intended surface. Choose a chisel narrow enough to steer comfortably, but wide enough to bear steadily on the work where a flat surface matters.
Mark the limit of the cut before you begin. For a shoulder or recess, a knife line gives the fibres a defined boundary; several light cuts can establish it more safely than one forceful pass. Clamp the workpiece securely, keeping the clamp clear of the chisel’s path. Arrange the bench so your hands and body are not in front of the cutting edge if it slips. Good support lets you use controlled pressure rather than grip the wood with your free hand.
Pare along the grain in light passes
For a flat surface, place the chisel with its flat back against the surface you want to preserve and its bevel facing up. Keep the back in contact as you advance. A slight sideways slicing motion can make the cut easier, but avoid twisting the blade or levering against a thin edge. Begin with a shallow shaving; you can take another pass, but you cannot put a split-off corner back in place.
Where the grain runs towards an exposed edge, try paring from the edge inward instead of driving the blade out through it. If you must work towards an end or corner, stop short and finish from the opposite direction. Do not assume the grain follows a straight path: if the chisel starts lifting a rough flap rather than producing a clean shaving, withdraw it and change direction or reduce the cut.
Protect cross-grain cuts, end grain and corners
Cutting across the grain asks the edge to sever fibres along the sides of the cut. Score a boundary with a marking knife where a crisp edge matters, then remove waste in small steps. Keep well away from the final line during rough removal. For a wider recess, working from both sides towards the middle helps prevent the chisel from breaking out the far edge.
End grain can demand more force, even with a sharp tool. Take especially thin shavings and support the far edge with a firmly held sacrificial block where practical. Alternatively, pare partway from one side, turn the work, and meet the cut from the other. At a delicate corner, leave a little material for a final light pass rather than trying to clear the full depth at once.
Respond to warning signs before damage spreads
A sudden increase in resistance, a cracking sound or fibres lifting ahead of the blade are signs to stop pushing. Check whether the chisel is taking too much wood, following rising grain or approaching an unsupported edge. Secure the work again if it has shifted. Then try a shallower cut, a different direction or a sharper edge.
Inspect the surface between passes rather than relying on one long stroke. When the shape is close, make the final cuts small and deliberate, using your marked line and the surrounding surface as references. The aim is not to remove wood quickly: it is to keep each shaving thin enough that the chisel cuts the fibres before it can force them apart.


