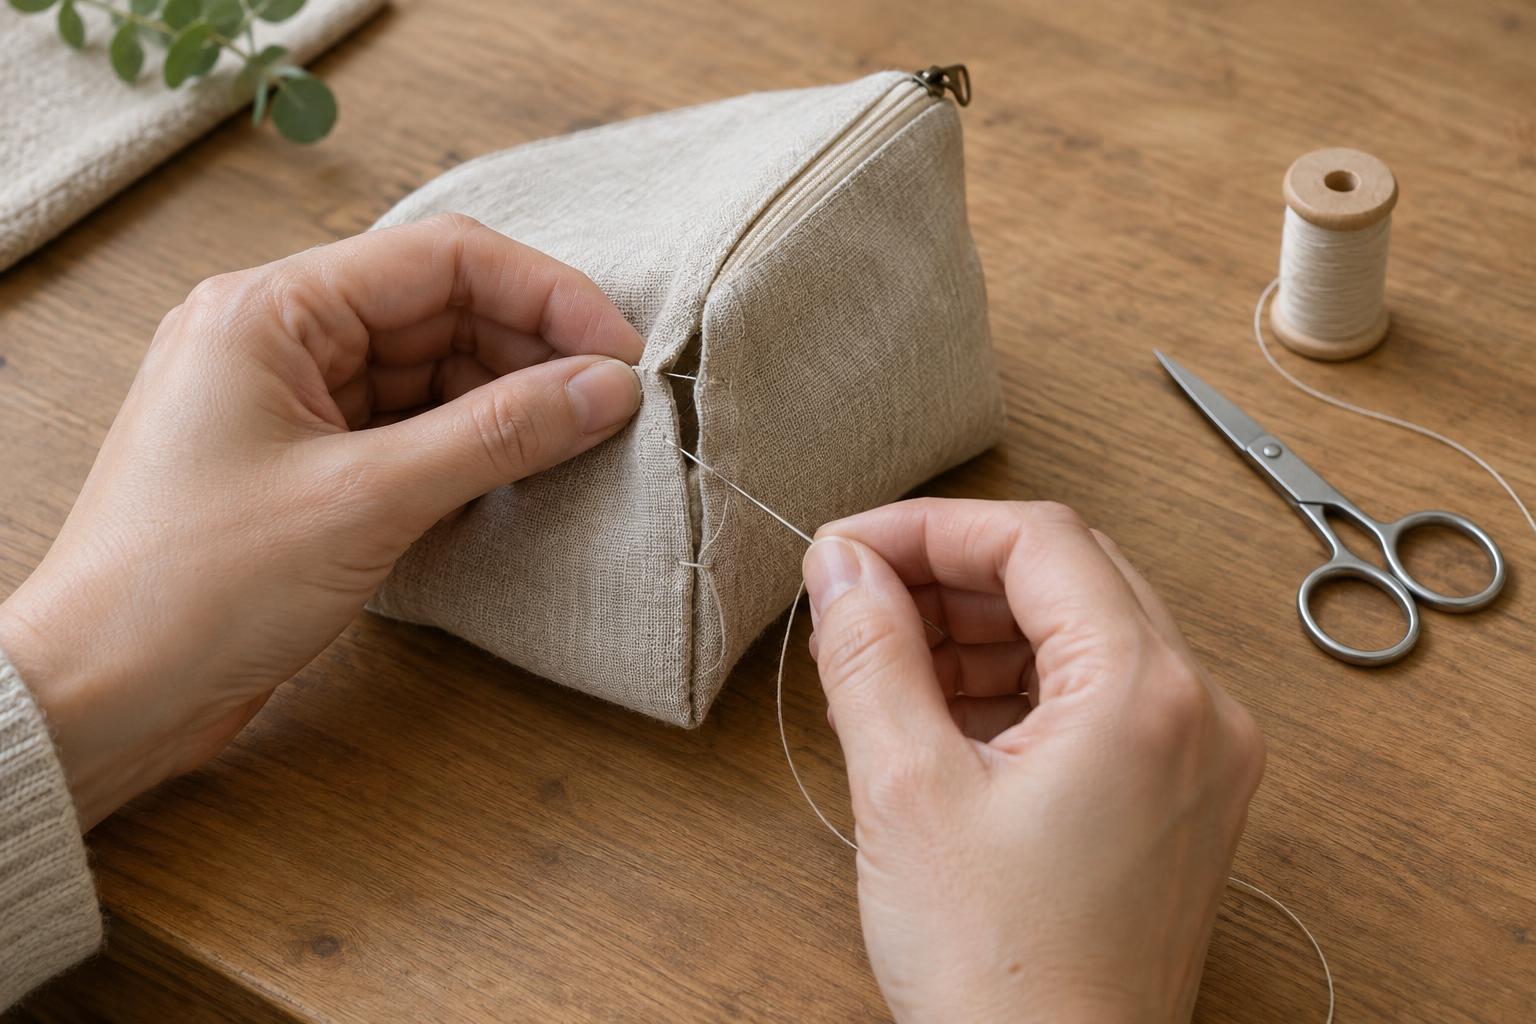
Check the seam before you sew
A few missing stitches can look like a small problem, but the cause matters. Empty stitch holes along two intact fabric edges usually mean the thread has broken or worked loose. Fraying, a tear beside the seam, or fabric pulling away under a handle points to a different problem. Stitching the edges together may hide that damage without making the accessory strong again.
Empty the accessory and turn it inside out if possible. Look at both ends of the opening, the seam allowance (the fabric between the stitching and the cut edge), and any lining caught in the seam. Check whether the original stitches are hand-sewn or machine-sewn and whether the seam carries weight. A loose side seam on a lightly used pouch is generally simpler to mend than a seam supporting a bag strap.
Take a moment to note how the layers sit together before removing any thread. Pull out only loose or broken thread that obstructs the repair; sound stitches nearby help preserve the original alignment.
Gather materials and prepare the edges
For a straightforward hand repair, use a fine needle that passes easily through the fabric, sewing thread of a similar weight to the original, small scissors, and pins or sewing clips. A close thread colour helps the mend blend in, but strength and a suitable thickness matter more than an exact match. Very thick thread can leave conspicuous holes or pull delicate fabric into puckers.
If the fabric is sound, gently align the existing folds and press them with your fingers. Avoid cutting away frayed fibres until you can see whether enough fabric remains to hold a stitch. On tightly woven fabric, a small amount of fraying at the cut edge may be manageable if the original seam allowance is still wide enough. If the edge is disintegrating, the repair may need a patch or a rebuilt seam rather than a simple line of stitches.
Secure the layers without stretching them. For a lined accessory, check that the lining has not twisted or slipped into the wrong position. Work in good light so you can follow the original stitching line instead of gradually narrowing the accessory.
Choose a stitch that suits the opening
If you can reach the inside of the seam, a hand backstitch provides a firm repair. Start a short distance before the opening, where the original stitching is secure. Sew along the original seam line with small, even stitches, taking each new stitch back toward the previous one. Continue a short distance past the opening so the repair overlaps sound stitching at both ends. Keep the thread snug without drawing the fabric into gathers.
If the seam cannot be reached from inside, as with some fully lined cases, a ladder stitch can close two folded edges from the outside. Take small alternating stitches within the folds, moving from one side to the other. Pull the thread gently every few stitches to bring the edges together. This stitch is discreet, but it is not the best choice for a seam that bears substantial weight or for edges too damaged to hold the thread.
For either method, begin with a securely anchored thread and finish by making a small knot close to the fabric. Pass the needle through the seam allowance before trimming the thread end so it is less likely to catch during use.
Take extra care with linings, trims and stress points
Handmade accessories can combine materials that respond differently to stitching. A lining may need to be moved aside while you mend the outer fabric, then closed separately. Beads, embroidery or decorative trim near the seam can catch the thread or conceal the original stitch line. Work around these details rather than pulling them aside forcefully.
If the opening sits beside a handle, clasp or drawstring channel, inspect the attachment as well as the seam. A repair that merely closes the visible gap may fail when the accessory is used again. Where the fabric itself has torn or the attachment is pulling through it, reinforcement is likely needed. If the construction is difficult to access or the accessory is especially delicate, stopping before further unpicking may preserve more options for a skilled repairer.
Fabric glue is tempting for a quick fix, but it can stiffen a flexible seam and make later stitching harder. For a seam intended to move, sewing is usually the more adaptable repair.
Test the mend and reduce future strain
After sewing, smooth the accessory into its usual shape and inspect both sides of the seam. The edges should meet without a gap, while the surrounding fabric lies flat. Open and close the accessory or handle it as you normally would, without loading it heavily at first. If the new stitches pull apart or the fabric puckers sharply, check the alignment and thread tension rather than adding more stitches over the top.
A sound mend should follow the accessory’s existing construction, not fight it. Avoid overfilling a pouch, tugging a bag by a seam that was not designed as a handle, or washing the item more aggressively than its materials allow. Periodically checking for loose stitches makes a small repair easier to address before the fabric edge begins to wear.


