Check the fabric before you sew
Start by looking at both sides of the spot where the button came off. A few loose threads may simply mark the old stitches; a stretched hole, fraying or a thin patch of cloth suggests the fabric needs support before it carries another button. Gently smooth the area with your fingers rather than tugging it flat. If the weave has opened, use a needle to ease displaced threads back into place where possible.
Check the garment while it is fastened with its other buttons. The buttonhole and any remaining stitch marks can help you locate the missing button, but avoid placing it farther from the edge just to hide damage. That can make the closure pull unevenly. If the original spot is too weak to hold a button, reinforce it from behind or repair the damaged area first. On a fragile or valuable garment, a careful repair may be preferable to repeatedly sewing through worn cloth.
Choose a button that suits the closure
A replacement should fit through the buttonhole without forcing it and be large enough not to slip out during wear. Matching the other buttons is ideal, but size and thickness matter more to the way the closure works than an exact colour match. Compare any surviving buttons before you begin: note whether they have holes through the face or a built-in loop, called a shank, on the back.
Gather a hand-sewing needle, thread, scissors and the button. Thread close in colour to the fabric or button will be less noticeable. Use a thread sturdy enough for the garment, but do not compensate for weak cloth by pulling a heavy thread tight. For a coat or another thick closure, a small flat backing button on the inside can spread the load across more fabric. Make sure its edges will not rub uncomfortably against the wearer.
Prepare a sound place for the stitches
Remove loose remnants of the old sewing thread without cutting the garment threads. If the cloth is sound, you can usually sew near the original stitch marks. If it is slightly thin, place a small piece of compatible fabric behind it so the new stitches pass through both layers. Keep that support flat and large enough to extend beyond the stressed area; a tiny patch ending at the button holes offers little benefit. For fabric that frays easily, finish the support piece’s edges before attaching it.
Before making permanent stitches, hold the button in position and bring the buttonhole over it. The garment should lie comfortably, without a diagonal pull from button to buttonhole. Mark the centre with a removable fabric marker or a small temporary stitch if needed. Test any marking method on an inconspicuous area first, especially on delicate or textured cloth.
Sew securely, leaving room for the fabric
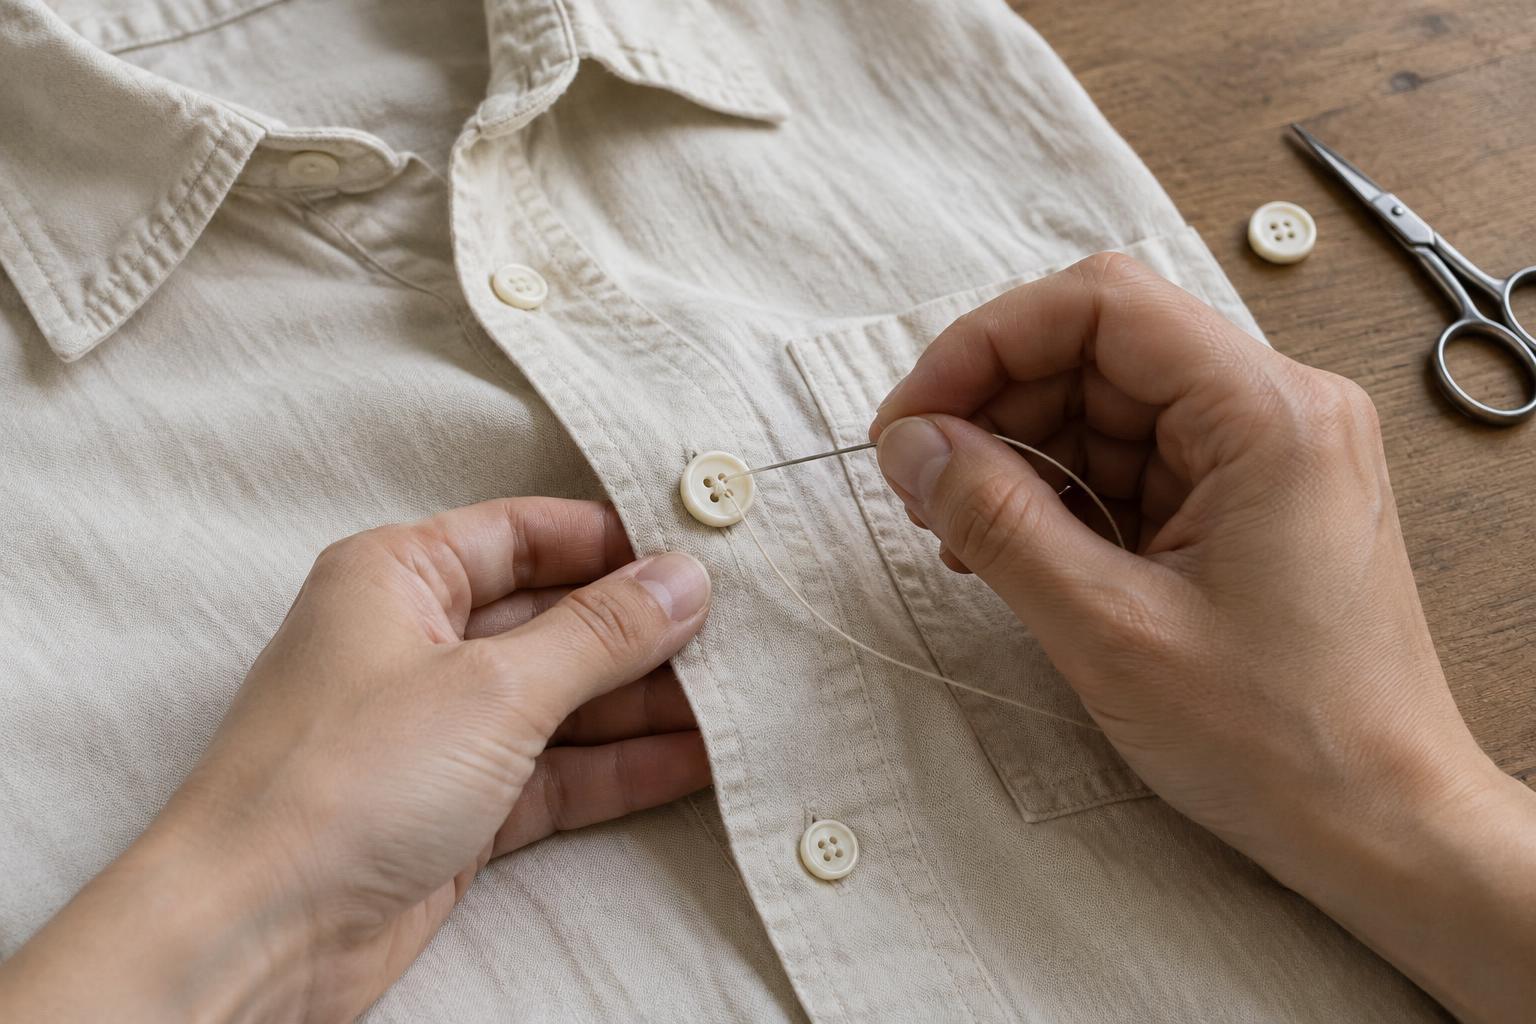
For a button with holes through its face, begin with a small anchoring stitch in the fabric. Bring the needle through the button holes and back through the cloth several times, spreading the needle entries slightly rather than driving every stitch through one tiny point. Keep the stitches snug, not tight enough to pucker the surface. On a thick garment, place a spare needle or toothpick across the button face while stitching; removing it afterward leaves a little space between button and cloth.
That space allows fabric to sit beneath the button when the garment is fastened. Wrap the working thread a few times around the stitches between the button and fabric to form a thread shank, then take the needle to the back. If the button has a built-in shank, stitch through its loop instead; it does not need an additional wrapped stem. When using a backing button, pass the needle through its holes on the inside as you attach the outer button. Finish with a few small stitches or a knot on the back, taking care not to catch another layer of the garment.
Test the repair and watch for renewed strain
Fasten and unfasten the button several times. It should pass through the buttonhole without a hard push, sit level with the other buttons and let the fabric lie reasonably flat. If it pulls the cloth into a sharp point, check its position and the amount of space beneath it. A longer thread shank may help a bulky closure; adding more tight stitches usually will not.
After the garment has been worn, look again for puckering, loose threads or widening holes around the repair. These signs may mean the fabric needs more support or the closure is under strain elsewhere. Addressing that cause protects the cloth better than simply resewing the button whenever it comes loose.


