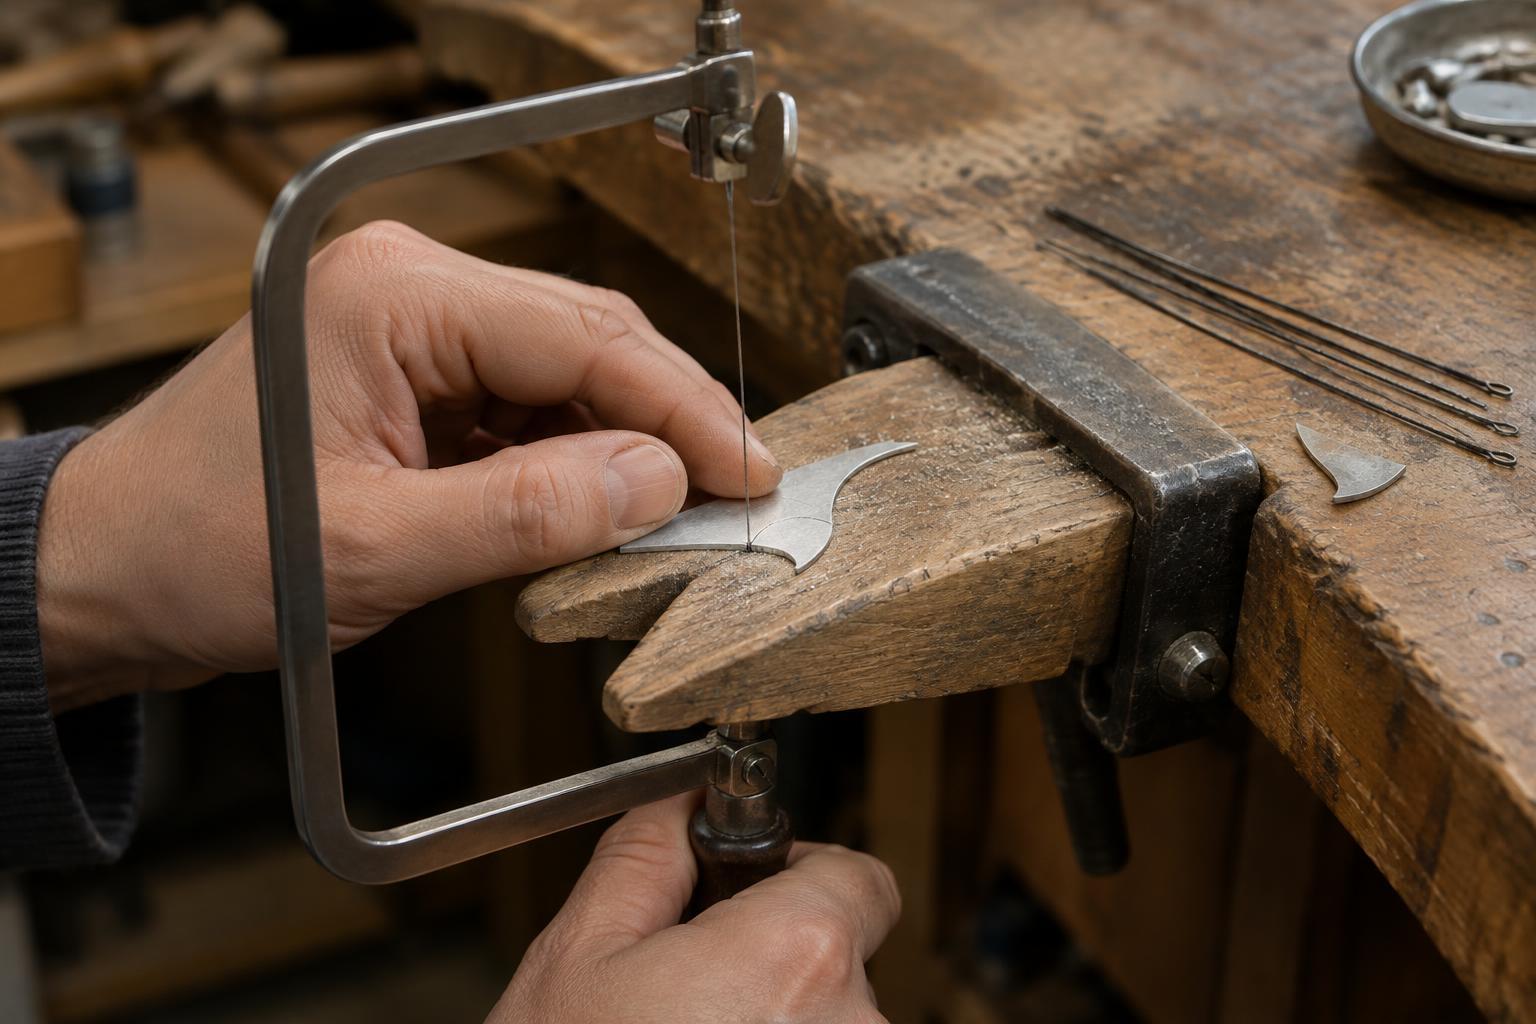
What a jeweller’s saw does
A jeweller’s saw is a small frame saw used to cut fine shapes in sheet metal. Its narrow, replaceable blade can follow a drawn outline, cut an opening within a piece or separate small components from a larger sheet. Unlike shears, which can distort an edge as they cut, the saw removes a narrow strip of material called the kerf. The sawn edge will usually still need filing or other finishing.
The blade cuts on the downward stroke. It works best when the work is supported close to the cut and the blade travels nearly vertically. Most problems that feel like a lack of strength—wandering cuts, snagging or broken blades—are better addressed by changing the blade, improving the support or easing the pressure.
Choose a blade for the thickness and detail
Jeweller’s saw blades come in numbered sizes. Among sizes marked with a slash and zero, such as 2/0 and 4/0, the larger first number indicates a finer blade. After 1/0, whole-number sizes generally become coarser as the number increases. Because numbering can be confusing at first, compare the blades themselves or check a supplier’s size chart rather than relying on the number alone.
A useful starting point is to choose a blade that keeps more than one tooth in contact with the material throughout the stroke. A blade that is too coarse for thin sheet may catch and tear at the edge; one that is too fine for thicker stock may cut slowly and clog. Fine blades also leave a narrower kerf, which can help with small details, but they are easier to break if twisted or forced.
Keep several sizes available if you work with different sheet thicknesses. Make a short test cut in an offcut of the same material: the blade should bite steadily without grabbing, and you should be able to guide it without heavy pressure. Blade choice is a starting point, not a substitute for a steady cutting technique.
Set up the saw and support the work
Fit the blade with its teeth pointing down toward the handle. Secure one end in the frame, compress the frame slightly if its design allows, then secure the other end and release it to tension the blade. It should feel taut rather than slack. Check that both clamps hold firmly; a blade that slips in a clamp can behave much like a loose blade.
Rest the metal on a bench pin, a small work support with a notch or opening that lets the blade pass through. Keep the cutting line close to the supported area while leaving a clear path for the blade. Hold the sheet firmly with your free hand, with your fingers clear of the cutting path. Wear eye protection, and collect small offcuts and broken blades rather than leaving them on the bench.
Mark a clear line and begin with short, light strokes to establish the cut. Then use a comfortable length of stroke and let the teeth do the work. Aim to cut just outside a line that marks the finished shape, leaving a little material for filing. If the saw starts to bind, stop and check whether the blade is twisting, the sheet is moving or the cut is closing around the blade.
Cut tight curves without twisting the blade
To follow a curve, keep the saw frame facing forward and turn the workpiece gradually beneath the blade. The blade can change direction as it cuts, but it cannot bend sideways around a corner without risking a break. Make a series of small changes in direction rather than one sudden turn. Slower, lighter strokes give you time to keep the blade on the waste side of your line.
For a particularly sharp turn, use short, gentle strokes while rotating the work little by little. Avoid pressing sideways against the blade to make it follow the outline. Where the design permits, you can cut toward a tight corner from two directions and meet the cuts, then refine the junction with a small file. Rounded inside corners are often easier to saw cleanly than abrupt points.
For a shape enclosed by the sheet, make a suitable entry hole in the waste area first. Release one end of the saw blade, pass it through the hole and clamp it back into the frame before cutting. Confirm the teeth still point downward and the blade is taut. Once the internal cut is complete, release the blade again to remove the work without cutting across the surrounding metal.
Practise for a cleaner result
Draw a few gentle curves, circles and small inward curves on an offcut before attempting a finished piece. Notice how much easier the blade moves when the metal is supported and your hand turns the work smoothly. If blades repeatedly break at the same point in a curve, reduce sideways pressure and make the turn more gradually.
Sawing does not have to produce a finished edge. The goal is a controlled cut that preserves enough material for careful filing. With a blade suited to the sheet and a patient approach to corners, even intricate outlines become a sequence of manageable cuts.


