Start with diameter, not the gauge number
Jewellery wire has two characteristics worth checking before you begin: its thickness and its temper, or degree of hardness. Thickness affects how much force it takes to bend the wire and how substantial it looks. Temper affects how readily it bends and how well it resists being bent again. Neither tells you everything about a finished piece, but together they make a useful starting point.
Gauge is a shorthand for thickness. Within a given gauge system, a smaller gauge number usually means thicker wire: 18-gauge wire is thicker than 24-gauge wire. Gauge systems are not all identical, though, so check the stated diameter in millimetres when comparing suppliers. Diameter is especially helpful when a wire must pass through a bead hole, fit a finding or match another component.
Understand what temper changes
Dead-soft wire bends easily and is useful when a design calls for tight curves, wrapping or shaping by hand. Half-hard wire offers more resistance and generally holds an open shape better. Full-hard wire is stiffer still, but can be difficult to form neatly without appropriate tools. These labels describe a useful progression, not a guarantee that two wires with the same label will behave alike. Metal type, diameter and how the wire was made also matter.
Bending, twisting and hammering can work-harden many jewellery metals. This can help a formed component hold its shape, but repeatedly bending the same spot back and forth may weaken it and eventually cause a break. Plan a curve before making it, and avoid relying on repeated corrections to achieve a clean result. If a design needs both easy forming and lasting rigidity, try making a sample rather than assuming work-hardening will solve the problem.
Match the wire to its job
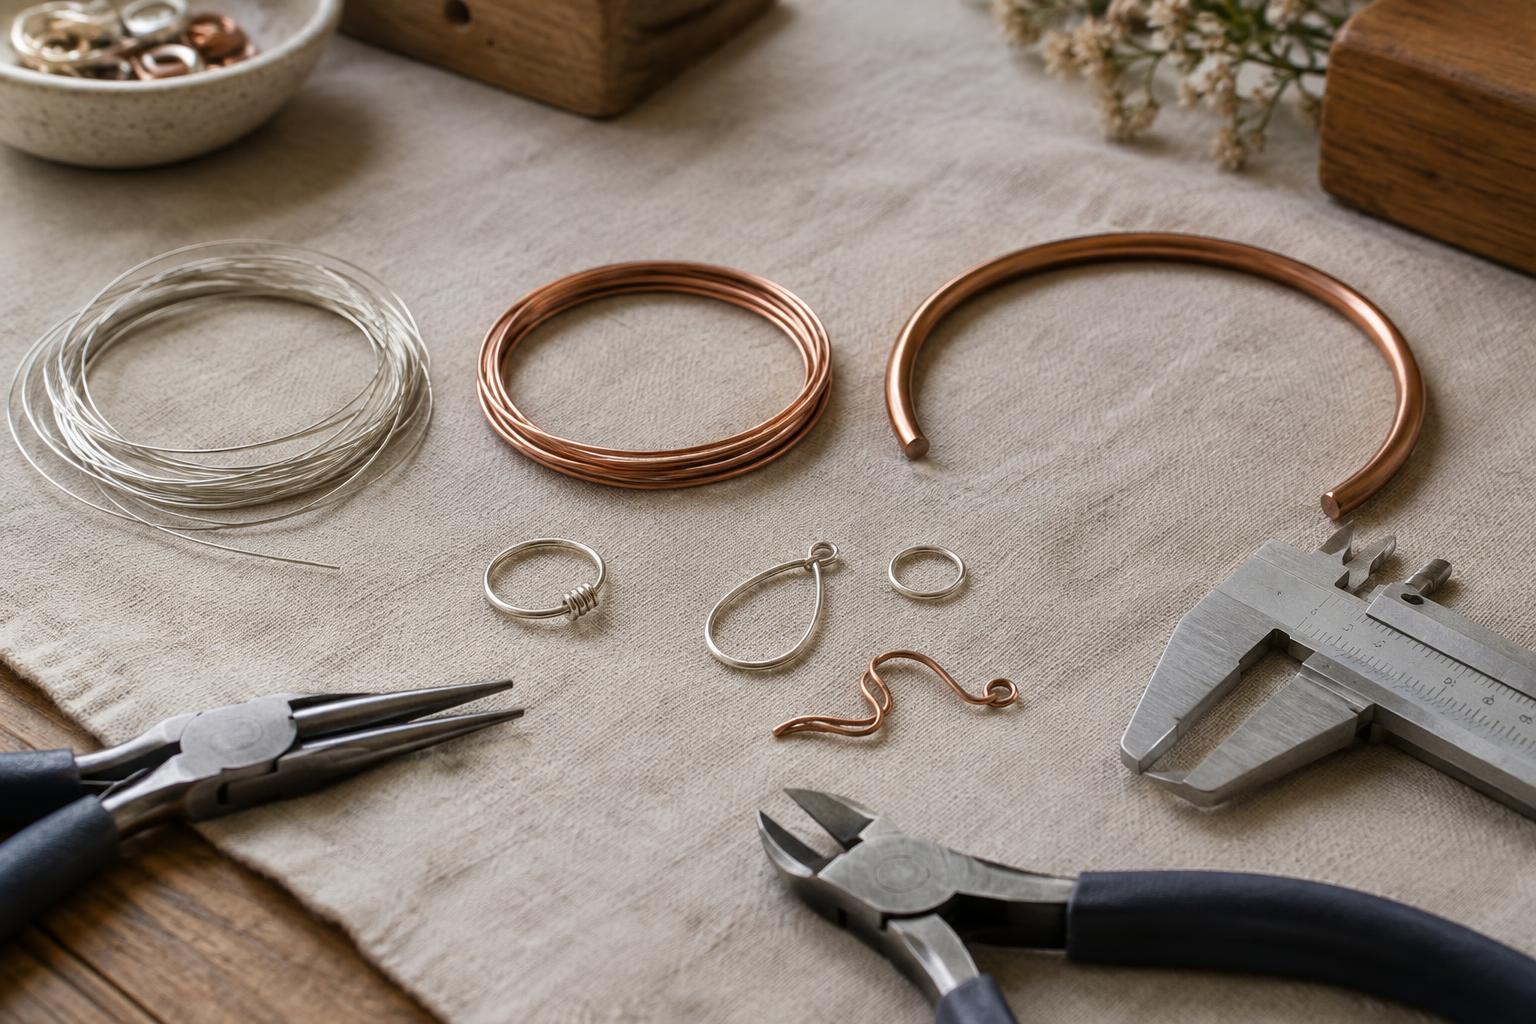
For close wrapping around a bead or a heavier wire frame, a relatively thin, dead-soft wire is often easier to place neatly. The wrap can gain support from the object beneath it and from multiple turns. A free-standing frame has a different job: it needs enough thickness and stiffness to resist distortion across its unsupported span. A wider loop may need more substantial wire than a compact loop of the same shape.
Connections deserve particular attention. A jump ring that opens too easily may let a charm escape, while wire that is too thick for a small component can strain its hole or overwhelm the design. For a ring that must be opened and closed, consider its diameter, temper and intended load together. Close its ends flush, and test whether the connection stays closed under gentle handling. Decorative coils and structural links do not have to use the same wire.
For parts that touch skin, including ear wires, metal choice matters alongside gauge and temper. Check the metal’s composition and suitability for the wearer; a stiffness label says nothing about possible sensitivities. Also consider the finish of cut ends and bends. A strong component is not well made if it has a sharp tip or a rough surface where it contacts skin or clothing.
Test how a sample behaves
Before cutting a full set of components, make one sample using the same wire, tools and forming method you intend to use. Note how easily the wire bends, whether the curve springs back when released and whether tool marks appear. Check that it fits any bead holes or connecting parts. If the piece needs to lie flat, inspect it from the side as well as the front.
Handle the sample as the finished object would be handled. Open and close a test connection only as intended, and see whether a frame changes shape with ordinary movement. This is not a formal strength test, but it can reveal an obviously unsuitable choice before you repeat it. If the wire is too flexible, try a thicker diameter, a different temper or a shorter unsupported span. If it is difficult to shape, try a softer temper before changing the design.
Choose for the whole construction
There is no single best gauge or temper for jewellery. Thin wire can be effective when it is supported by wraps; thicker wire can still feel flexible if it forms a large, open shape. Start with the component’s purpose, check the actual diameter and then choose a temper you can form accurately. A small sample helps confirm whether the result looks right and holds up to the handling it will receive.
Keep a short note of the metal, diameter, stated temper and tools used for samples that work well. Those details make it easier to repeat a component or adjust it deliberately next time, without treating a gauge number alone as a promise of strength.


