Start with a reference, not a number
A small measurement error can matter when a clasp must fit, two panels must match, or a joint must close neatly. Before picking up a tool, decide which edge or surface will be your reference. On a rectangular piece, this might be a straight, finished edge. On an irregular object, it might be a marked centerline. Taking related measurements from the same reference helps prevent small differences from accumulating across the project.
Make sure the reference itself is dependable. A ragged cut edge or rounded corner can shift where a measurement begins. If the material allows it, mark a fine line with a suitable pencil, scribe or removable marker, then measure to that line rather than to a broad pencil stroke. Record which face and edge you used, especially if you will set the work aside and return to it later.
Use a ruler for layout and overall dimensions
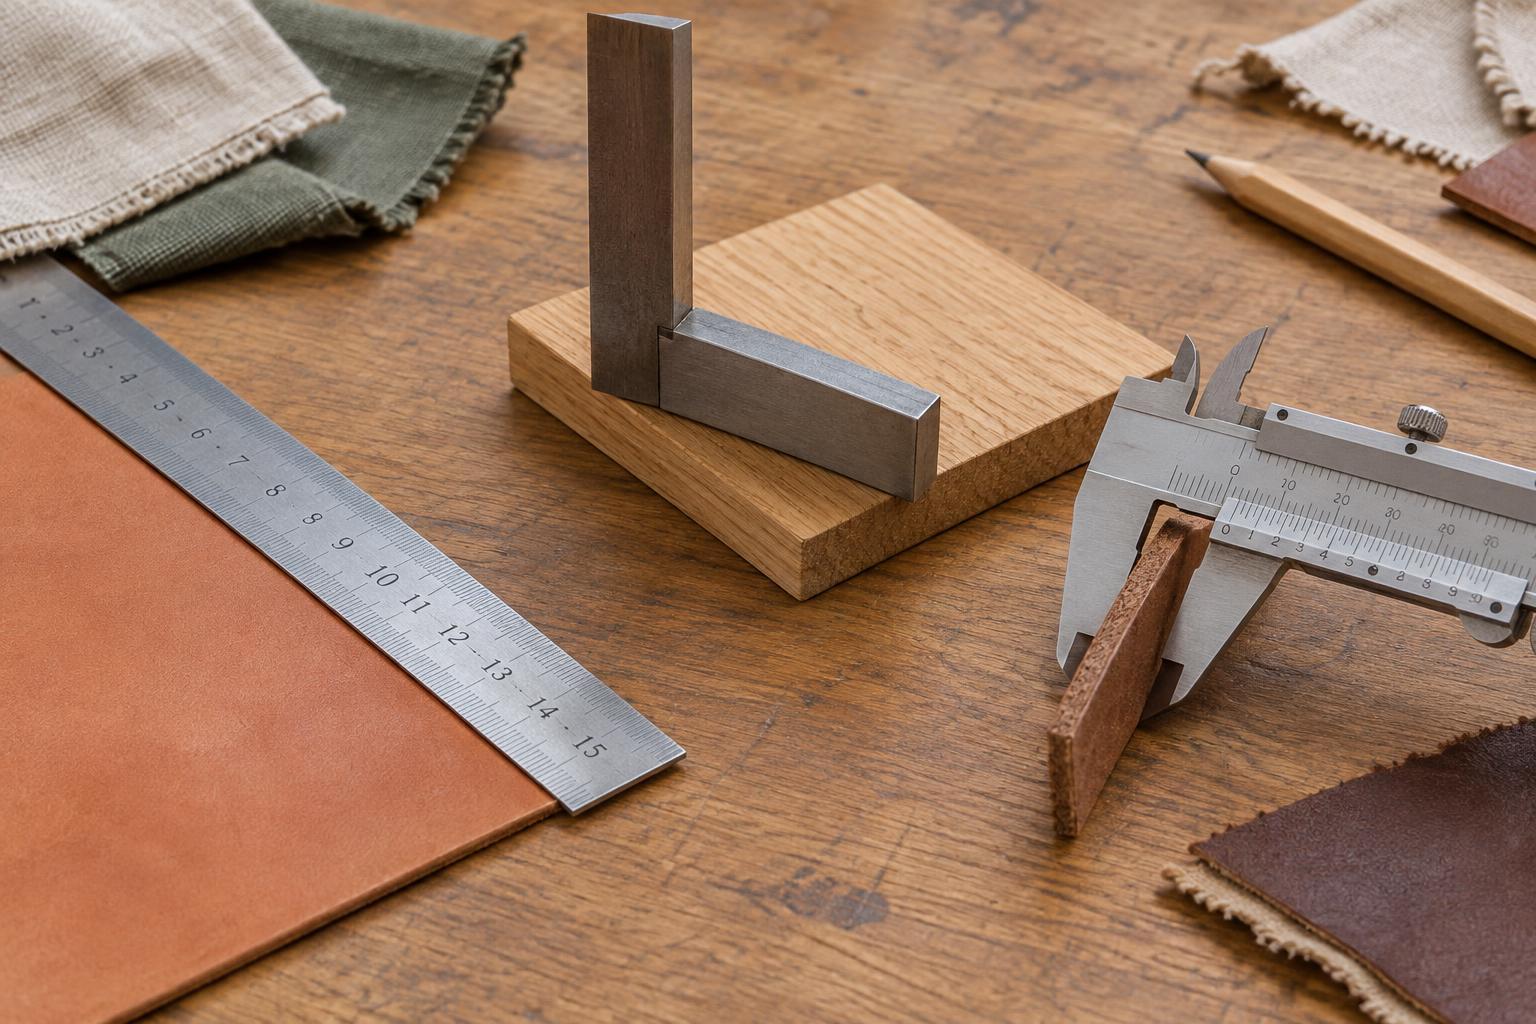
A rigid ruler is useful for measuring lengths, spacing repeated marks and drawing straight layout lines. Choose one whose markings are easy to read at the scale of the project. Place it flat against the work, align a clear graduation with your reference point, and look directly down at the mark you are reading. Viewing it from an angle can make the mark appear to sit somewhere else.
Do not assume the physical end of a ruler is exactly where its scale begins. If the end is worn, rounded or difficult to align, start at an interior graduation and subtract that starting value from the reading. For repeated spacing, mark positions from one original reference rather than stepping a short measurement forward again and again. This reduces the chance that each small placement error will carry into the next.
Use a square to check alignment
A square helps establish and check right angles; it does not make an uneven edge straight. Seat its stock or one leg firmly against your chosen reference edge, then use the other leg to guide a line or inspect a cut. If light shows between the tool and a supposedly straight edge, check the work before relying on that edge for further layout. Keep chips, thread ends and other debris out of the contact area so the square can sit properly.
For a small box, frame or folded paper component, checking one corner is rarely enough. Compare relevant corners and, where appropriate, measure the diagonals: equal diagonals can be a useful sign that a rectangular layout is square, provided opposite sides are also consistent. If results disagree, revisit the reference edges and your markings before trimming away more material. A careful recheck is usually easier than correcting an overcut.
Use calipers for thicknesses and fitting parts
Calipers are useful when a ruler is too broad for the feature you need to inspect, such as sheet thickness, a bead diameter or the width of a small opening. Depending on the tool, you may be able to measure outside dimensions with the larger jaws, inside dimensions with the smaller jaws, and depths with a depth rod. Close the jaws gently and check that the display or scale reads zero before measuring. Wipe away dust that could keep the jaws from meeting cleanly.
Hold the calipers square to the feature rather than at a slant, which can give a misleading reading. Apply only enough pressure to make contact: squeezing leather, cord or other compressible materials can change their apparent size. Take a few readings at different points if a handmade part may vary, and note whether you need its typical dimension, its widest point or the clearance it needs to fit another part. Those are different questions, even when measured with the same tool.
Match the measurement to the material and task
Numbers describe an object under particular conditions. Fabric can stretch, leather can compress, and wood edges may not be perfectly uniform. Measure flexible materials while they are supported and relaxed unless the project specifically calls for a stretched dimension. For a fitted component, measure the actual parts that must meet rather than relying only on an earlier plan. A test fit or small sample can reveal whether the measured clearance works in practice.
Use a consistent unit throughout the project and write down dimensions as soon as you take them. Note any allowance separately from the finished size, whether it is a seam allowance, fold, edge finish or space needed for a moving part. Finally, choose a level of detail your tool and material can support. A clear reference, a repeatable method and a final fit check are more valuable than recording extra decimal places that the work cannot reliably reproduce.


