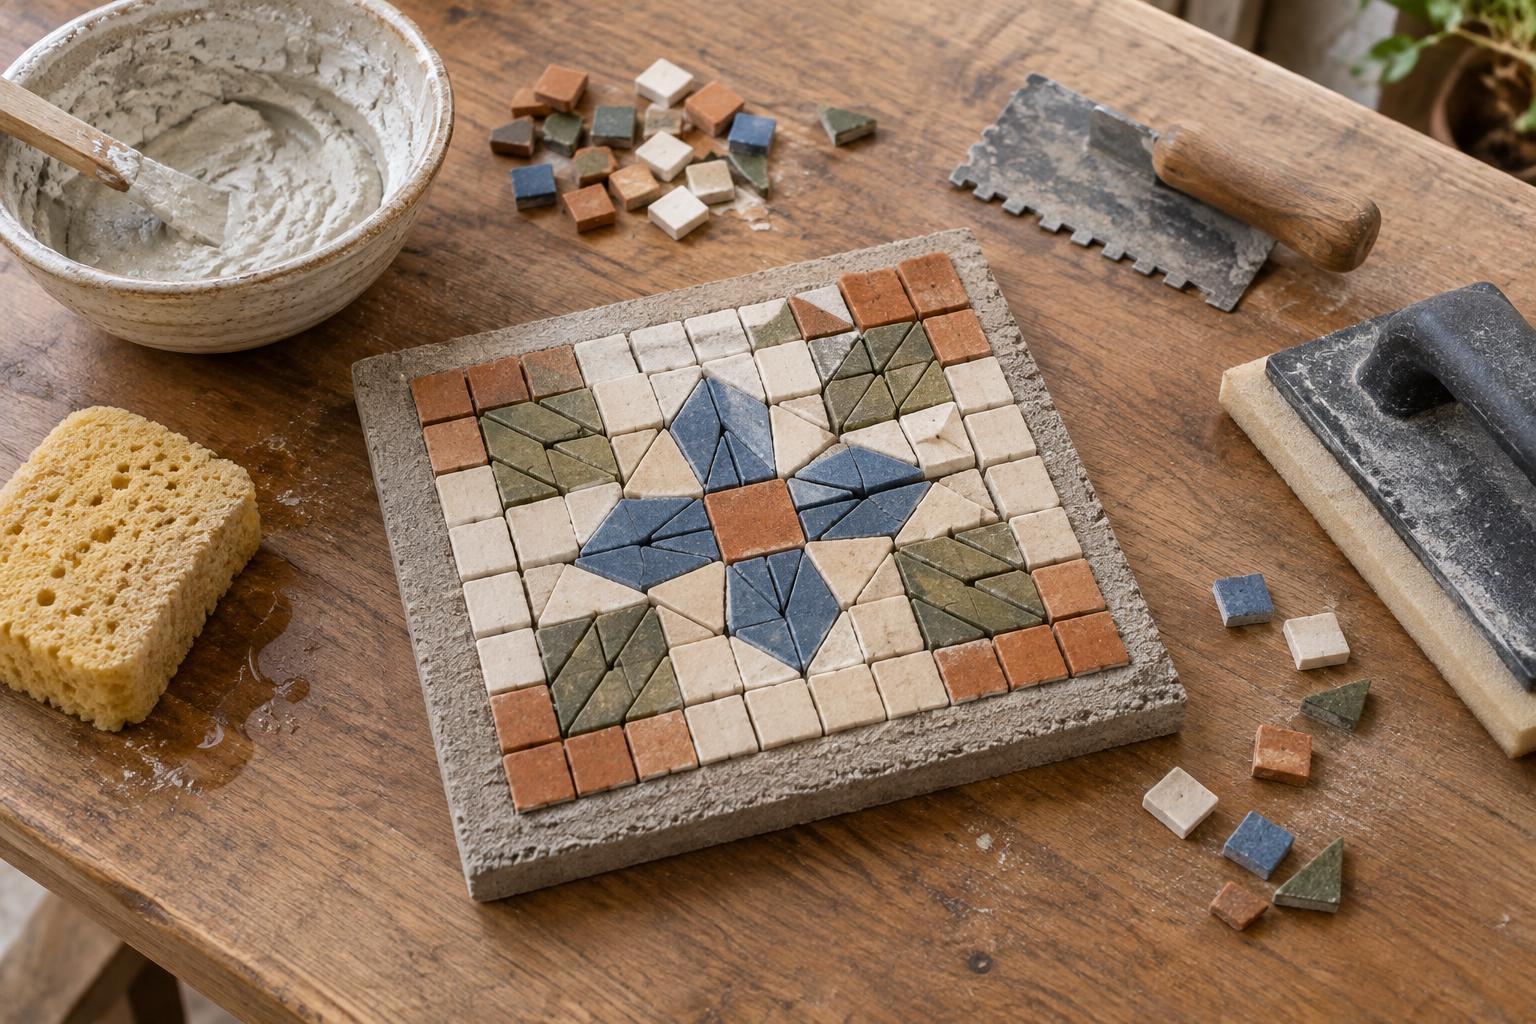
Plan the mosaic from the base up
A mosaic is more than a pattern of small pieces. Its substrate, adhesive, tiles and grout have to work together. Before choosing colours, decide where the finished object will live and whether it needs to bear weight, tolerate moisture or be moved often. A decorative panel for a dry interior wall has different demands from a tabletop or an outdoor planter.
Sketch the design at the size you intend to make it, then lay out some pieces without adhesive. This dry arrangement reveals awkward curves, narrow gaps and areas where a single large piece might look out of place. It also gives you a chance to adjust the design before the materials become difficult to move.
Choose a stable substrate
The substrate is the surface to which the mosaic pieces are attached. For a small indoor decorative project, a rigid board or a prepared ceramic object can provide a workable base. The important qualities are stability, a sound surface and compatibility with the adhesive. A base that bends, flakes or sheds its coating can undermine an otherwise careful mosaic.
Wood can be convenient for dry indoor work, but it expands and contracts as conditions change. Thin wood that flexes is a poor choice for a heavily tiled surface. For damp locations or outdoor projects, select a substrate and fixing materials specifically suited to those conditions; grout alone does not make a project waterproof. Check the product instructions before sealing or priming a base, since a coating that suits one adhesive may interfere with another.
Prepare the surface by removing dust, grease and loose paint. If you are working on an unfamiliar object, test a few pieces in an inconspicuous area first. Once attached and cured, they should feel secure before you commit to covering the whole base.
Leave room for grout
The spaces between mosaic pieces are part of the design. Grout fills those joints and helps visually connect the pieces, so decide early whether you want fine, quiet lines or wider lines that stand out. Consistency matters more than achieving a mechanically perfect grid: gaps that vary unexpectedly can distract from a flowing pattern.
Arrange the main shapes first, then fill the spaces around them. Work outward from a focal point or a clear edge rather than squeezing the final pieces into whatever room remains. On curves, smaller pieces can follow the shape more smoothly than large rectangles. Keep enough space between pieces for grout to enter, but avoid gaps so broad that the grout becomes the dominant surface.
Check for sharp cut edges as you work. Place them where they will not be touched, or smooth them with a tool suited to the material. Wear eye protection when cutting tile or glass, and keep fragments contained. Before gluing, step back and look at the arrangement as a whole; a gap that seems minor up close may be conspicuous at viewing distance.
Attach the pieces before grouting
Choose an adhesive intended for both the mosaic material and the substrate, taking the project’s location into account. Apply it so each piece is supported without forcing excess adhesive up into the joints. Adhesive that fills a gap leaves less room for grout and can be difficult to remove once hardened.
Press pieces into position without pushing them so deeply that their faces sit at noticeably different heights, unless varied relief is part of the design. Clean stray adhesive from the visible surfaces and joints while the product instructions still allow it. Then let the adhesive cure as directed. A piece that shifts during grouting can disturb its neighbours and spoil the spacing you have established.
Apply grout and clean with care
Choose grout suitable for the joint width, materials and setting. Some grout can scratch soft or glossy surfaces, so test it on spare pieces when in doubt. Follow the manufacturer’s mixing and curing instructions rather than adding extra water to make application easier. Wear gloves, and avoid breathing dust while handling dry grout.
Work grout across the mosaic to fill the joints, pressing it into gaps rather than merely spreading it over the top. Remove the excess from the faces of the pieces, taking care not to pull grout back out of the joints. After the grout has firmed up as directed, wipe the surface with a lightly damp sponge, rinsing it often. Too much water or vigorous wiping can weaken or hollow out fresh joints.
A light haze may remain on the pieces after the first cleaning. Buff it off at the stage recommended for the grout you used, and inspect the joints for missed areas. Give the finished mosaic its full curing time before handling it heavily or exposing it to moisture. For later care, gentle cleaning is usually preferable to abrasive scrubbing, especially where the mosaic includes delicate glass or decorative finishes.


