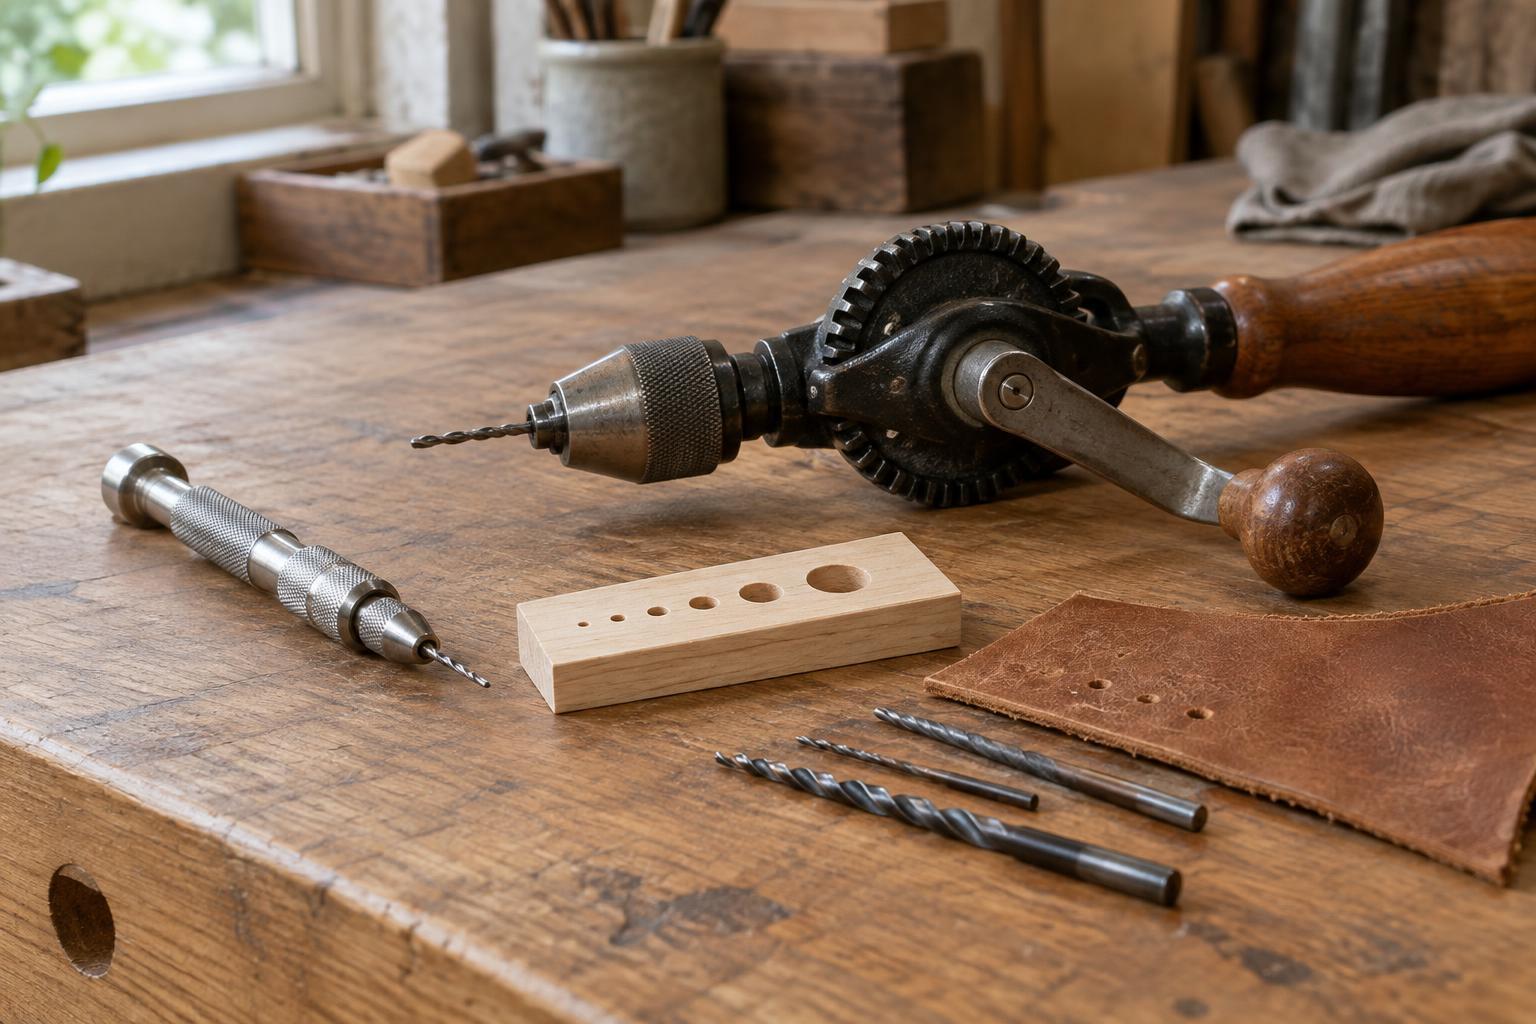
Two tools that turn a bit in different ways
A pin vise is a small handle with a chuck or collet that grips a narrow bit. You turn the handle between your fingers, often while resting its end against your palm. That direct contact makes it easy to feel when the bit starts cutting, wanders or meets resistance. Pin vises suit tiny, shallow holes in tasks such as fitting jewellery findings, making model components or preparing a pilot hole for a small screw.
A hand drill usually refers to a crank-driven tool with a geared chuck. One hand steadies the tool while the other turns the crank, spinning the bit faster than most people can turn a pin vise. It can be more comfortable for larger holes or a run of similar holes, provided the workpiece is firmly held. Check the particular tool’s chuck capacity before buying bits: neither name guarantees that every bit size will fit.
Choose by hole size, material and access
For a very fine hole, especially near a delicate edge, start with a pin vise. Its slower rotation helps you make small corrections before a bit has cut far into the material. It is also useful when the workpiece sits in a tight space that leaves no room for a drill’s crank. The trade-off is effort: a pin vise can feel slow in thick stock, and it is difficult to keep a larger bit turning steadily by hand.
A hand drill is often the better choice when a bit needs more continuous rotation, such as when drilling several pilot holes in softwood. Its speed does not remove the need for light, controlled pressure. Thin sheet metal may snag as a bit breaks through, and brittle or layered materials can split if poorly supported. For leather and other flexible sheet materials, a suitable awl or punch may make a cleaner opening than either drill; the choice depends on whether you need a pierced opening or a round hole with material removed.
Bits and setup matter as much as the handle
Use a sharp bit suited to the material and the hole you want. A fine twist bit is a common starting point for small holes in wood and some metals, but the same bit will not perform equally well everywhere. Dense metal can be slow going by hand; hard stone and glass generally require specialist bits and methods rather than an ordinary craft drill. Test on an offcut when you are unsure how a material will respond.
Mark the hole position clearly, then support the work on a scrap backing board if the bit will pass through it. This reduces damage to the work surface and can help limit splintering on the exit side of wood. Secure small pieces with a clamp or vise rather than holding them in your fingers. Place a protective pad between clamp and object when the surface could be marked, and check that the bit’s path will miss the clamp.
Make the hole slowly and keep it aligned
Begin with the bit upright to the surface unless the design calls for an angled hole. On wood, a small starting mark made with an awl can help the bit find its position; on fragile material, try that step on scrap first because pressure can leave a mark or start a crack. With a pin vise, turn gently and let the bit cut. With a hand drill, keep the tool steady as you crank, rather than pushing hard to force progress.
Pause to clear debris from deeper holes. If the bit bends, stops cutting or starts to wander, back it out and reassess instead of applying more force. Take particular care just before breakthrough, when a bit can catch or leave a rough exit. A backing board, lighter pressure and a sharp bit all help. Remove any small burr with an appropriate file or abrasive, taking care not to enlarge a precisely sized hole.
A practical way to decide
Pick the pin vise when the hole is tiny, the work is delicate or tactile control matters more than speed. Pick the hand drill when the bit fits its chuck, there is room to use the crank and steady rotation will make the job easier. Some projects benefit from both: a pin vise can establish a careful pilot hole before a hand drill enlarges it, as long as the material and finished diameter allow for that sequence.
Neither tool compensates for a dull bit, an unsupported workpiece or a rushed start. Before drilling the finished object, make a test hole in similar scrap using the intended bit and backing. That small trial tells you more about the likely result than the tool’s name alone.


