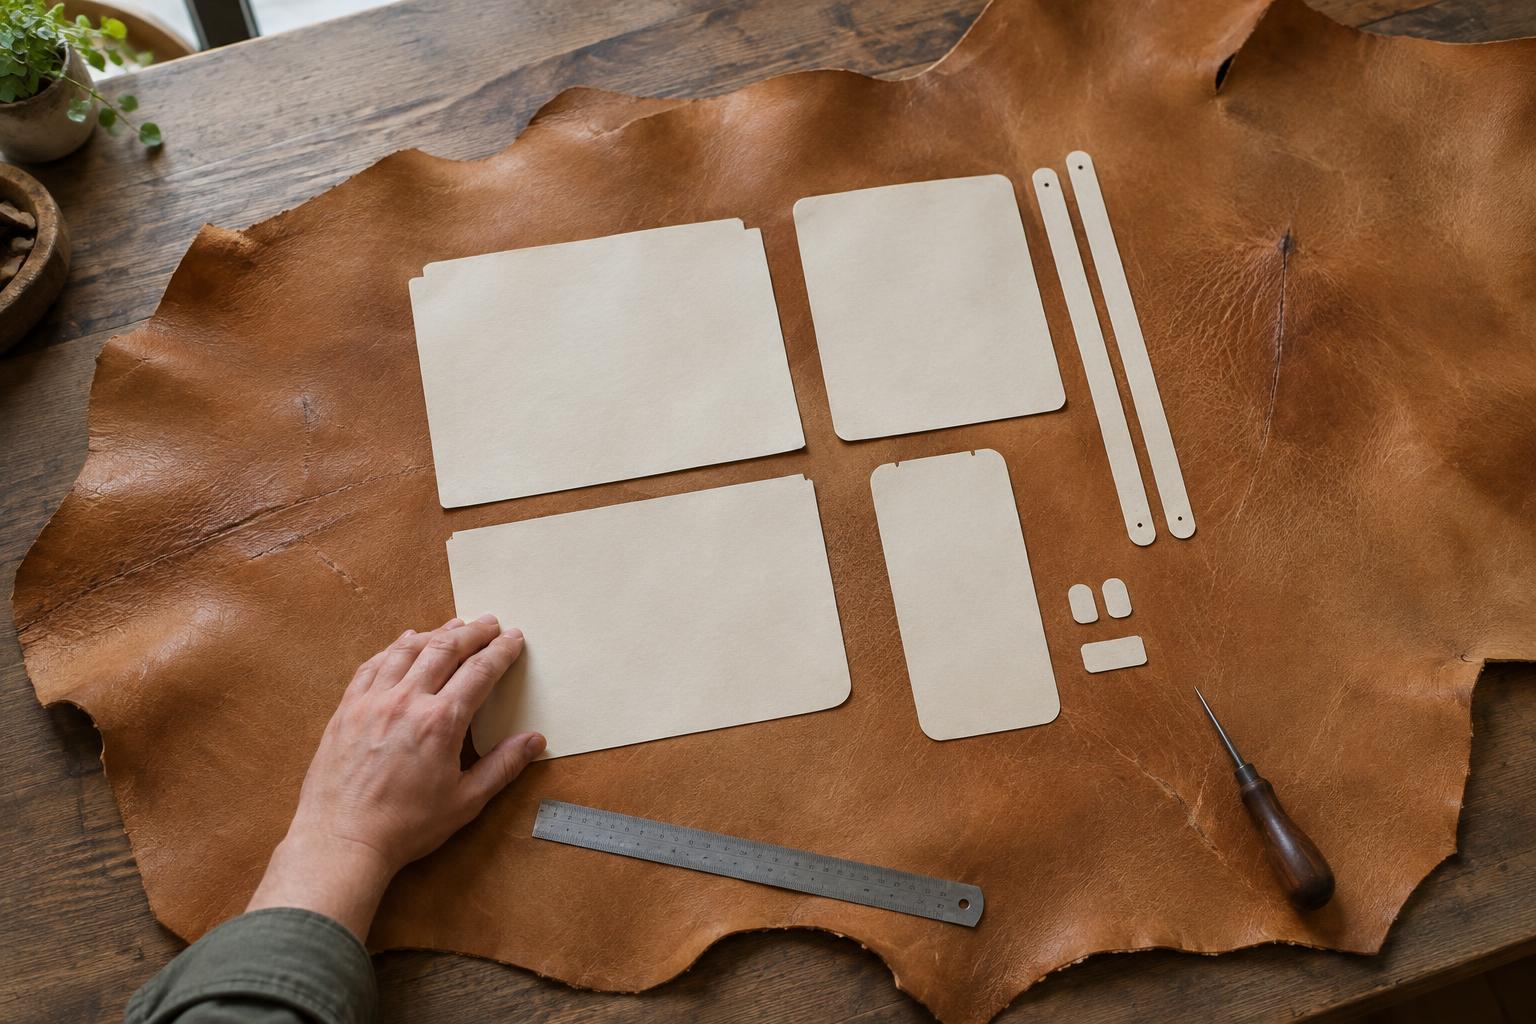
Start with the object, not the outline of the hide
Before arranging patterns, decide what each part of the finished object must do. A wallet front needs an even-looking surface; a strap must resist stretching out of shape; a folded pocket needs enough flexibility to turn neatly. Those requirements matter more than squeezing every piece into the smallest possible area. Label pattern pieces with their intended face, fold lines, stitching lines and any edge that will remain visible.
If a project has paired parts, such as two sides of a pouch, mark them as a pair. Decide whether they need to look closely matched or whether natural variation is part of the design. Include seam, skiving and trimming allowances on the patterns before testing a layout. A placement that looks generous at the finished dimensions may put a stitch line or fold directly across a scar once those allowances are added.
Inspect and map the hide
Lay the hide flat in good, even light and look at both sides. Note scars, scratches, holes, loose-looking grain, colour changes and areas that feel noticeably thinner or firmer. Some marks are only visual; others can interrupt the surface or weaken a narrow piece. Feel around a mark rather than judging it by appearance alone, and check whether a finish or coating makes its depth difficult to see.
The hide may also vary in thickness and firmness from one area to another. Instead of assuming every hide follows the same pattern, handle the particular piece in front of you. Mark observations on a paper outline or with small removable markers placed where they will not affect the leather. Distinguish between areas you want to avoid entirely and areas that might work on a lining, a small tab or a part whose surface will be hidden. Keep marks off the face unless you know they can be removed safely.
Test stretch in the directions that matter
Gently pull a small area in two directions and compare how readily it gives and returns. Repeat in several locations without stretching the leather out of shape. A section that feels stable in one direction may give more across it; another section may feel soft in both. Thickness alone does not tell the whole story, so consider stretch alongside firmness and surface condition.
For a long strap or handle, try to align its length with a direction that feels relatively stable. This can help it hold its intended shape, though construction, leather type and use also matter. For a folded pocket or gusset, some give may be useful, provided it does not make the part floppy or distort a seam. When a component must take repeated strain, avoid placing a deep scar, hole or weak-feeling patch near its stitching or attachment point.
Arrange pieces by priority
Place the largest, most visible or most demanding pieces first. Look for an area with suitable surface quality, thickness and stretch, then set the patterns on the hide without cutting. Next place long narrow pieces, which can be harder to fit than their size suggests. Small tabs and reinforcements can often use sound spaces between larger shapes. Leave room for cutting accurately around curves and for moving a piece if a mark becomes apparent on closer inspection.
Check the complete layout from the finished object's point of view. Will adjacent panels have a distracting difference in colour or texture? Does a feature you intended to hide land on an exposed edge? If parts fold, picture which side will face outward after assembly. A scar can sometimes be used as a visible detail when the leather around it is sound and the choice is deliberate. If it crosses a stressed fold or stitch line, moving the pattern is usually the more dependable option.
Confirm the layout before the first cut
Use weights or another method that will not mark the surface to hold the patterns in place. Review every piece, including its allowances, and trace the intended cut lines with a method appropriate to the leather. If a finish makes marking uncertain, test that method on an offcut first. Photographing or sketching the arrangement can help you keep paired pieces and their orientation straight while you cut.
Finally, leave a little tolerance for the unexpected. A line you thought was superficial may prove deeper at the cut edge, or a narrow space may be too tight for a clean cut. It is better to adjust the layout now than to force an important component from unsuitable material. The aim is not a perfectly packed hide: it is a set of pieces whose surfaces, strength and flexibility make sense in the finished accessory.


