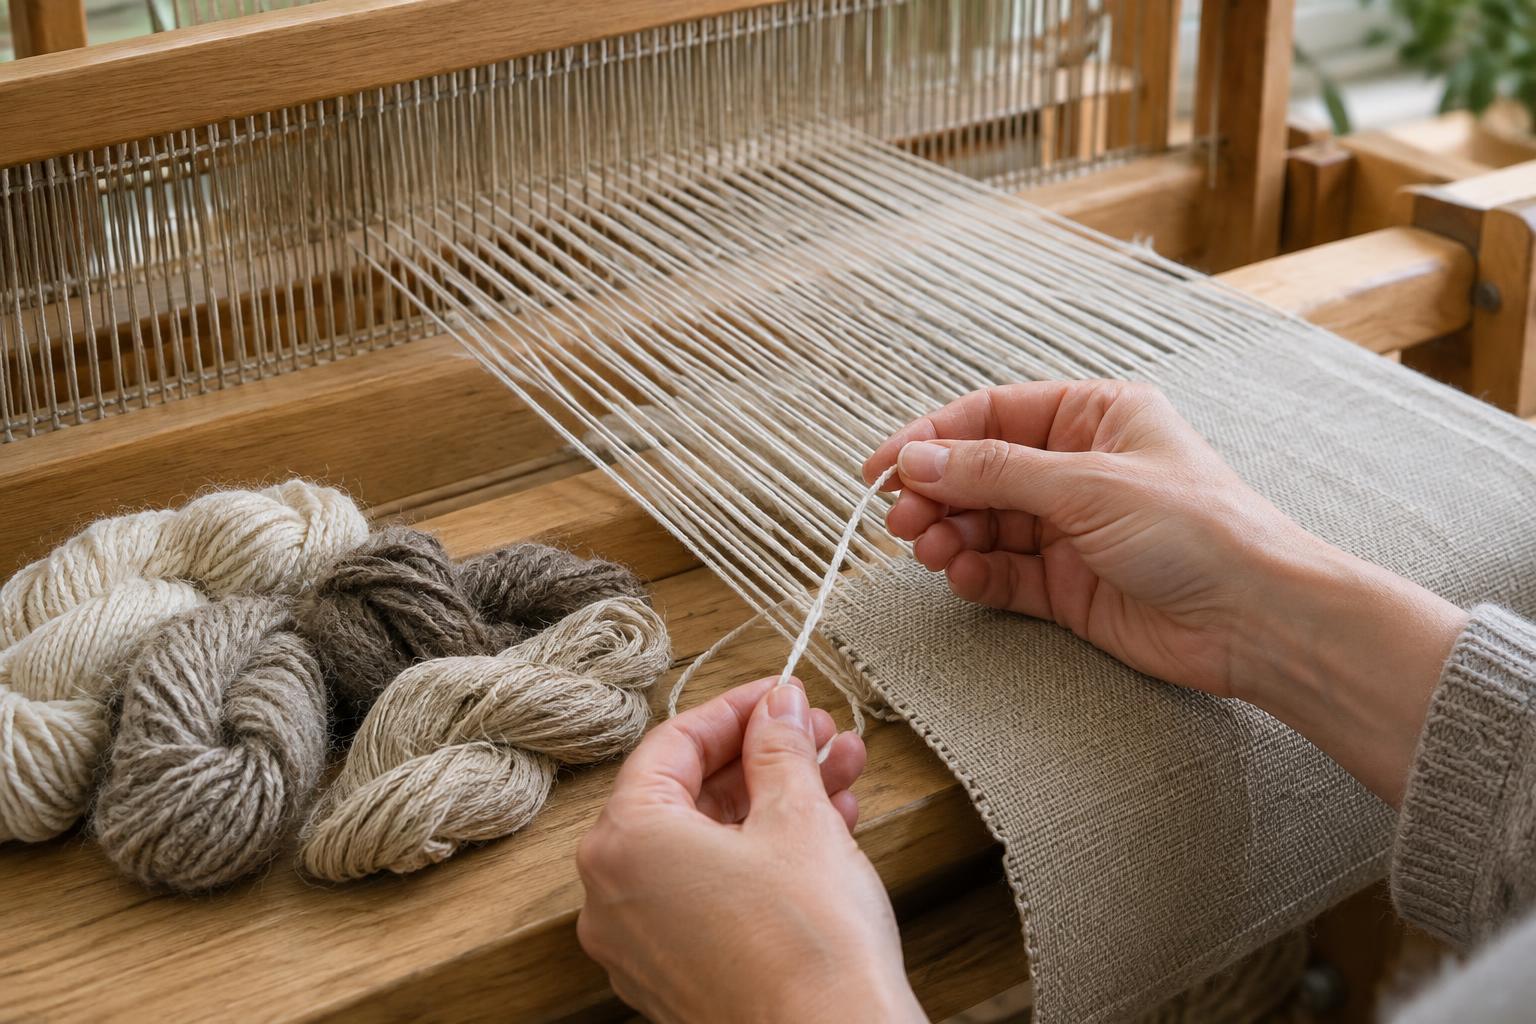
Start with the length you want to keep
Warp length is the length of yarn prepared for the loom, not the length of the finished cloth. Some warp bends around weft as the fabric forms, some length may be lost when the cloth is washed or otherwise finished, and some remains at the ends where it cannot be woven. Planning these allowances separately makes it easier to adjust a project without guessing.
Begin with the usable finished length you want. If you are making several pieces on one warp, list each one, along with any length needed between pieces for cutting, hems or fringe. Decide whether a measurement refers to cloth before finishing or to the object after finishing. Keeping those stages distinct prevents the same loss from being counted twice.
Allow for take-up while weaving
Take-up is the difference between a length of warp used and the length of cloth it produces. As weft passes through the shed, warp yarns bend around it rather than staying perfectly straight. The amount depends on factors such as yarn thickness, weave structure, sett and how firmly the weft is beaten. A balanced plain weave and a weave with long warp floats, for example, need not behave alike.
A sample made with the intended yarns and structure gives a more useful allowance than a universal percentage. Mark a measured length on warp that is still under tension, weave through that length, then measure the resulting cloth after removing it from the loom but before finishing. Record exactly where and how you measured: stretched cloth and relaxed cloth will give different results. If a measured allocation of 100 cm of warp produces 92 cm of unwashed cloth, the cloth length is 92% of the allocated warp length. To plan for a required unwashed cloth length, divide that length by 0.92.
Account for shrinkage during finishing
Finishing can change both the length and the character of woven cloth. Washing may let yarns relax and move closer together; agitation, temperature and fibre type can also affect the result. Pressing or drying under tension may change the measured length again. Because these effects vary, finish a sample in the way you intend to finish the project before relying on its measurements.
Measure the sample before and after finishing using the same reference points. If an unwashed sample measures 100 cm and the finished sample measures 90 cm, it retained 90% of its unwashed length. A planned finished length of 200 cm would therefore call for about 222 cm of unwashed cloth: 200 ÷ 0.90. This allowance describes the measured change from unwashed to finished cloth; do not add a second allowance for relaxation if your sample measurement already includes it.
Add loom waste and space for sampling
Loom waste is warp length that does not become usable fabric, commonly because the ends must be tied on or attached to rods and cannot be advanced far enough to weave. The amount depends on the loom and how it is dressed. Measure it from a previous project on the same setup if you can, noting how much unwoven warp remains at both ends. A different tie-on method or a change in how close you weave to the back attachment may alter that figure.
Treat sampling and dividing spaces as separate items. A trial section can help you check beat, appearance and finishing before committing to the main fabric, but it consumes warp. Likewise, space between two pieces may be needed for cutting or fringe. Add the warp those sections require rather than hiding them in a vague extra allowance. If a sample must yield a particular finished length, calculate its take-up and shrinkage just as you would for the main piece.
Put the measurements together
Work backwards from the finished object. First divide its desired finished length by the fraction retained after finishing. Then divide the resulting unwashed cloth length by the fraction of allocated warp that became cloth. Finally, add loom waste and any separately planned warp for sampling or spaces between pieces. Apply the calculation to each piece if their finishing or construction will differ.
For example, suppose you want 200 cm of finished cloth. Your sample retains 90% of its unwashed length after finishing, and 92% of its allocated warp length becomes unwashed cloth. The calculation is 200 ÷ 0.90 ÷ 0.92, or about 242 cm of warp allocated to that cloth. If your loom setup uses another 50 cm of unwoven warp and you plan 25 cm of warp for a trial section, prepare about 317 cm in total. These figures illustrate the method, not standard allowances. Round up sensibly for your project, and keep your sample measurements with your notes so the next warp is easier to plan.