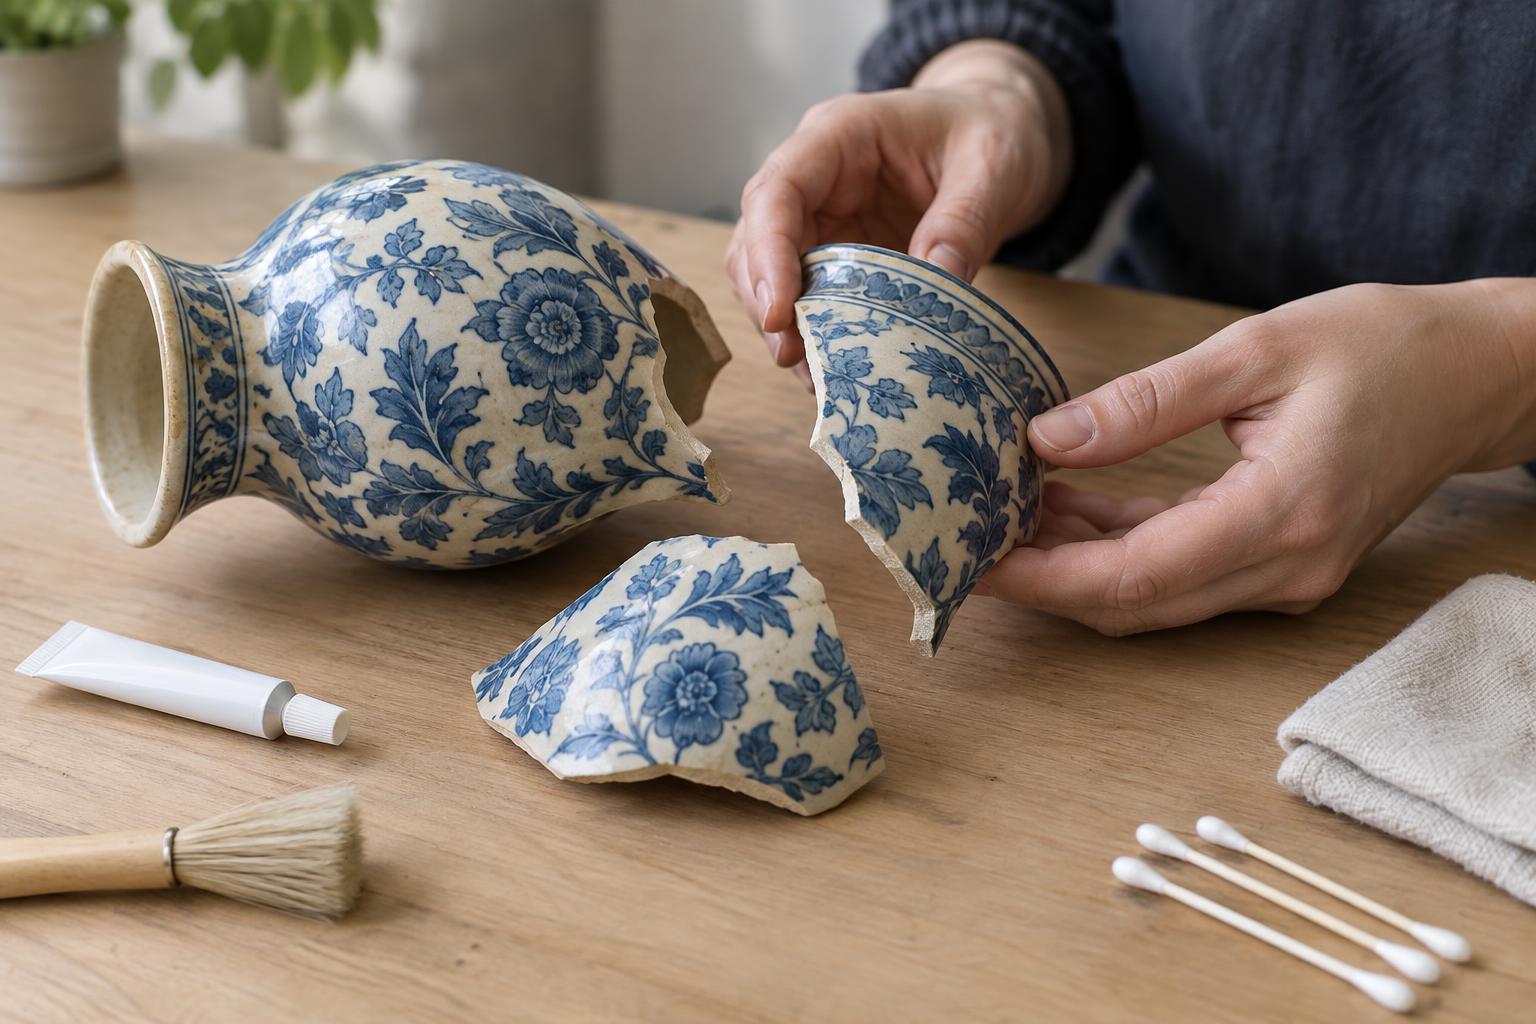
Start with the object, not the glue
Before opening an adhesive, decide what the repaired object will need to do. A small ornament that sits undisturbed on a shelf presents a different problem from a heavy vase with a narrow base or a figurine with a projecting arm. An adhesive must hold the fragments together, but it cannot always restore the strength of uninterrupted ceramic. A repair that looks neat may still be vulnerable to a knock or to the weight of the object itself.
Look closely at the broken edges. Unglazed ceramic often feels slightly rough and may absorb liquid; glazed surfaces are smoother and less absorbent. Check whether the pieces meet cleanly or whether chips have left gaps. Lay out every fragment on a padded surface and try a dry fit without adhesive. If the pieces rock, overlap, or require force to meet, work out their order before proceeding. Do not grind away original material simply to make a joint appear easier to close.
Compare adhesives by fit and future needs
Epoxy adhesives are a common choice for decorative ceramics because many formulations bond well to rigid materials and can bridge small gaps. They usually come in two parts that must be mixed in the stated proportions. Their working time varies: a fast-setting epoxy gives little opportunity to adjust alignment, while a slower-setting one can make a complex assembly easier. Check the product label for its suitability for ceramic, its working and curing times, and any limits on temperature or moisture. Epoxy can be difficult to remove cleanly, so it is not automatically the best choice for a valuable or historically significant object.
Cyanoacrylate, often sold as super glue, can suit a small, clean break whose edges fit closely. It sets quickly and generally works best in a thin bond line rather than a wide gap. That speed can also be a drawback: a misplaced fragment may be hard to reposition, and excess adhesive can leave a visible mark on a glossy surface. A delicate projection may need support while it cures, even if the joint seems to grab immediately.
Some water-based craft glues are easier to handle and clean up, but suitability varies widely. A glue that works for a porous craft project may not hold well on glazed edges or support a heavy piece. For a valuable object, an adhesive chosen for easier future removal may matter more than maximum initial strength. That decision is best discussed with a qualified ceramics conservator rather than based on a general-purpose glue label.
Prepare and assemble a clean joint
Keep all fragments, including tiny chips, until the repair is planned. Remove loose dust with a soft brush and make sure the bonding edges are dry. Avoid soaking a porous fragment or using strong cleaners on painted decoration, gilding, or an unfamiliar finish. Previous adhesive is another complication: a new glue applied over an old, uneven layer may prevent the pieces from seating properly. If removing that layer risks damaging the ceramic, pause rather than scrape aggressively.
Plan how you will hold the object steady before applying adhesive. A towel, padded box, or soft supports can keep a curved piece from rolling. For several fragments, assemble them in an order that leaves each joint accessible; a dry run helps reveal whether a piece will become trapped. Apply only the amount of adhesive needed to coat the joining surfaces, following the manufacturer's instructions. Press the edges into alignment without forcing them, and support the assembly for the full stated cure time. Setting and full curing are not necessarily the same thing.
Protect your work surface and follow the label's guidance on ventilation, skin contact, and cleanup. Remove any squeeze-out only as directed for that adhesive and only when doing so will not smear it across a finish. Test an inconspicuous area first if a cleanup method might affect decoration.
Know when a repair should remain decorative
Do not assume a repaired plate, cup, or bowl is suitable for food or drink. An ordinary adhesive bond and the crevices around it may not withstand washing, heat, or repeated use, even when the object looks intact. Unless the entire repair method has been specifically assessed for its intended use, treat the piece as decorative. Keep repaired objects out of the dishwasher, microwave, and other conditions the adhesive maker does not explicitly permit.
If an object is valuable, has fragile painted details, bears evidence of an earlier repair, or has a break that must carry substantial weight, consider leaving the pieces unglued until a conservator can assess them. For an everyday decorative piece, the most appropriate adhesive is usually the one that matches the joint's fit and demands while giving you enough time to align it carefully. The goal is a stable, honest repair—not a promise that the break has disappeared.


