Start with the edge you have
Sharpening removes a small amount of metal to bring two surfaces together at a clean edge. On a woodworking chisel, those surfaces are usually the bevel and the flat back. Many craft knives have bevels on both sides of the blade. Before picking up an abrasive, look closely at the tool: the existing shape tells you which surfaces need attention.
Check whether the edge is merely dull or visibly damaged. Light dullness often needs only honing on a fine abrasive. A chip or rounded bevel may need a coarser abrasive first. Replace a disposable craft knife blade rather than trying to sharpen it; thin blades can be difficult to hold securely, and a fresh blade is generally the more practical choice. For a reusable knife, follow the shape of its existing bevel unless you have a specific reason to change it.
Set up a stable, safe sharpening area
Place the stone or other sharpening surface on a non-slip base at a comfortable height. Keep the work area clear so your hands have room to move, and point the edge away from fingers whenever you handle or inspect it. If a blade is too small to grip safely, use an appropriate holder. Never try to steady a small knife blade by pressing a fingertip near its edge.
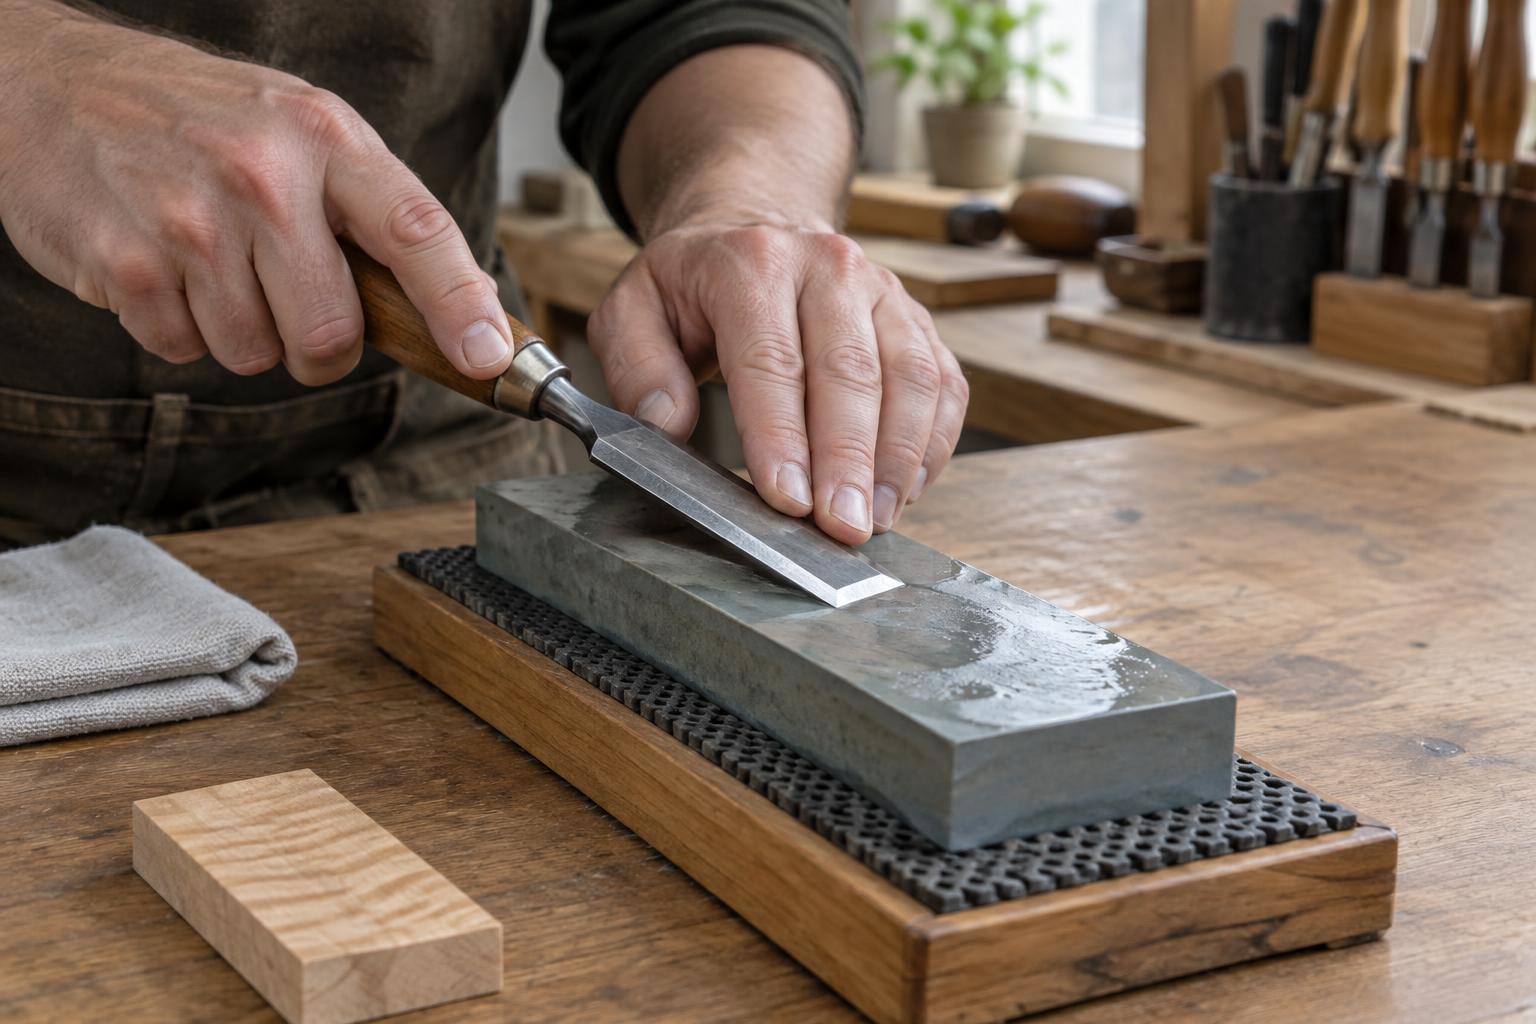
Sharpening stones, abrasive sheets and diamond plates can all work. Use each abrasive as directed by its maker: some stones need water, some use oil, and others work dry. Do not switch a stone between oil and water without checking whether it is suitable. A flat, clean abrasive makes it easier to maintain a consistent bevel. If you are new to sharpening, a honing guide can help hold a chisel at a repeatable angle, though careful freehand work is also possible.
Hone the bevel without changing its shape
Rest the existing bevel against the abrasive and raise the tool only enough to feel that bevel sit evenly. For a chisel, keep the edge square to the direction of travel and move it across the abrasive with controlled, moderate pressure. Use enough of the surface to avoid wearing one narrow track. If you are using a guide, check that the chisel is clamped squarely before you begin.
For a reusable craft knife with two bevels, work each side in turn, keeping the angle and number of strokes reasonably balanced. A marker line on the bevel can show where the abrasive is touching: ink left at the edge suggests the angle is too low, while ink left nearer the shoulder suggests it is too high. The aim is not to achieve a particular angle for every tool. It is to reach the cutting edge while preserving a shape suited to that blade.
Move from a coarser abrasive to a finer one only when the previous surface has done its job. Finer honing can refine an edge, but it will not quickly remove a chip or correct a badly rounded bevel. Wipe the blade between abrasives so coarse particles do not carry over.
Find and remove the burr
As you hone one surface, a thin lip of metal called a burr may form on the opposite side of the edge. Its presence can indicate that you have reached the edge, but it is not the finished cutting surface. Do not run a finger along the blade to check for it. With the tool stationary, you can gently feel across the edge from the back toward the cutting line, keeping your fingertip clear of the edge itself.
On a chisel, lay the flat back against a fine abrasive and make a few light passes to remove the burr without lifting the back into a new bevel. Alternate briefly between bevel and back if needed, using less pressure each time. On a double-bevel knife, alternate light passes on each side. A strop may help remove a remaining trace, but excessive pressure or a steep stropping angle can round the edge you have just made.
Check the cut and maintain the edge
Clean and dry the tool, then test it on a suitable piece of scrap rather than on your hand. A chisel should cut cleanly through the material it is intended for without needing a hard shove. A craft knife should make a controlled cut without dragging or tearing more than the material normally would. If the cut still feels poor, inspect the bevels and repeat the fine honing and burr-removal steps before removing more metal.
Sharpen little and often where practical. Light honing usually takes less work than restoring a severely dull edge. Store blades so their edges do not strike other tools, and use a sheath, guard or closed handle where appropriate. A sharp tool still requires care, but an edge that cuts predictably makes it easier to work with deliberate, controlled movements.


