Know the path each warp end must take
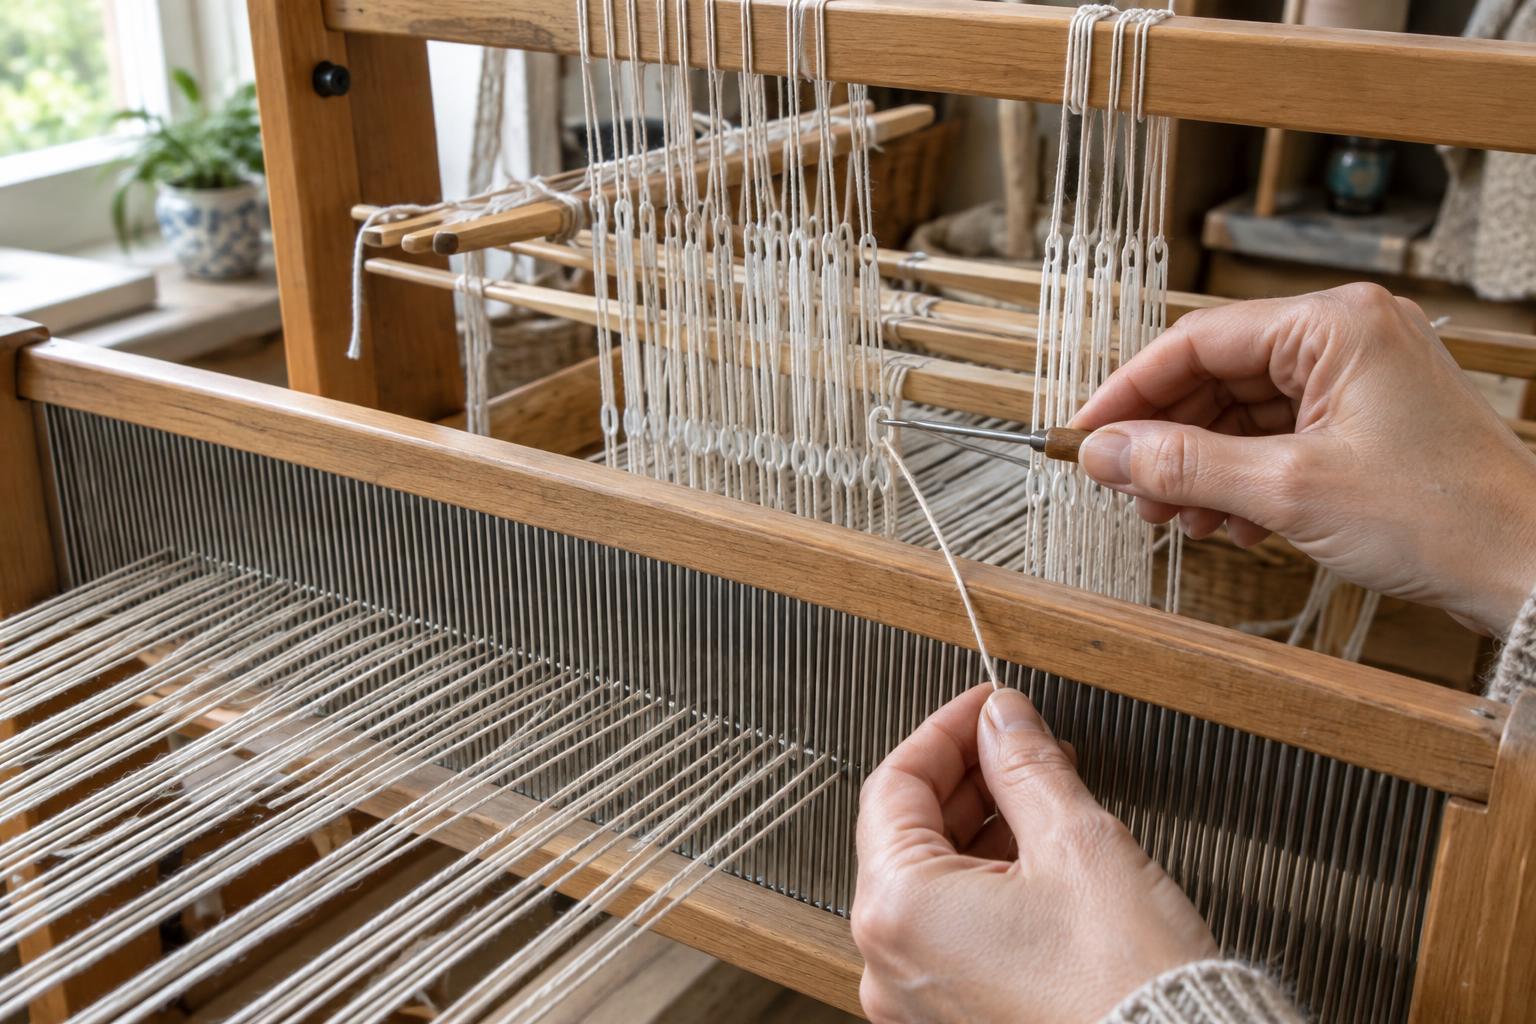
On a shaft loom, warp threads travel from the back of the loom through the heddles, then through the reed, towards the cloth beam at the front. A heddle has an eye that guides one warp end. Heddles are carried on shafts, which raise or lower groups of ends to make a shed for the weft. The reed keeps the ends spaced across the weaving width and helps push each weft pick into place.
Threading assigns each warp end to a shaft according to a pattern, or draft. Sleying assigns ends to the spaces in the reed, called dents. These are separate decisions: the threading order determines which ends move together, while the sleying plan helps establish their spacing. Check your loom’s instructions for its preferred direction of access; the working position can vary, but the order of the warp ends must remain clear.
Keep the warp cross secure
A prepared warp usually has a cross that preserves the order in which its ends were wound. Lease sticks placed through the cross make it easier to take one end at a time without losing that order. Before threading, check that the sticks are secure, the warp is supported and loose ends cannot slip back into the bundle. Keep scissors and other sharp tools away from the warp.
Work in small groups rather than releasing the whole warp at once. Gently separate the next end at the cross and trace it forward, removing obvious twists as you go. If you lose your place, pause and find the order again instead of guessing. A missed or doubled end is much easier to correct now than after the warp has been tied on and weaving has begun.
Thread the heddles in a repeat you can check
Choose a threading order before you start. For plain weave on two shafts, a common arrangement alternates ends between shaft one and shaft two: 1, 2, 1, 2. Other structures need their own threading plans. Starting at one edge, take the next warp end from the cross and draw it through the eye of the heddle specified by the plan. A threading hook can help, especially with fine yarn, but pull gently so you do not abrade it.
Keep the ends in their original left-to-right order as they pass through the heddles. Thread a manageable group, then check it against the planned repeat before continuing. Look for skipped heddles, two ends in one eye where only one was intended, and ends that loop around a heddle frame rather than passing cleanly through an eye. Tie or otherwise secure each completed group loosely at the front so its ends remain easy to identify for sleying.
Sley the reed for the intended spacing
A reed’s size is often described by its number of dents per inch or per centimetre. Your sleying plan states how many warp ends go through each dent. One end per dent is straightforward, but a plan may use two or more ends in some dents to achieve the intended spacing. This spacing is commonly called the sett. Choose a plan suited to the yarn and cloth you want to make, and check which unit your reed uses before counting dents.
Beginning at the same edge used for threading, draw each end through its assigned dent with a reed hook. Keep the sequence intact: an end should not travel diagonally across its neighbours between heddle and reed. Count dents and ends in short groups, then inspect the section before moving on. If the plan includes empty dents or a deliberate change at the edges, mark those positions so you do not mistake them for omissions. Secure completed groups without pulling them tight enough to distort their spacing.
Check the warp before weaving
Once every end is through the reed, compare the total threaded and sleyed ends with your plan. Sight along the warp for crossed ends, check the threading repeat, and confirm that the reed is centred for the intended weaving width. Tie the warp onto the front apron or rod in small, even groups, following your loom’s arrangement. Adjust the groups gradually to bring them under reasonably even tension rather than tightening one edge completely before the other.
Test the shed before weaving in earnest. Operate the shafts and look for ends that fail to rise or fall as expected, catch on a neighbour, or take a visibly different path. A short trial of weft can reveal spacing or tension problems. It is worth correcting a threading or sleying error at this stage: the work is slower than weaving a few rows, but far simpler than unpicking cloth later.