Know what the block can do
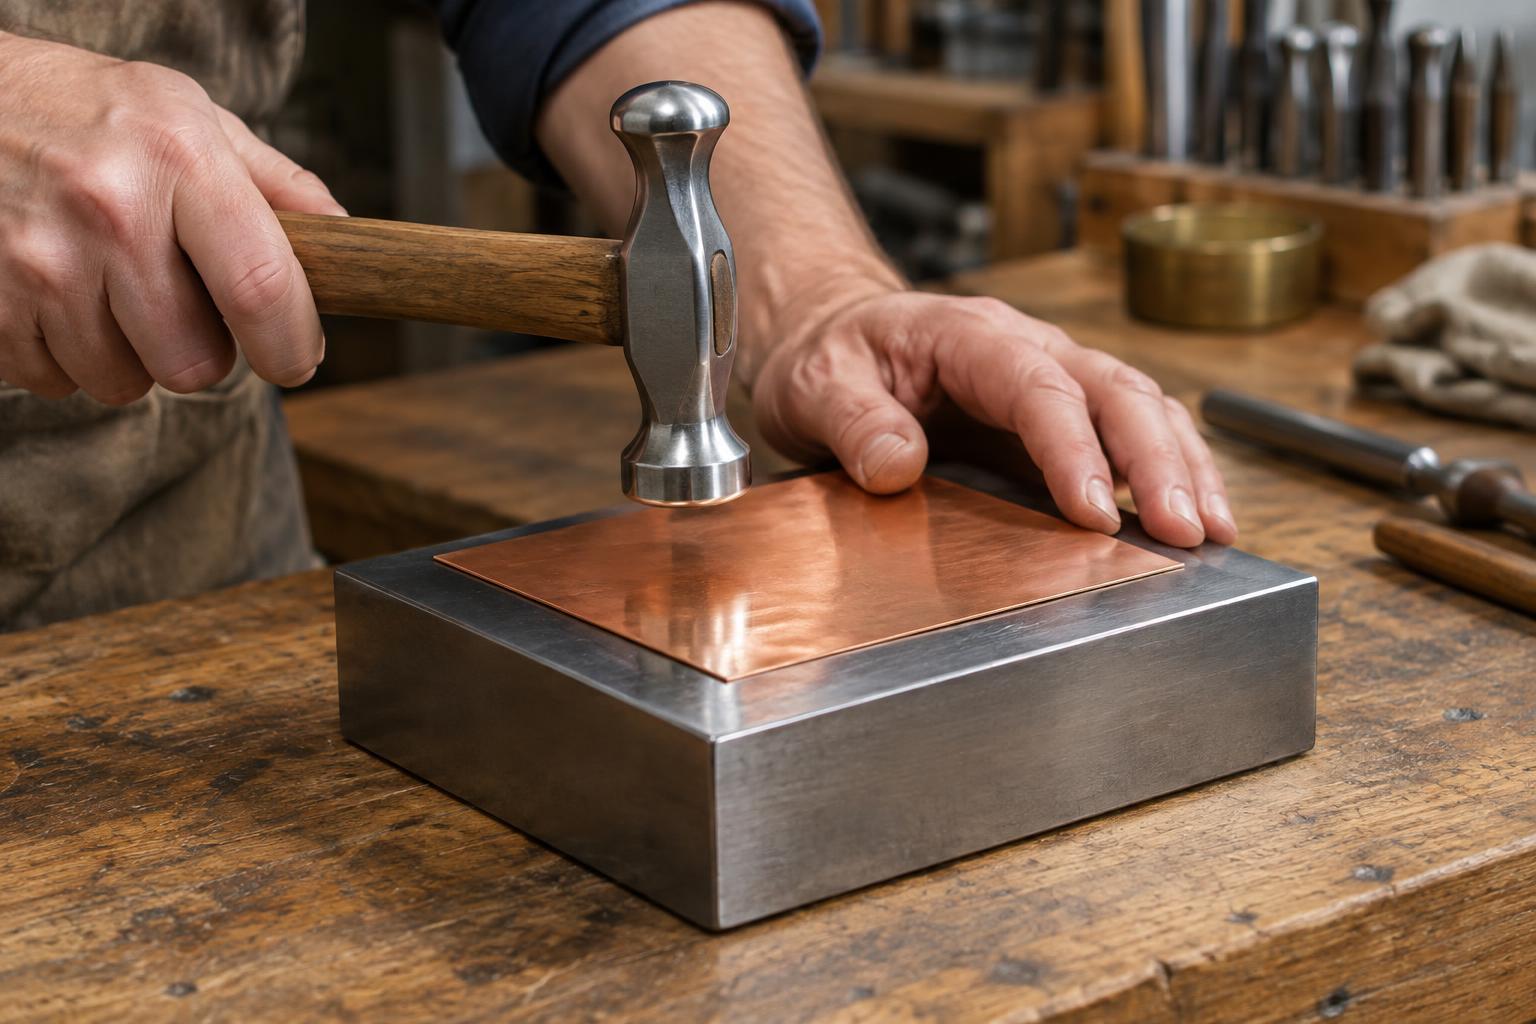
A bench block is a hard, flat support for working small pieces of metal. It is useful for flattening sheet, straightening a strip and refining a bend. Its firmness makes each hammer blow effective, but it also means the metal can record the condition of the block and hammer. A mark in either tool face may leave an impression in the work.
Think of the block as a surface for controlled, mostly flat work rather than a tool for every shape. A shallow curve may be adjusted against its edge, but a dome needs support that matches the intended form, such as a doming block or another suitable forming surface. Trying to force a hollow shape against a flat block can create uneven bends or sharp creases.
Start with a small offcut of the same metal if one is available. A few test blows will show how readily it moves and whether your chosen tools leave visible marks. That is easier to correct than discovering a problem on a nearly finished piece.
Prepare the surfaces before striking
Place the block on a stable bench where it cannot rock or slide. A firm pad beneath it can help protect the bench and reduce noise, provided the block remains steady. Clear away filings, grit and clipped wire: a tiny fragment caught between the work and the block can press a distinct dent into the metal.
Check the block under good light and wipe it clean. Its working face should be smooth, without raised nicks or rust. Check the hammer face as well. A polished metal face is appropriate when you want to control or smooth the marks made by hammering; a scarred face is likely to transfer its pattern. Keep any deliberate texture-making hammer separate from tools reserved for clean finishes.
The workpiece matters too. Remove loose debris and look for burrs that could scratch the block or hold the piece unevenly. If the visible face must remain especially smooth, consider whether a protective layer or a softer support suits the task. Such layers change how a blow is transmitted, so test them before using them on the final piece.
Match the hammer to the finish
A metal hammer moves metal decisively, but direct steel-on-metal contact often leaves some evidence of the blow. A smooth-faced planishing hammer and a smooth block can make those marks finer and more regular; they do not guarantee a flawless surface. Where preserving an existing finish matters more than moving metal quickly, a clean nylon or rawhide mallet may be a better starting point.
Choose a hammer you can control comfortably. Excessive weight encourages harder blows than a small part needs, while an unsuitable or damaged face makes consistent contact difficult. Hold the handle securely without gripping so tightly that your wrist becomes rigid. Bring the face down squarely, rather than letting an edge strike first.
Wear eye protection and keep fingers out of the hammer’s path. Hold a small piece with an appropriate aid if there is not enough room to position your fingers safely. If a part springs, slips or needs great force to move, stop and reconsider the support and method instead of striking harder.
Use light, deliberate blows
For flattening, lay the metal fully against the block and begin with gentle taps. Work across the area in an orderly pattern rather than repeatedly hitting one spot. Lift and inspect the piece often, turning it to check for a developing curve or twist. Small corrections are easier to control than a single heavy blow.
If you are straightening a strip, identify where it departs from the intended line and support that area before striking. Avoid hammering an unsupported section over the block’s edge unless you mean to make a bend there. To refine an existing bend, make gradual adjustments and check the angle between blows. Repeatedly bending back and forth can leave the metal harder to work and may eventually weaken it.
Shaping usually requires more than one kind of support. Use the bench block for the flat portions and move to an appropriately curved surface for curves. This keeps the contact beneath the work aligned with the shape you want, instead of relying on hammer force to overcome poor support.
Inspect the result and adjust your method
Look at the work from several angles under raking light, which makes small dents and ripples easier to see. If you find a repeated mark, inspect the matching area of the hammer and block before continuing. Random isolated dents may point to trapped debris or a piece that shifted between blows. Clean the surfaces, steady the work and test again with lighter strikes.
Some metal finishes call for later smoothing, while others are best preserved by avoiding direct metal-hammer contact from the outset. The right approach depends on the material, its thickness and the appearance you want. When a piece stops responding predictably, do not assume more force is the answer. A different support, a different hammer or a pause to reassess the sequence of work may prevent a small imperfection from becoming permanent.


