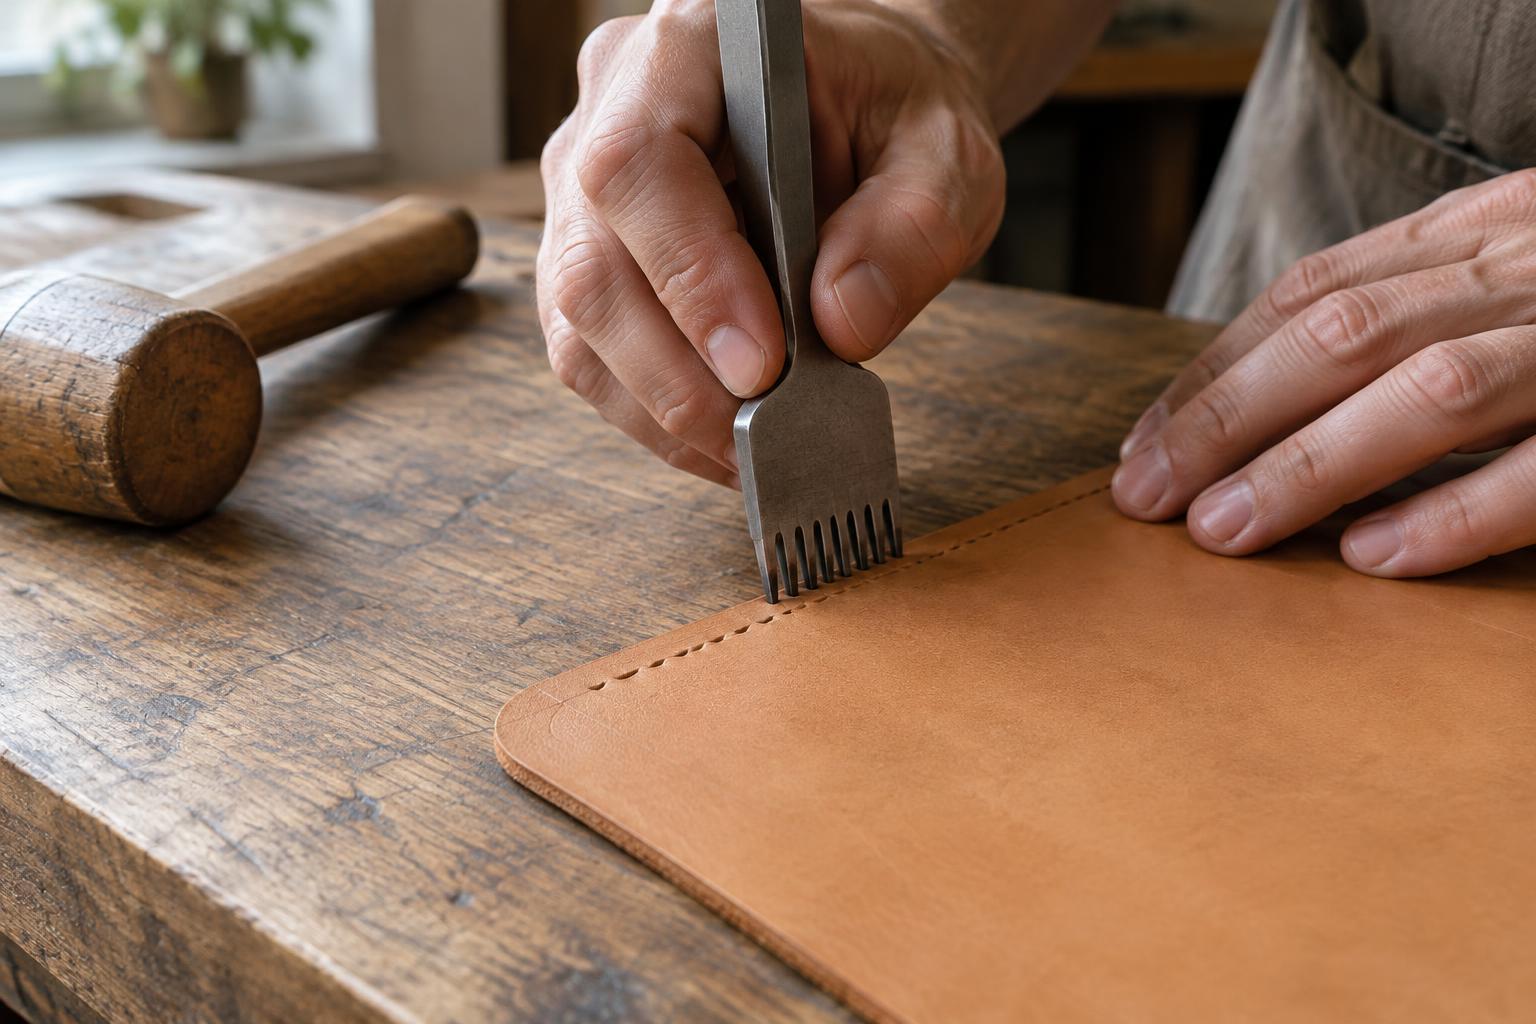
What a pricking iron does
A pricking iron has a row of evenly spaced teeth that marks where hand-stitching holes should go. It takes much of the guesswork out of placing each stitch by eye. Depending on the iron, the leather and the maker’s method, the teeth may leave shallow impressions or enter the leather more deeply. A traditional approach is to mark the surface with the iron, then open each mark with an awl while stitching. A stitching chisel, by contrast, is generally intended to make holes through the leather. Check how your particular tool is meant to be used rather than assuming every toothed tool works the same way.
The distance from one tooth to the next is the stitch pitch. Closer spacing can suit a small, fine seam, while wider spacing may be easier to work with on thicker leather or a larger object. Neither is automatically better. The aim is to choose a pitch that looks balanced beside the thread, leather thickness and scale of the piece, then use it consistently throughout the seam.
Prepare the stitch line before marking
Begin with a cleanly cut edge and decide how far the stitches should sit from it. Mark a light guide line with an edge creaser, a divider or another tool suited to the leather. The line gives the iron a path to follow; it does not need to be deeply cut. On a glued assembly, make sure the layers are aligned and secure before marking, since a shifting layer can spoil an otherwise even row of stitches.
Test the layout on a scrap of the same leather if you can. This lets you see how clearly the teeth mark the surface and whether the chosen pitch suits your thread. It is also a chance to check where the seam will begin and end. If the final stitch must land at a particular point, such as the end of a flap, plan the run before striking the iron. A small adjustment to the seam’s starting point may look neater than an unusually short last stitch.
Mark straight runs without losing the rhythm
Set the leather on a firm, protective work surface. Place the first iron so its teeth follow the guide line, with the tool upright rather than leaning toward the edge. Keep your fingers clear of the striking area and use a suitable mallet if the tool needs a tap. Aim for controlled, repeatable impressions; striking harder than necessary can make the iron difficult to remove or damage the leather.
To continue the row, place one or more teeth into the last marks you made. Those marks act as an index for the next placement. Check that the remaining teeth still sit on the guide line before you tap again. Lift the iron straight out rather than rocking it sideways, which may enlarge or distort the marks. Work in manageable lengths and pause occasionally to look along the seam: a slight change of angle is easier to correct early than after it has carried across the whole piece.
Handle curves and corners deliberately
A long iron is efficient on a straight seam but awkward around a tight curve. Switch to an iron with fewer teeth when the line begins to bend, using an existing mark to preserve the spacing. On a gentle curve, small changes in the angle of each placement may be enough. On a tight curve, perfectly uniform spacing along both sides of every stitch may not be possible; judge the visible rhythm of the marks rather than forcing the tool into an angle it cannot follow.
Corners deserve a layout check before any marks are made. Decide whether a stitch should sit at the corner or whether the row should turn around it. Marking inward from both ends of a short seam can reveal a spacing conflict in the middle, so test the tooth positions lightly first. If the run does not divide neatly, consider shifting the start point or making a subtle adjustment across several stitches instead of leaving one conspicuously cramped gap.
Check the marks before stitching
Once the seam is marked, look for gaps, doubled marks and places where the row drifts toward the edge. Shallow impressions can often be corrected before the holes are opened; pierced holes offer far less room for adjustment. If you will use an awl, follow each mark while keeping the awl’s angle consistent so the holes emerge where intended on the other side. On layered work, check the back as you go rather than assuming a straight-looking front guarantees a straight exit row.
Even stitching is not produced by the iron alone. A clear guide line, a suitable pitch, careful indexing and consistent hole-making all contribute to the result. Practising these steps on offcuts builds a feel for the tool and makes it easier to spot a wandering row before it becomes a finished seam.


