What a knot does between beads
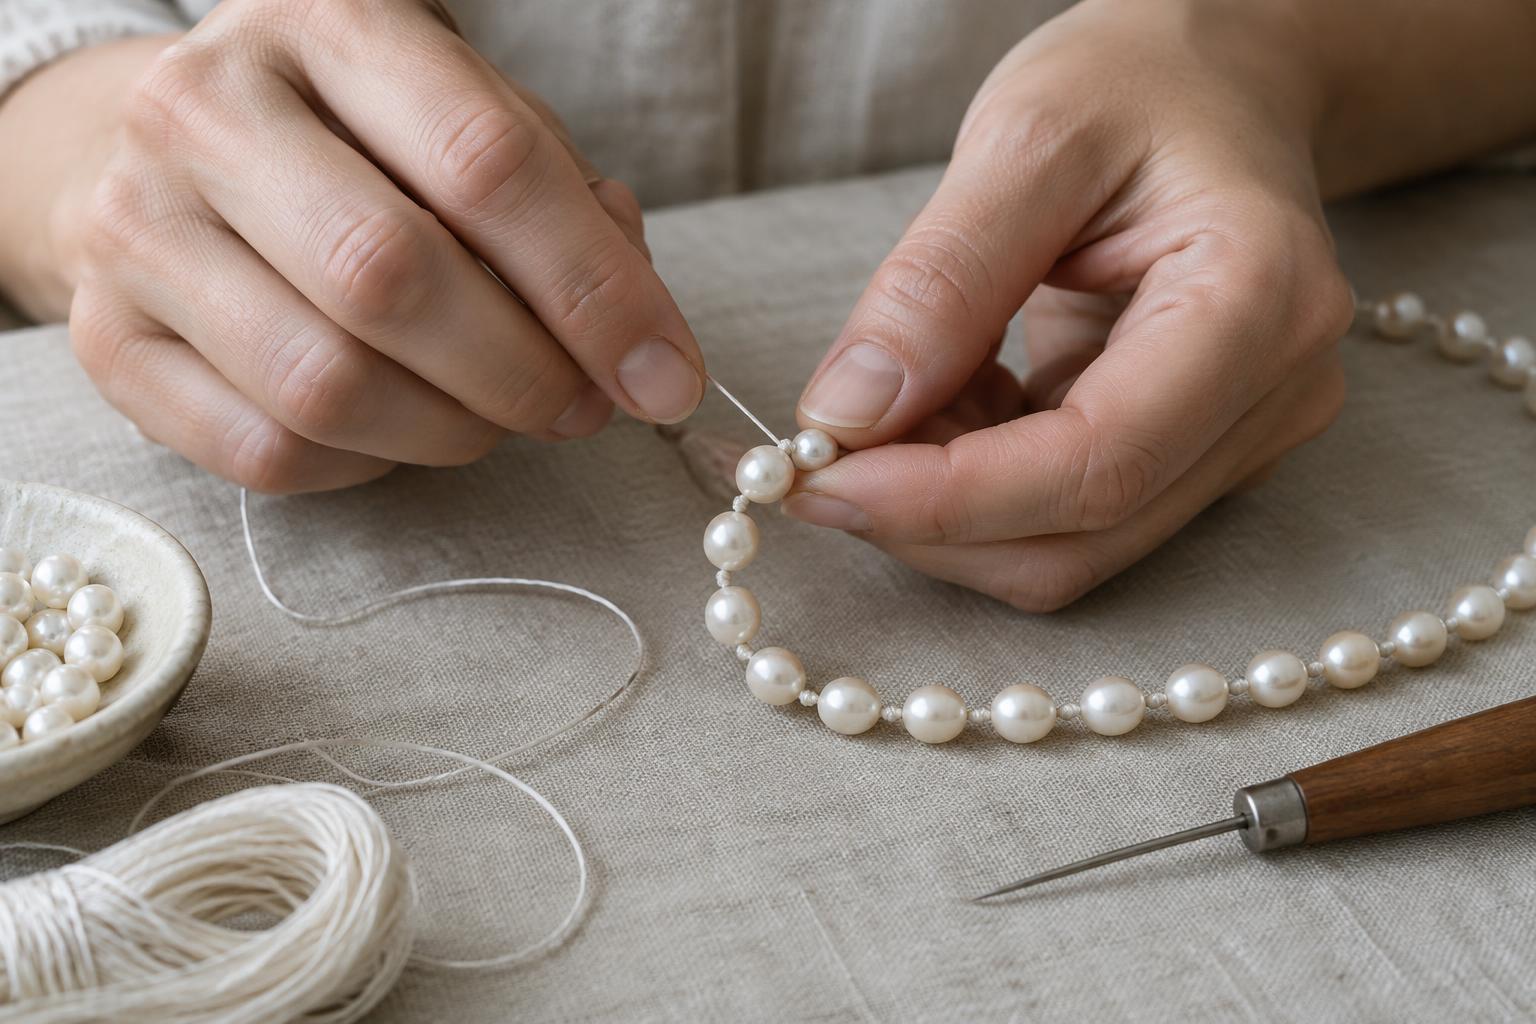
A knotted strand has a small knot separating each bead from the next. This is common on pearl necklaces, but the technique can also suit other beads when a soft, flexible strand is wanted. The knots create a little space between neighbouring surfaces, which may reduce rubbing during wear. They also give the strand a distinct rhythm: rather than sitting tightly against one another, the beads can move more independently.
If the stringing material breaks, knots may help keep beads from sliding off the entire strand. They are not a guarantee against loss: where the break occurs, how the strand was finished and how the beads are handled afterward all matter. Knotting also adds length, sometimes noticeably, so it should be planned before choosing the number of beads or the position of a clasp.
Decide whether the strand is a good candidate
Begin with the beads themselves. Knotting is especially useful when their surfaces could be marked by repeated contact. It is less useful if the holes have sharp edges that may cut through thread; inspect those edges first. Check that the holes will admit the chosen thread, including any doubled section needed for stringing, without forcing it. A knot should be large enough to stop a bead passing over it but small enough to sit neatly beside the hole.
The stringing material affects both appearance and wear. Silk is often chosen for its soft drape, while suitable synthetic threads offer other options for strength and handling. Neither choice lasts indefinitely. Bead weight, hole finish, moisture and frequency of wear can all affect a strand’s life. For a valuable or difficult-to-replace piece, consider having it inspected and restrung by someone experienced with that type of bead.
Prepare before tying the first knot
Lay out the beads in their intended order on a clean, soft surface, then check the arrangement from end to end. Set aside any bead with a rough hole until you have decided whether it can be used safely. You will need an appropriate stringing thread, a needle if the holes require one, small scissors and a way to guide knots into place. A fine awl, knotting tool or pin can help; its point should not be used to scrape the beads.
Plan the clasp connection before stringing. The ends of a necklace take strain, and the way they are secured depends on the clasp and thread. Make sure the thread can pass through any end components as required, and allow extra length for knots and finishing. A short practice strand made with spare beads is useful: it lets you test knot size, thread fit and tension without disturbing the final arrangement.
Place each knot close to its bead
Secure the starting end using a method suited to the clasp and thread, then add the first bead. Form an overhand knot in the thread after it. Before tightening, pass a fine tool through the loose knot and use it to guide the knot toward the bead. Hold the bead steady, draw the thread taut and ease the tool away as the knot closes. The aim is a firm knot seated against the bead, without a visible gap or thread pulled so tight that the strand stiffens.
Repeat bead by bead, checking your work every few knots. The strand should hang smoothly when lifted gently, with consistent spacing and no obvious loops of bare thread. If a knot seats poorly, correct it before adding more beads; trying to compensate with a tighter next knot usually makes the spacing less even. Avoid gripping or levering against a bead’s surface as you adjust a knot.
Finish the strand and watch for wear
Once the last bead is in place, finish the second end to suit the clasp and stringing material. End knots and any concealed thread tails should be secure without creating a bulky connection. Do not treat a dab of adhesive as a substitute for a sound finishing method; adhesive can become visible or make later restringing harder. Before wearing the strand, close the clasp, lay the piece flat and gently lift it to check its drape and both end connections.
Over time, look for stretched gaps, frayed or discoloured thread, loose end fittings and knots that no longer sit snugly. Store the strand where it will not be pulled or tangled, and handle it by supporting several beads rather than lifting its full weight from one point. When the spacing or thread condition changes, restringing is safer than waiting for a break.


