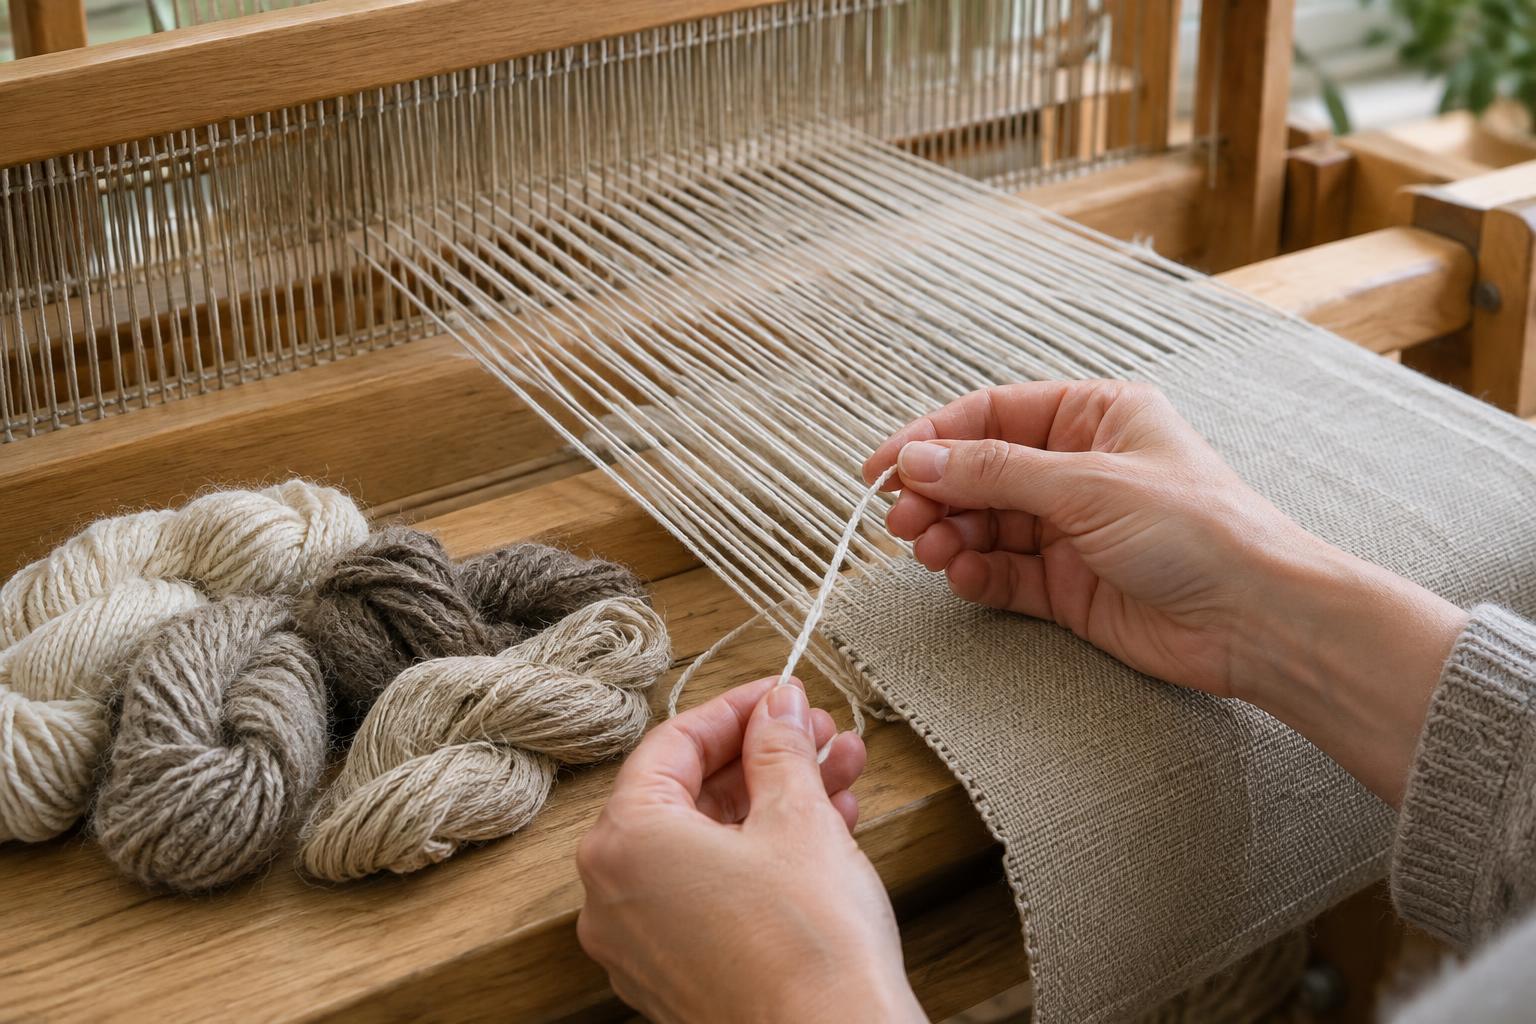
What keeps a warp in order?
A warp is the set of lengthwise threads held under tension on a loom. While winding it, you are measuring those threads and arranging them so that each end can later find its place. The most useful safeguard is the lease cross: a point where successive ends pass alternately over and under two nearby pegs or posts. That crossing records their order. If the warp is handled carefully, you can use the cross to separate one end from the next during beaming and threading.
A cross does not untangle a poorly wound warp. Even tension, a consistent route and clear ties all matter. Before winding, check the project plan for the number of ends, warp length and any colour sequence. Decide how many ends to put in each bout, or manageable group of warp threads. If the full warp would be bulky or difficult to control, several smaller bouts may be easier to wind and transfer.
Set up a path you can repeat
On a warping board, place or identify the pegs that establish the desired length and the pair used for the cross. On a warping mill, identify the equivalent path and cross points. Follow the same route for every end, including each turn around the length pegs. If you change routes partway through, some ends may be longer than others. Allow enough yarn for loom waste and finishing according to your project plan; the cloth length alone is not the warp length.
Position the yarn supply so it can unwind freely rather than snagging or twisting around nearby objects. Guide the yarn with a hand that can maintain gentle, steady tension, without pulling it tight enough to stretch it noticeably. Yarn wound under very different tensions can produce ends of different relaxed lengths. Pause if a cone catches or a ball rolls away, then correct the problem before continuing.
Build the cross and track each end
Begin at the cross pegs and wind the first end along the full path. On the return journey, pass through the cross pegs in the opposite over-under order. Continue alternating the path through those two pegs on successive passes. Because board and mill layouts differ, it is worth tracing the first few ends with a finger: at the cross, each new end should sit beside the previous one, not on top of it in the same route.
Count as you wind rather than relying on memory at the end. A small mark on the project plan after a set number of ends helps you keep your place. If the warp has stripes, keep the written colour sequence within reach and note where each change belongs. Tie a new yarn to the old one at a point that will be easy to identify and manage later; do not assume a knot can pass unnoticed through the finished cloth. Record any deliberate changes in yarn or direction.
If an end slips off a peg or you discover a counting error, stop before winding more. Locate the last end whose path you can verify, then unwind back to that point if necessary. It is usually simpler to correct a short section now than to sort an uncertain cross at the loom.
Secure the order before removing the warp
When the bout is complete, tie the cross loosely but securely in several places around its arms so the alternating threads cannot collapse into one bundle. Use a contrasting, removable cord that is easy to distinguish from the warp yarn. Add ties at intervals along the bout, particularly where it will be lifted from the board or mill. These ties should hold the group together without cinching the yarn so tightly that individual ends become difficult to move.
Make a chain from the end away from the cross, drawing successive loops through one another to keep the length compact. Do not tug the chain tight. Remove the bout from its pegs only after the cross is tied and you know which end is which. Label the bout if you have wound more than one, noting its end count and position in the planned warp. Keep the cross accessible rather than burying it inside the chain.
Carry that order to the loom
The cross remains your reference during loom setup. Transfer it to lease sticks or another suitable support before removing its ties, following the method used for your loom and warping direction. Check that each side of the cross stays on its own stick and that no loose end has escaped. Then spread and tension the bout gradually as you beam or prepare to thread, stopping to free snags rather than pulling them through.
Before threading, compare the ends you can separate at the cross with your planned count and colour order. A few minutes spent checking the first and last ends of each bout can reveal a misplaced group while it is still easy to address. The aim is not to wind quickly: it is to arrive at the loom with a measured warp whose threads can be identified, separated and handled one at a time.